
 Pin it
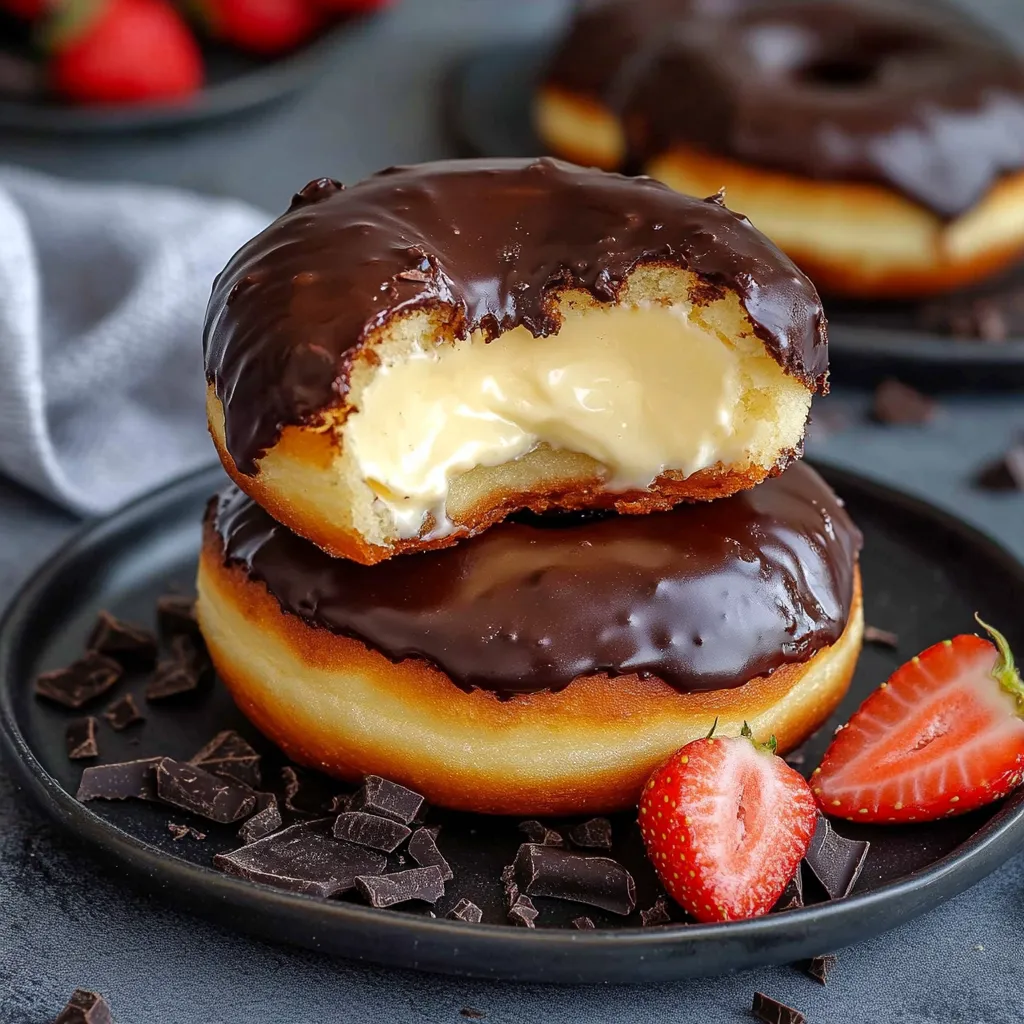
Boston cream donuts combine the pillowy softness of freshly fried yeast dough with the luxurious richness of vanilla custard, all crowned with a glossy chocolate glaze that sets to perfection. These indulgent treats satisfy both creamy and crispy cravings in a single bite, making them the ultimate weekend baking project. I started making these after a memorable trip to Boston, and they've since become my signature dessert whenever I want to truly impress friends and family.
The first time I attempted these donuts, my kitchen looked like a flour bomb had exploded. Despite the mess, the moment I bit into that first warm donut with custard oozing out the sides, I knew I'd be making them again and again. My husband, usually indifferent to sweets, requested them for his birthday instead of cake—the ultimate compliment for any baker.
Quality Ingredients
- Active dry yeast: The foundation for a proper rise; look for fresh, unexpired packages and store in the refrigerator for longevity
- Whole milk: Provides essential fat content for tender dough; substituting with lower-fat versions will result in tougher donuts
- Room temperature eggs: Allow for better incorporation into the dough; cold eggs can shock the mixture and inhibit proper rising
- Unbleached flour: Offers better flavor than bleached alternatives; bread flour will give a slightly chewier texture if you prefer that
- Fresh egg yolks: The secret to rich, silky custard; save the whites for meringues or healthy omelets
- Real chocolate: Skip the chips and opt for baking bars with at least 60% cocoa content for a glaze that sets with a satisfying snap
My grandmother always insisted on using European butter for special pastries, claiming its higher fat content yielded better results. After side-by-side testing, I have to agree—the European butter batch produced noticeably more tender donuts with a richer flavor profile. When splurging on ingredients, butter is where I recommend investing.
Donut Creation
- Activate The Yeast:
- In a large bowl, combine warm milk (110°F—no hotter or you'll kill the yeast) with a tablespoon of your measured sugar. Sprinkle yeast over top and let sit until foamy and fragrant, about 5-10 minutes. This activation step ensures your dough will rise properly and develop that distinctive yeasty flavor.
- Create The Foundation:
- Add eggs, melted butter, remaining sugar, and salt to your activated yeast mixture, whisking until well combined. Gradually incorporate flour, switching to a wooden spoon when the mixture becomes too thick for the whisk. The dough should pull away from the sides of the bowl but remain slightly tacky to the touch.
- Develop The Structure:
- Turn dough onto a lightly floured surface and knead for about 8 minutes until smooth and elastic. You'll know it's ready when you can stretch a small piece thin enough to see light through it without tearing—the famous "windowpane test" that ensures proper gluten development.
- First Rise Matters:
- Place the dough in an oiled bowl, turning once to coat, then cover with a damp kitchen towel. Allow it to rise in a warm, draft-free area until doubled in size, typically 1-1.5 hours. The slower the rise, the better the flavor, so don't rush this step by overheating the environment.
- Shape With Care:
- Gently deflate the dough and roll to a half-inch thickness on a lightly floured surface. Using a 3-inch round cutter, cut as many circles as possible. Transfer these to parchment-lined baking sheets, leaving ample space between each. Cover loosely and allow to rise again until puffy and nearly doubled, about 30-45 minutes.
- Fry To Perfection:
- Heat oil to exactly 350°F in a heavy-bottomed pot or Dutch oven. Carefully lower donuts into the oil, frying only 2-3 at a time to maintain temperature. Cook each side for precisely 90 seconds until golden brown, then transfer to a cooling rack positioned over paper towels to catch any excess oil.
 Pin it
Working with yeast dough intimidated me for years until my Italian neighbor taught me to trust my hands more than the recipe timing. "The dough tells you when it's ready," she would say, demonstrating how properly risen dough springs back slowly when gently poked. This wisdom transformed my bread-making, especially these donuts. I've since learned that kitchen temperature, humidity, and even barometric pressure can affect rising times, so I now watch for visual cues rather than strictly following the clock.
Custard Mastery
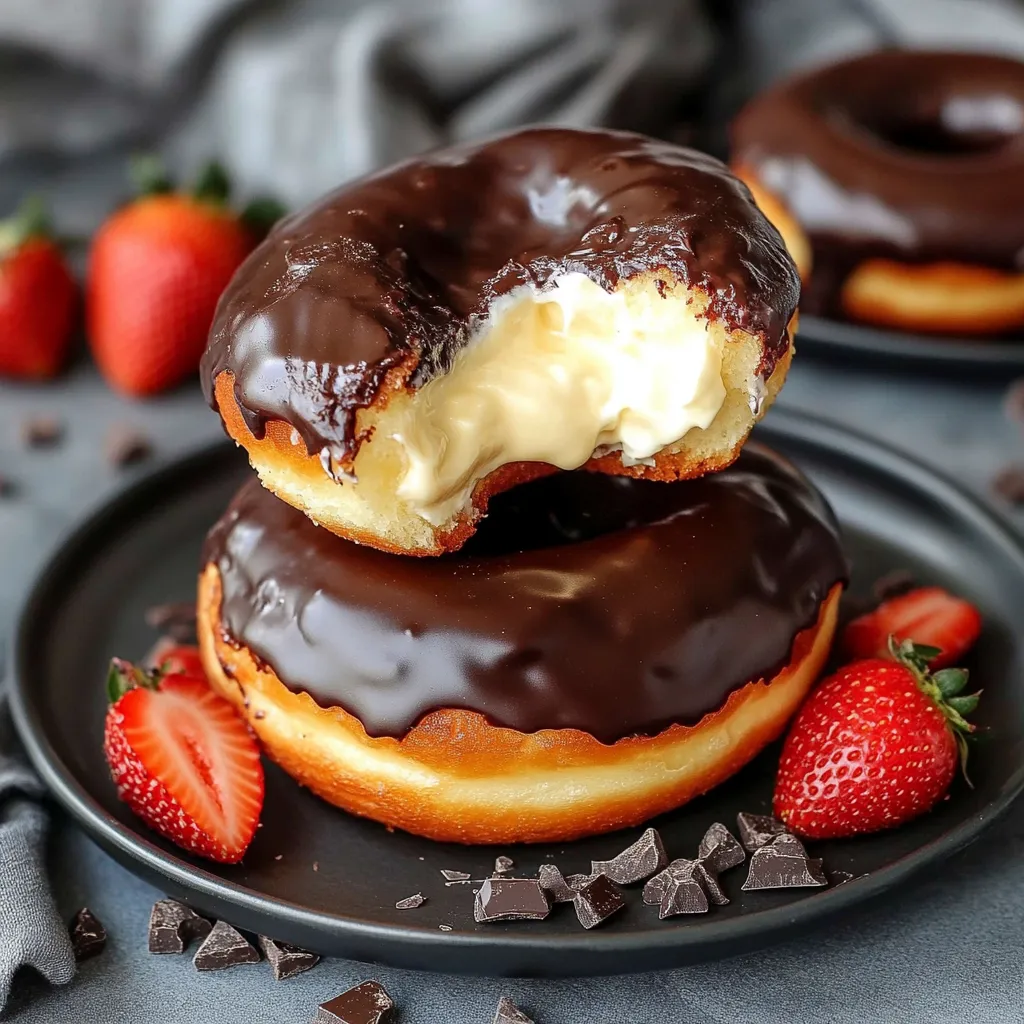
Nothing elevates these donuts like silky, rich custard made from scratch. Begin by warming whole milk with a split vanilla bean (or quality extract) until steaming but not boiling. Meanwhile, whisk egg yolks with sugar until pale and slightly thickened. The key to lump-free custard is tempering—slowly adding small amounts of hot milk to the egg mixture while whisking constantly. Once combined, return everything to the pot and cook over medium-low heat, stirring continuously with a wooden spoon until thick enough to coat the back of the spoon. Strain through a fine-mesh sieve for ultimate smoothness, then chill completely before filling your donuts.
Glaze Varieties
While traditional chocolate glaze reigns supreme, don't hesitate to experiment with variations. My coffee-infused glaze (add 1 tablespoon espresso powder to the warm cream) adds sophisticated depth that complements the custard beautifully. For special occasions, try a white chocolate glaze infused with orange zest, or embrace seasonality with maple glaze in autumn. The glaze sets best when donuts are completely cooled, but tastes most decadent when the donuts are still slightly warm.
Fresh Preservation
These donuts truly shine when freshly made, but unfilled, unglazed donuts can be stored in an airtight container overnight and revived in a 300°F oven for 3-5 minutes before assembling. Custard can be made a day ahead and kept refrigerated. For the freshest experience, fry the donuts in the morning, prepare custard and glaze while they cool, then assemble just before serving. If you must store filled donuts, keep them refrigerated and bring to room temperature for 20 minutes before enjoying.
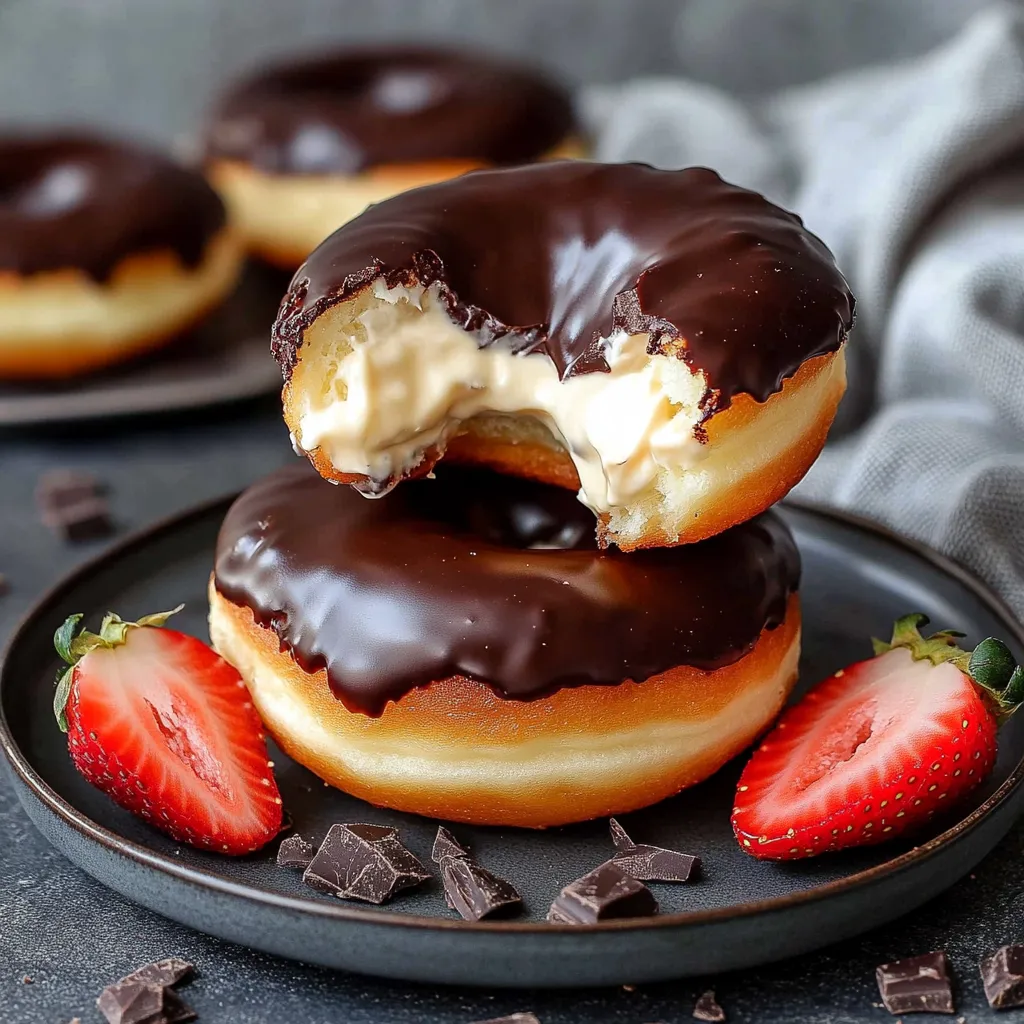
My journey with Boston cream donuts began five years ago after tasting an unforgettable version at a tiny bakery in Massachusetts. The baker there shared her secret—a touch of brown butter in the dough—which I've incorporated into my recipe. What makes these donuts truly special is their ability to transport you to a moment of pure indulgence. The contrast between the warm, slightly chewy dough, cool creamy filling, and snappy chocolate top creates a sensory experience that simply can't be matched by other desserts. While they require some effort, the looks of pure joy on people's faces when they take that first bite make every minute in the kitchen worthwhile.
 Pin it
Frequently Asked Questions
- → Can I bake these donuts instead of frying them?
- While traditional Boston Cream Donuts are fried, you can bake them at 350°F for about 15 minutes. The texture will be different - more bread-like and less airy - but still delicious.
- → How do I know when the oil is at the right temperature?
- If you don't have a thermometer, drop a small piece of dough into the oil. It should bubble around the dough and rise to the surface in about 5 seconds. If it browns too quickly, the oil is too hot.
- → Why is my custard lumpy or too thin?
- For smooth custard, whisk continuously while cooking and ensure it comes to a gentle boil to activate the cornstarch. If it's too thin, you can return it to the heat and add a bit more cornstarch mixed with cold milk.
- → Can I make these donuts ahead of time?
- Yes! You can prepare the components separately. The custard can be made 1-2 days ahead, the donuts can be fried the day before, and the glaze can be made fresh before assembling.
- → How do I store leftovers?
- Store filled donuts in an airtight container in the refrigerator for up to 2 days. The texture is best the day they're made, but they'll still be delicious the next day.
- → My chocolate glaze is too thick/thin. How do I fix it?
- For a thinner glaze, add a little more warm cream. For a thicker glaze, add more chopped chocolate. Make sure to let the cream fully heat the chocolate before stirring to prevent a grainy texture.