
 Pin it
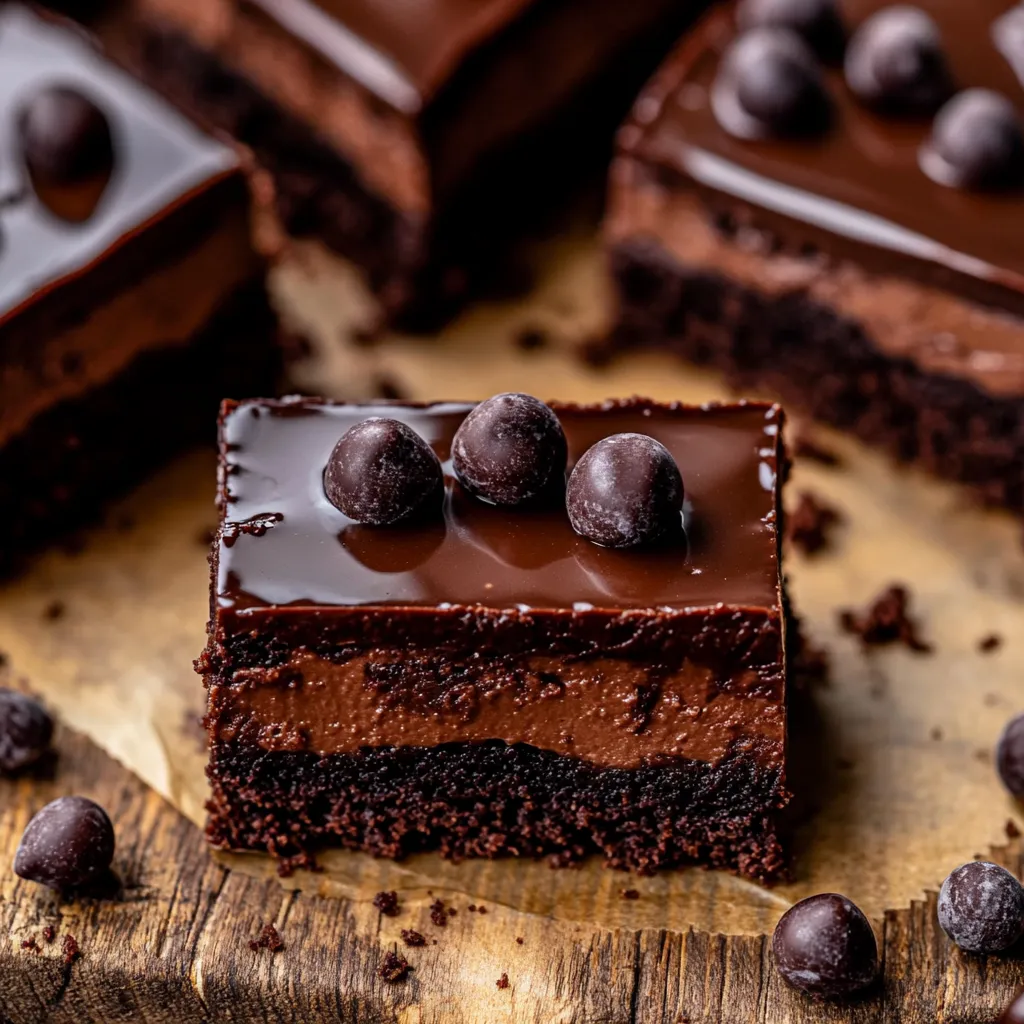
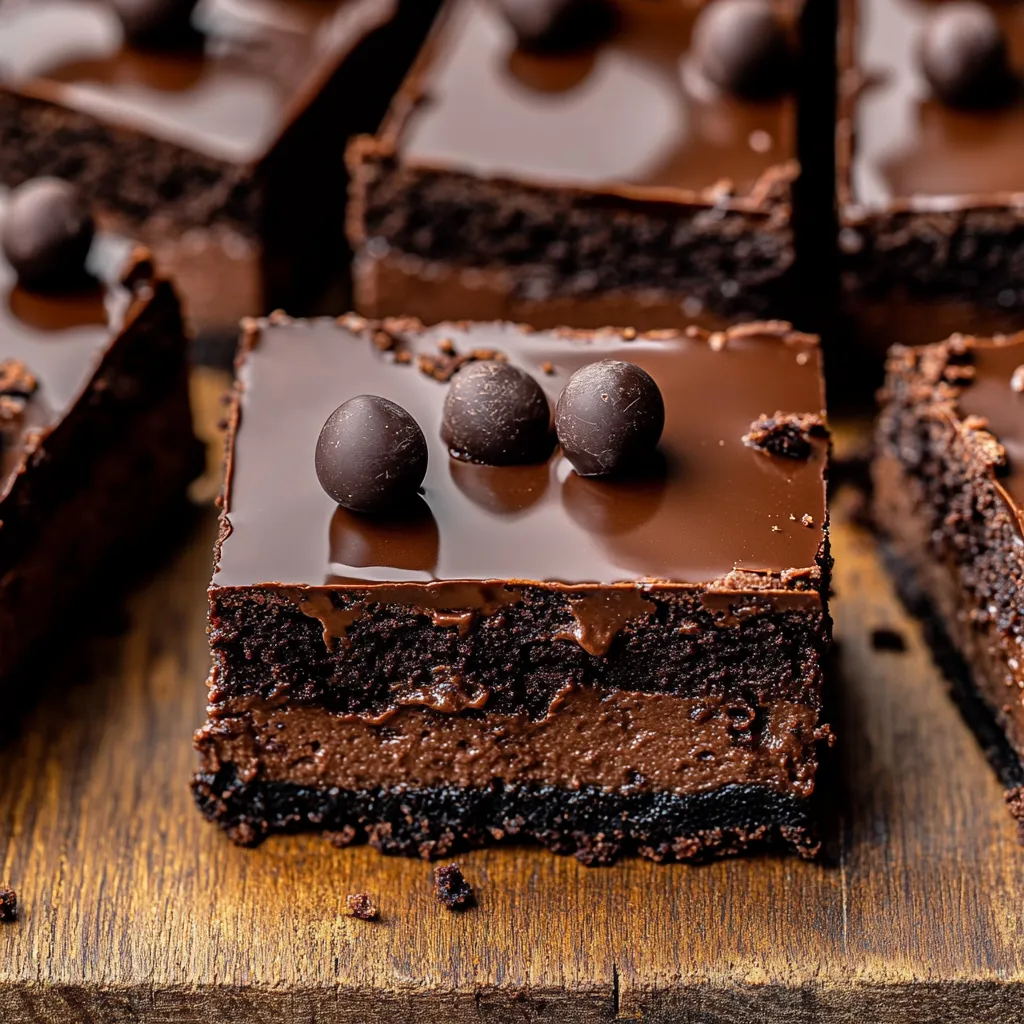
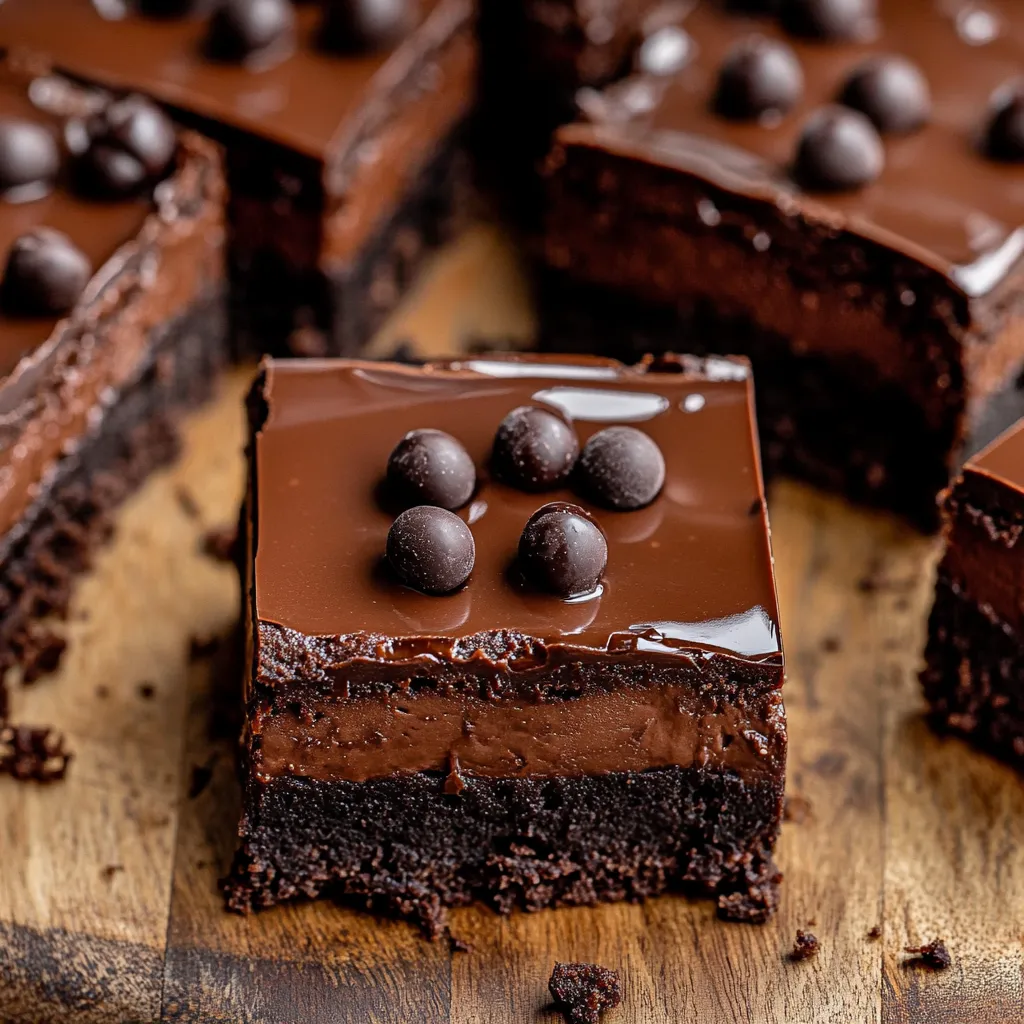
Chocolate cheesecake bars transform the classic dessert experience into convenient, irresistible squares of pure indulgence. These triple-chocolate treats feature a crunchy Oreo crust, a velvety chocolate cheesecake layer made with both cocoa powder and melted chocolate, all crowned with a glossy chocolate ganache topping. Best of all, they offer all the decadence of traditional cheesecake without the common stressors like water baths or worrying about cracks.
I first discovered these bars when looking for a dessert to bring to a potluck where serving a whole cheesecake seemed impractical. The combination of chocolate in three different forms immediately caught my attention, and these bars have become my go-to chocolate fix ever since. My colleagues now specifically request them for office celebrations, with several asking for the recipe after their first taste!
Essential Ingredients
- 24 Oreo cookies: These create the perfect chocolate foundation with built-in sweetness and that distinctive cocoa flavor. Remove cream filling for a less sweet crust or leave it in for extra richness and better binding.
- 16 ounces cream cheese: Always use full-fat cream cheese at room temperature for the smoothest, richest texture. Cold cream cheese creates lumps that never fully incorporate.
- 2/3 cup granulated sugar: Provides just enough sweetness without overpowering the chocolate flavors. Avoid brown sugar which would compete with the clean chocolate taste.
- 3 large eggs: These provide structure and stability while maintaining that signature creamy cheesecake texture. Room temperature eggs incorporate more evenly.
- 8 ounces semi-sweet chocolate: Choose high-quality baking chocolate rather than chocolate chips for melting. The complex flavor profile creates depth in the finished bars.
- 1/4 cup unsweetened cocoa powder: This intensifies the chocolate flavor and creates that deep, rich color. Dutch-processed cocoa works beautifully here.
- 1 teaspoon vanilla extract: Enhances all the chocolate notes without calling attention to itself. Use pure extract rather than imitation for best results.
- 1 cup heavy cream: For the ganache topping, this creates the perfect consistency that sets firmly but still slices cleanly. Never substitute with half-and-half or milk.
- 8 ounces chocolate for ganache: Using the same quality chocolate here as in the filling creates flavor continuity throughout the dessert.
Preparation Method
- Crust creation:
- Preheat oven to 325°F and line a 9x9 inch baking pan with parchment paper, leaving overhang on two sides for easy removal later. Process Oreo cookies (cream filling included) in a food processor until they form fine, even crumbs. Add melted butter and pulse until mixture resembles wet sand with no dry spots remaining.
- Base formation:
- Transfer the moistened cookie mixture to your prepared pan, spreading evenly across the bottom. Using the flat bottom of a measuring cup, press firmly to create a compact, level base. The more firmly you press, the less likely your crust will crumble when cutting later. Bake for 10 minutes until just set, then cool completely.
- Chocolate melting:
- Place chopped semi-sweet chocolate in a microwave-safe bowl and heat in 30-second intervals, stirring between each until completely smooth. Be careful not to overheat as chocolate can seize. Set aside to cool slightly while preparing the rest of the filling.
- Cheesecake mixture:
- In a large bowl, beat room temperature cream cheese and sugar on medium-low speed until completely smooth with no visible lumps, about 2-3 minutes. Scrape down sides of bowl frequently during mixing. Add eggs one at a time, mixing on low speed just until each is incorporated before adding the next.
- Chocolate incorporation:
- Pour in the cooled melted chocolate, unsweetened cocoa powder, and vanilla extract. Mix on low speed just until combined into a uniform, silky chocolate batter. Overmixing introduces air which can cause cracks during baking.
- Baking process:
- Pour the chocolate cheesecake batter over the cooled Oreo crust, spreading evenly to corners. Tap the pan gently against the counter several times to release any trapped air bubbles. Bake at 325°F for 35-40 minutes until edges are set but center still has a slight jiggle.
- Cooling technique:
- Turn off oven and prop door open slightly with a wooden spoon. Allow cheesecake to cool gradually inside the cooling oven for 20 minutes before removing to room temperature. This gradual cooling prevents rapid temperature changes that cause cracks.
- Ganache topping:
- Once cheesecake has cooled completely, prepare the ganache by heating heavy cream just until it begins to simmer. Pour over chopped chocolate in a bowl and let sit undisturbed for 2 minutes. Gently stir until completely smooth and glossy.
- Final assembly:
- Use the parchment paper overhang to carefully lift cooled cheesecake from pan. Pour ganache over the top, using an offset spatula to spread it evenly to the edges. Refrigerate at least 2 hours or until ganache is set before cutting into squares with a warm, clean knife.
 Pin it
I discovered the perfect hack for these bars when making them for my daughter's birthday party last month. After cutting them into squares, I placed each one in a small cupcake liner and added a single fresh raspberry on top. The slight tartness of the berry created this amazing contrast with the rich chocolate, and the presentation was so elegant that guests thought they came from a bakery!
Serving Ideas
Elevate these chocolate cheesecake bars by presenting them on a tiered dessert stand with contrasting garnishes. Dust some with powdered sugar, others with cocoa powder, and top a few with fresh berries or chocolate curls for visual variety. For dinner parties, arrange individual squares on small dessert plates with a drizzle of raspberry coulis creating a beautiful color contrast against the dark chocolate.
These bars also make excellent additions to dessert boards alongside complementary items like strawberries, chocolate truffles, and cookies. The different textures and heights create visual interest while allowing guests to sample various treats. During holidays, add seasonal touches like mint leaves for Christmas, candy corn for Halloween, or conversation hearts for Valentine's Day.
Consider serving with beverage pairings that enhance the chocolate experience. A bold coffee brings out the deep cocoa notes, while a glass of port wine creates sophisticated harmony with the rich flavors. For family gatherings, offer cold milk which provides the perfect refreshing counterpoint to the intense chocolate.
Flavor Variations
Transform these chocolate cheesecake bars with subtle flavor enhancements that complement the rich chocolate base. Add 1-2 teaspoons of espresso powder to the filling for a mocha version that intensifies the chocolate flavor without tasting distinctly like coffee. The slight bitterness creates wonderful depth throughout.
For holiday gatherings, incorporate ½ teaspoon peppermint extract into the filling and sprinkle crushed candy canes over the ganache before it sets. The cool mint provides delightful contrast to the rich chocolate and creates a festive appearance perfect for winter celebrations.
Orange enthusiasts might add the zest of one orange to the filling for a chocolate-orange combination that feels sophisticated and bright. This citrus note cuts through the richness beautifully while enhancing the chocolate flavor in unexpected ways.
For texture variations, consider folding ½ cup of mini chocolate chips into the batter just before baking or adding a layer of salted caramel between the cheesecake and ganache for sweet-salty complexity.
Storage Solutions
Preserve the perfect texture of these cheesecake bars by storing them properly in airtight containers in the refrigerator. They maintain optimal flavor and texture for up to five days when well-sealed, though the crust may soften slightly over time as it absorbs moisture from the filling.
For longer storage, these bars freeze beautifully for up to one month. Cut them into individual squares first, then place on a baking sheet to freeze solid before transferring to freezer bags or containers. This prevents them from sticking together and allows you to thaw only what you need.
When serving from frozen, allow bars to thaw in the refrigerator for several hours or at room temperature for about 30 minutes. Avoid microwaving which can melt the ganache and create uneven warming. The slight chill actually enhances the fudgy texture of the filling.
The chocolate cheesecake bars represent dessert perfection through simplicity and intensity of flavor. While traditional cheesecakes certainly have their place, these bars deliver the same luxurious experience without the usual fuss. I particularly love how the three different chocolate elements create layers of flavor complexity – from the slightly bitter cookie base to the rich, creamy filling and the smooth, glossy ganache. Every time I serve these, conversations stop as people close their eyes to fully experience that first bite. That moment of pure chocolate bliss makes any dessert a true success in my book!
 Pin it
Frequently Asked Questions
- → Can I make these bars ahead of time?
- Yes! These bars are perfect for making ahead. The cheesecake portion needs to chill for at least 6 hours, but can be made 2-3 days in advance. Add the ganache topping the day you plan to serve them for the best appearance.
- → Why don't these bars require a water bath like traditional cheesecake?
- The smaller, rectangular format allows the bars to bake more evenly without a water bath. Additionally, the slow cooling process (leaving in the turned-off oven with door cracked) helps prevent cracks, and any small imperfections will be covered by the ganache anyway.
- → Can I freeze these chocolate cheesecake bars?
- Yes, these bars freeze beautifully for up to 3 months. Freeze them without the ganache topping, tightly wrapped in plastic wrap and aluminum foil. Thaw overnight in the refrigerator, then add the ganache before serving.
- → What's the difference between Dutch process and regular cocoa powder?
- Dutch-processed cocoa powder has been treated with an alkalizing agent to reduce acidity, giving it a smoother, less bitter flavor and darker color. It's ideal for these bars for a richer chocolate taste. If you only have regular cocoa powder, it will still work but the flavor may be slightly more acidic.
- → Why do the ingredients need to be at room temperature?
- Room temperature ingredients blend together more smoothly and evenly, resulting in a silkier cheesecake texture without lumps. Cold ingredients can cause the batter to curdle or become lumpy, affecting both texture and baking properties.