
 Pin it
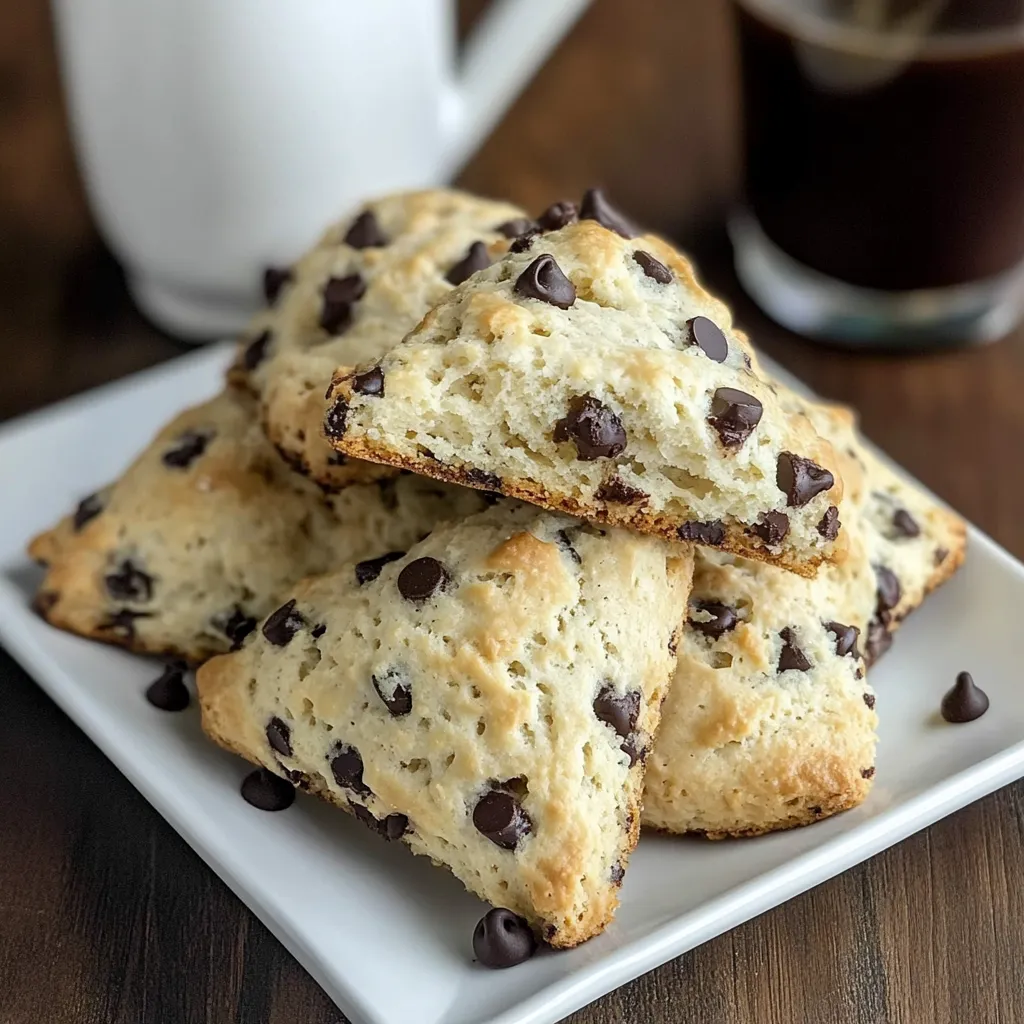
Buttery, tender scones studded with rich chocolate chips offer the perfect balance of crumbly edges and soft centers in every bite. These delightful treats bridge the gap between breakfast pastry and dessert, delivering just enough sweetness to satisfy morning cravings without overwhelming your palate. Each golden-brown wedge breaks apart to reveal pockets of melted chocolate nestled within flaky layers of buttery dough, creating an irresistible morning indulgence that pairs perfectly with your favorite hot beverage.
The first time I made these scones for weekend breakfast, my usually quiet husband took one bite and immediately reached for another. "These taste like the fancy ones from that bakery downtown," he mumbled through a mouthful of crumbs. That moment of pure enjoyment is what makes baking so satisfying - creating something seemingly sophisticated from simple ingredients. Now these scones make regular appearances for lazy weekend mornings, especially when we have overnight guests who wake up to their irresistible aroma wafting through the house.
Bakery Basics
- All-purpose flour: Creates the perfect structure for scones; measure with a light hand for the most tender results
- Cold unsalted butter: The secret to flaky layers; those tiny pockets of butter create steam during baking that results in perfect texture
- Dark chocolate chips: Brings rich, bittersweet contrast to the barely sweet dough; high-quality chips with at least 60% cacao provide the best flavor
- Buttermilk: Adds tanginess while activating the leavening agents; its acidity helps create the tenderest crumb
- Vanilla extract: Enhances the chocolate flavor while adding aromatic warmth to every bite
- Granulated sugar: Provides just enough sweetness without veering into dessert territory
- Baking powder: Creates the perfect rise without the need for yeast or proofing time
Flaky Creation
- Prepare your workspace:
- Begin by preheating your oven to 400°F and lining a baking sheet with parchment paper. Gather all ingredients before starting to ensure smooth assembly. Working with cold ingredients is crucial for the flakiest texture, so keep your butter in the refrigerator until the last possible moment. This preparation sets you up for success by ensuring the butter stays cold throughout the mixing process.
- Mix the dry ingredients:
- In a large bowl, whisk together 2 cups all-purpose flour, 1/3 cup granulated sugar, 1 tablespoon baking powder, 1/2 teaspoon baking soda, and 1/2 teaspoon salt until well combined. This thorough mixing ensures the leavening agents are evenly distributed throughout the dough, creating a uniform rise. The combination of baking powder and soda works with the buttermilk to create the perfect lift.
- Incorporate the butter:
- Take 1/2 cup cold unsalted butter straight from the refrigerator and grate it using the large holes of a box grater. This technique creates thin shards of butter that distribute evenly throughout the dough. Using a knife or pastry cutter, quickly cut the butter into the flour mixture until it resembles coarse crumbs with some pea-sized pieces remaining. Work swiftly to prevent the butter from warming. These small butter pieces are essential for creating those prized flaky layers during baking.
- Add the chocolate and wet ingredients:
- Fold 3/4 cup dark chocolate chips into the butter-flour mixture, distributing them evenly. In a small measuring cup, combine 3/4 cup cold buttermilk with 1 teaspoon vanilla extract. Pour this liquid into the dry ingredients and stir with a fork just until the dough starts to come together. It should look slightly shaggy and not completely smooth. Stop mixing as soon as there are no large pockets of dry flour—overmixing is the enemy of tender scones.
- Shape and cut:
- Turn the dough onto a lightly floured surface and gently knead just 2-3 times to bring it together. Pat the dough into a circle about 1 1/2 inches thick, using your hands rather than a rolling pin to avoid compacting the dough. Cut the circle in half, then cut each half into 4-5 wedges, depending on your preferred size. Place the wedges on the prepared baking sheet with at least an inch between them. Brush the tops with a little additional buttermilk and sprinkle with a pinch of sugar for a beautiful finish that adds a subtle crunch.
- Bake to golden perfection:
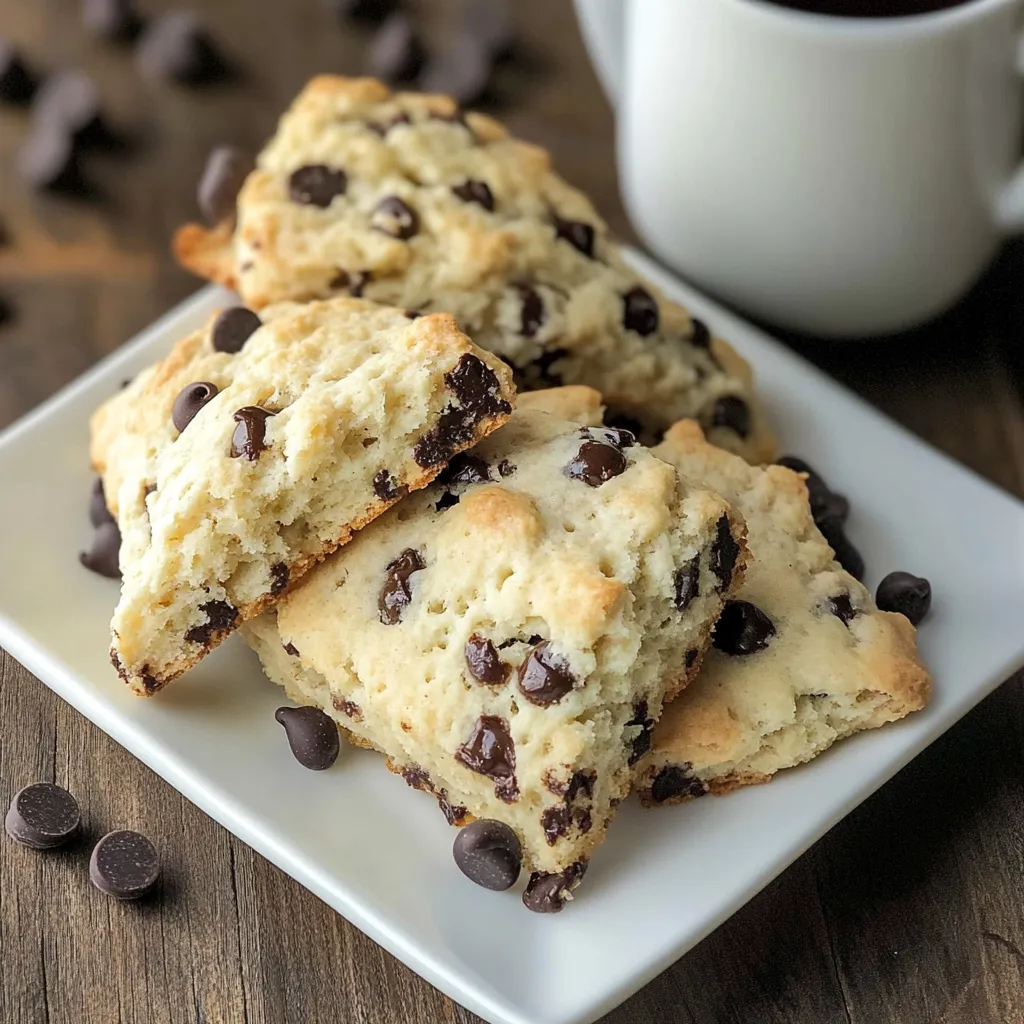
- Slide the baking sheet into the preheated oven and bake for 22-25 minutes until the tops are golden brown and a toothpick inserted into the center comes out clean (though it may have melted chocolate on it!). The bottoms should be deeply golden, and the scones should feel firm when lightly pressed. Transfer them to a wire rack to cool slightly before serving. They're absolutely irresistible while still warm, when the chocolate is perfectly melted and the contrast between the crisp exterior and tender interior is at its peak.
 Pin it
I learned the importance of cold butter the hard way when I first attempted scones on a hot summer day. Despite following the recipe exactly, they spread into flat, tough discs rather than rising into flaky wedges. My grandmother later taught me her trick of freezing the butter for 15 minutes before grating it, ensuring it stays cold even when worked into the flour with warm hands. "Baking is just chemistry," she explained while showing me how to handle the dough as minimally as possible. "Respect the science and you'll always have perfect results." This simple wisdom transformed my scones from mediocre to magnificent.
Perfect Pairings
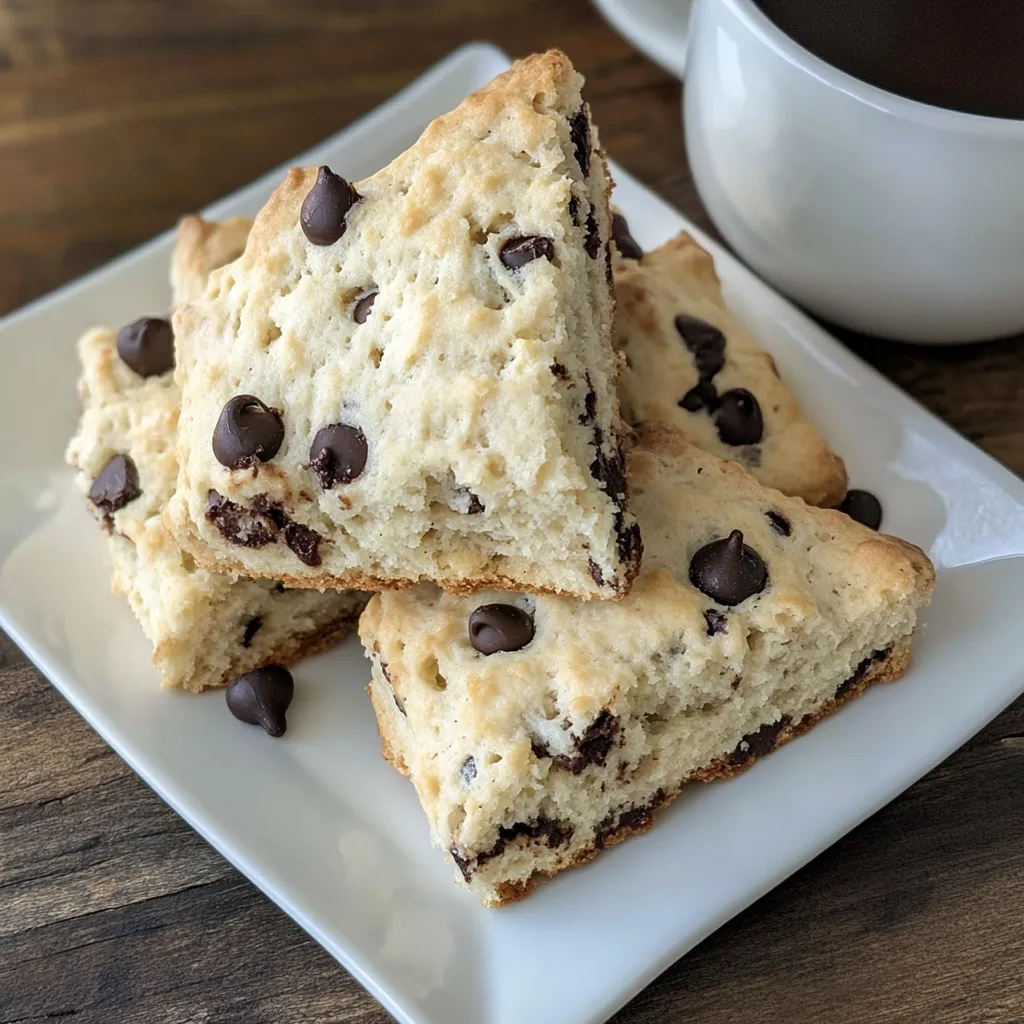
These versatile scones welcome thoughtfully chosen accompaniments to enhance the experience. Serve them slightly warm alongside a steaming cup of coffee or tea for a traditional pairing that balances the richness of the scones. For added indulgence, offer softened salted butter, whipped cream, or mascarpone cheese for spreading. A side of fresh berries provides a bright, acidic contrast that cuts through the buttery richness beautifully. For the ultimate breakfast treat, transform them into a shortcake-style dish by splitting and filling with lightly sweetened whipped cream and sliced strawberries.
Creative Variations
The basic recipe welcomes thoughtful adaptations to suit different preferences and seasons. Create an orange-chocolate version by adding the zest of one orange to the dry ingredients, which brightens the chocolate flavor beautifully. For a nutty twist, incorporate 1/2 cup of toasted chopped walnuts or hazelnuts along with the chocolate chips. White chocolate and dried cranberry makes a festive holiday variation, while adding 1/2 teaspoon of cinnamon and a pinch of nutmeg creates a warm spiced chocolate chip scone perfect for fall mornings. For a more decadent version, drizzle cooled scones with a simple glaze made from powdered sugar, milk, and vanilla.
Storage Wisdom
These scones maintain their quality best when stored properly. Keep completely cooled scones in an airtight container at room temperature for up to 2 days. For longer storage, refrigerate for up to 5 days, though the texture will become slightly more dense. To refresh day-old scones, warm them in a 300°F oven for 5-10 minutes, which restores some of their original crispness. These scones freeze beautifully either before or after baking. To freeze unbaked scones, place cut wedges on a baking sheet in the freezer until solid, then transfer to a freezer bag for up to 3 months. Bake directly from frozen, adding 3-5 minutes to the baking time.
These chocolate chip scones represent the perfect balance between simplicity and indulgence. They prove that with quality ingredients and proper technique, even basic pantry staples can transform into something special enough for company yet easy enough for everyday enjoyment. Whether served as part of a leisurely weekend breakfast or wrapped up for an on-the-go treat, these scones bring a touch of bakery-quality goodness to your everyday life.
 Pin it
Frequently Asked Questions
- → What's the difference between British scones and American biscuits?
- British scones tend to be slightly sweeter and often contain mix-ins like fruit or chocolate. American biscuits are typically more savory, have a higher butter content, and are served with meals. Scones are traditionally served with tea, often split and topped with clotted cream and jam.
- → Why is it important to use cold butter?
- Cold butter creates small pockets in the dough that, when baked, release steam and create those delicious flaky layers. If the butter is too warm, it will blend completely into the dough rather than creating these pockets, resulting in dense scones.
- → Can I substitute the buttermilk?
- Yes! If you don't have buttermilk, you can make a quick substitute by adding 2 teaspoons of lemon juice or white vinegar to regular milk and letting it sit for 5 minutes. You can also use plain yogurt thinned with a little milk.
- → Can I freeze unbaked scone dough?
- Absolutely! Cut the dough into wedges, place them on a parchment-lined baking sheet, and freeze until solid. Transfer to a freezer bag and store for up to 3 months. When ready to bake, no need to thaw - just add 3-5 minutes to the baking time.
- → Why did my scones turn out dense or tough?
- The most common reason is overmixing or overworking the dough. Mix just until the ingredients are combined and knead very minimally. Also, check that your leavening agents (baking powder and baking soda) are fresh, as expired ones won't provide proper rise.
- → What can I use instead of dark chocolate chips?
- Feel free to substitute milk chocolate chips, white chocolate chips, dried fruit like cranberries or raisins, or nuts. You can also mix and match - try white chocolate and dried cranberries, or dark chocolate and orange zest for different flavor combinations.