
 Pin it
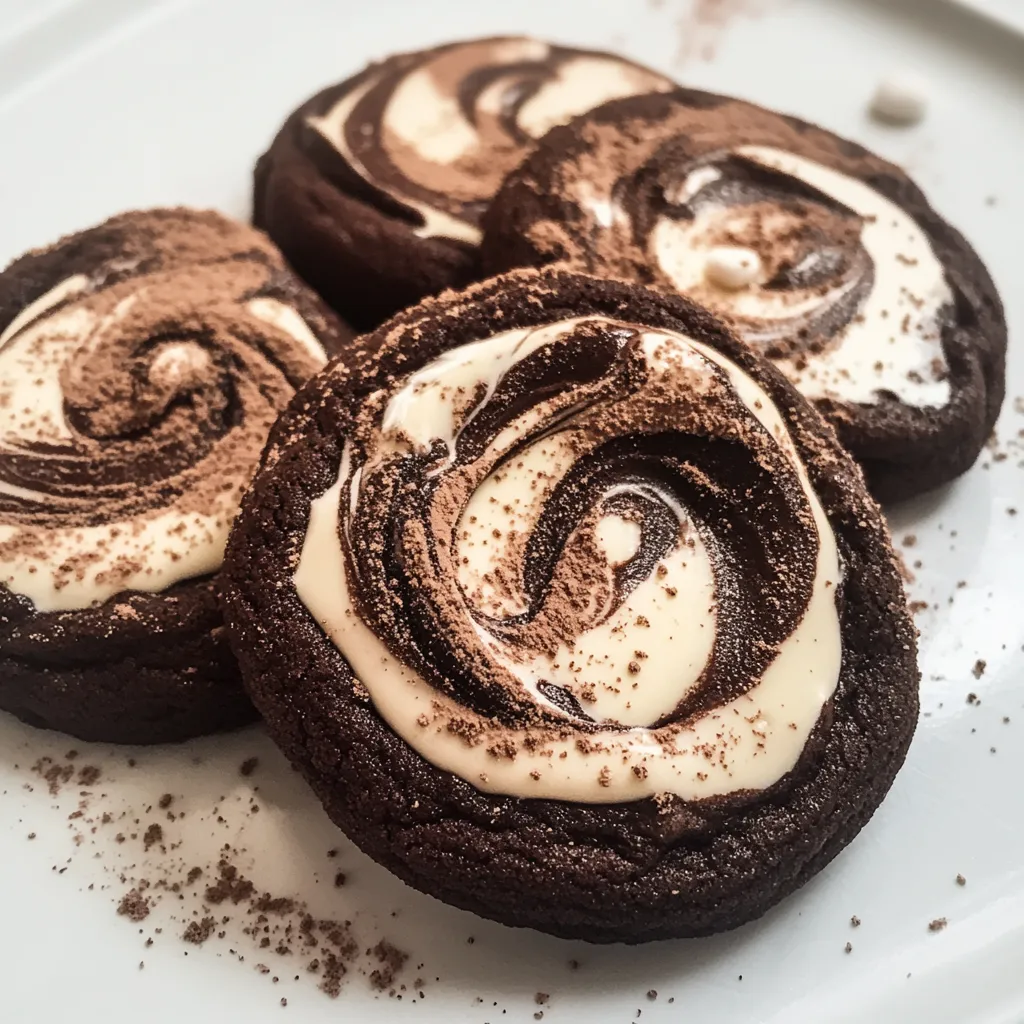
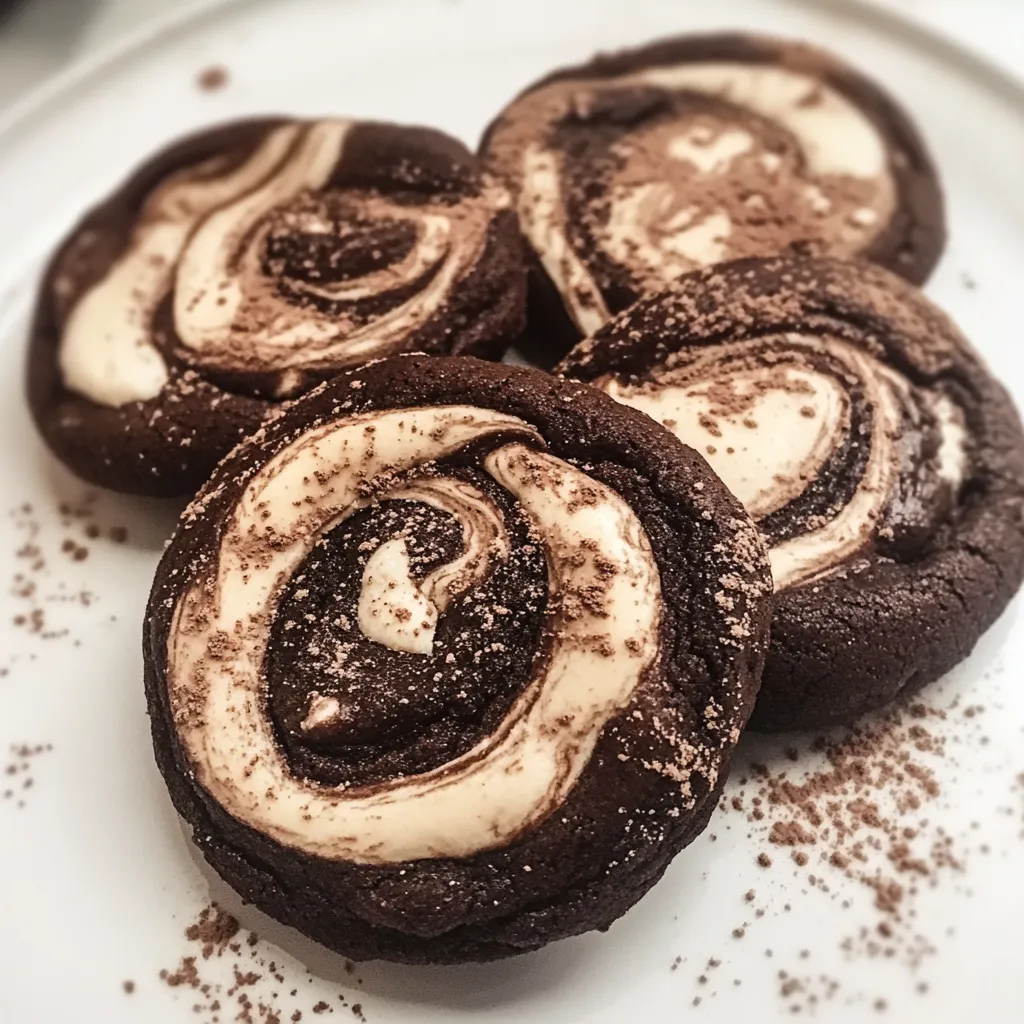
Rich chocolate dough cradles ribbons of gooey marshmallow in these irresistible cookies that deliver a nostalgic flavor combination in an elevated form. Each bite offers a masterful contrast between the tender, chocolatey base and sweet, melted marshmallow swirls, creating a treat that captures the cozy essence of hot cocoa and campfire s'mores in convenient cookie form.
The journey to perfecting these cookies began during a rainy weekend when my children were craving s'mores but outdoor campfires weren't an option. After several test batches experimenting with different chocolate intensities and marshmallow techniques, this recipe emerged as the unanimous family favorite. Now they've become our signature contribution to holiday cookie exchanges, consistently generating requests for the recipe.
Essential Ingredient Selection
- Quality Cocoa Powder: Choose Dutch-processed cocoa for deeper color and smoother flavor. This alkalized cocoa creates the perfect chocolate base without the acidic notes found in natural cocoa powder.
- Real Butter: Select unsalted butter at cool room temperature (about 65°F) for proper creaming. The butter's fat content creates tender cookies while its flavor provides richness that vegetable shortening cannot match.
- Brown Sugar Balance: Use a combination of light brown and granulated sugars. Brown sugar adds moisture and chewy texture while granulated sugar promotes proper spreading and crisp edges.
- Marshmallow Form: Choose between standard marshmallows cut into pieces or marshmallow fluff depending on desired effect. Standard marshmallows create more distinct pockets while fluff integrates more thoroughly for consistent swirling.
- Chocolate Chips: Select high-quality semi-sweet chocolate chips with 45-60% cacao content. This percentage provides ideal melting properties and balanced sweetness against the marshmallow's intense sugar content.
Mastering The Technique
- Perfect Dough Preparation
- Begin by properly creaming butter and sugars until light and fluffy, approximately 3-4 minutes at medium-high speed. This crucial step incorporates air into the dough, creating the foundation for a tender crumb. Add eggs one at a time, ensuring each is fully incorporated before adding the next. The mixture should be smooth and uniform, with no streaks of egg visible, before proceeding to dry ingredients.
- Ideal Chocolate Integration
- Sift cocoa powder with flour and leavening agents to eliminate lumps and ensure even distribution of the chocolate flavor. Add dry ingredients in three batches, mixing at low speed just until combined. Overmixing activates gluten, resulting in tough cookies, so stop mixing as soon as no dry flour is visible. Fold in chocolate chips by hand using a spatula to maintain the dough's aerated structure.
- Strategic Marshmallow Method
- For distinct marshmallow pockets, add mini marshmallows to the cookies halfway through baking when the edges have just set but centers remain soft. This timing allows marshmallows to melt partially without completely liquefying. For marshmallow fluff swirls, dollop teaspoons of fluff onto the dough balls before baking, then lightly swirl with a toothpick without fully incorporating. Both techniques create visual appeal while maintaining the marshmallow's distinct character.
- Critical Temperature Control
- Chill the prepared dough for at least 60 minutes, preferably 2 hours. This resting period solidifies fats, preventing excessive spreading during baking while allowing flavors to meld. Bake in a precisely calibrated 325°F oven rather than the standard 350°F. This slightly lower temperature allows the cookies to bake through without burning the sugar in the marshmallows, achieving perfect golden edges with molten marshmallow centers.
- Proper Cooling Protocol
- Allow cookies to cool on the baking sheet for exactly 5 minutes after removing from the oven. This brief resting period allows the structure to set while the marshmallow remains pliable. Transfer to a wire rack to complete cooling, positioning cookies marshmallow-side up to prevent sticking. Complete cooling takes approximately 30 minutes and results in the ideal chewy texture with set but still soft marshmallow swirls.
My grandmother always insisted that patience makes the difference between good and exceptional cookies. This wisdom applies perfectly to these marshmallow swirl treats, where proper chilling time and careful timing of marshmallow addition transforms what could be an ordinary chocolate cookie into something truly special. The first time I served these at our neighborhood cookie exchange, I learned she was right when three different neighbors requested the recipe before the evening ended.
Serving Suggestions
Pair with cold milk for classic cookie enjoyment. Serve slightly warm for maximum gooey marshmallow effect. Create ice cream sandwiches with vanilla bean ice cream for elevated dessert.
Creative Variations
- Add chopped toasted pecans for texture contrast
- Incorporate orange zest for chocolate-orange flavor
- Substitute peppermint extract and crushed candy canes for holiday version
- Create s'mores cookies with graham cracker pieces and marshmallow
Storage Strategy
Store cooled cookies in an airtight container at room temperature with parchment paper between layers for up to 5 days. Freeze unbaked dough balls for up to 3 months; bake directly from frozen, adding 2-3 minutes to bake time. Refresh cookies by warming briefly in 300°F oven for 3-5 minutes to restore gooey marshmallow texture.
These Chocolate Marshmallow Swirl Cookies represent the perfect marriage of nostalgic flavors and sophisticated technique. The careful balance of rich chocolate dough with sweet marshmallow creates a memorable cookie experience that elevates any dessert table while satisfying both chocolate lovers and texture enthusiasts alike.
Frequently Asked Questions
- → Can I use regular marshmallows instead of marshmallow fluff?
- Yes, you can use regular marshmallows instead of fluff. For best results, chop them into small pieces or use mini marshmallows. They won't melt as much as fluff, giving you a more defined marshmallow presence in the final cookie.
- → Why do I need to chill the dough?
- Chilling the dough serves two important purposes: it makes the sticky dough easier to handle when forming cookies, and it prevents excessive spreading during baking. This results in thicker, chewier cookies with better texture.
- → How do I store these cookies and how long do they last?
- Store the cookies in an airtight container at room temperature for up to 5 days. Place parchment paper between layers to prevent sticking. They can also be frozen for up to 3 months in a freezer-safe container.
- → Can I add chocolate chips to these cookies?
- Absolutely! Adding ½-1 cup of chocolate chips to the dough will create an even more decadent cookie. Semi-sweet, milk, or white chocolate chips all work well with this recipe.
- → Why are my cookies too flat after baking?
- There are several reasons this might happen: the dough may not have been chilled long enough, the butter might have been too warm, or your oven temperature may be off. Make sure to chill the dough for at least an hour and consider using an oven thermometer to verify your temperature.