
 Pin it
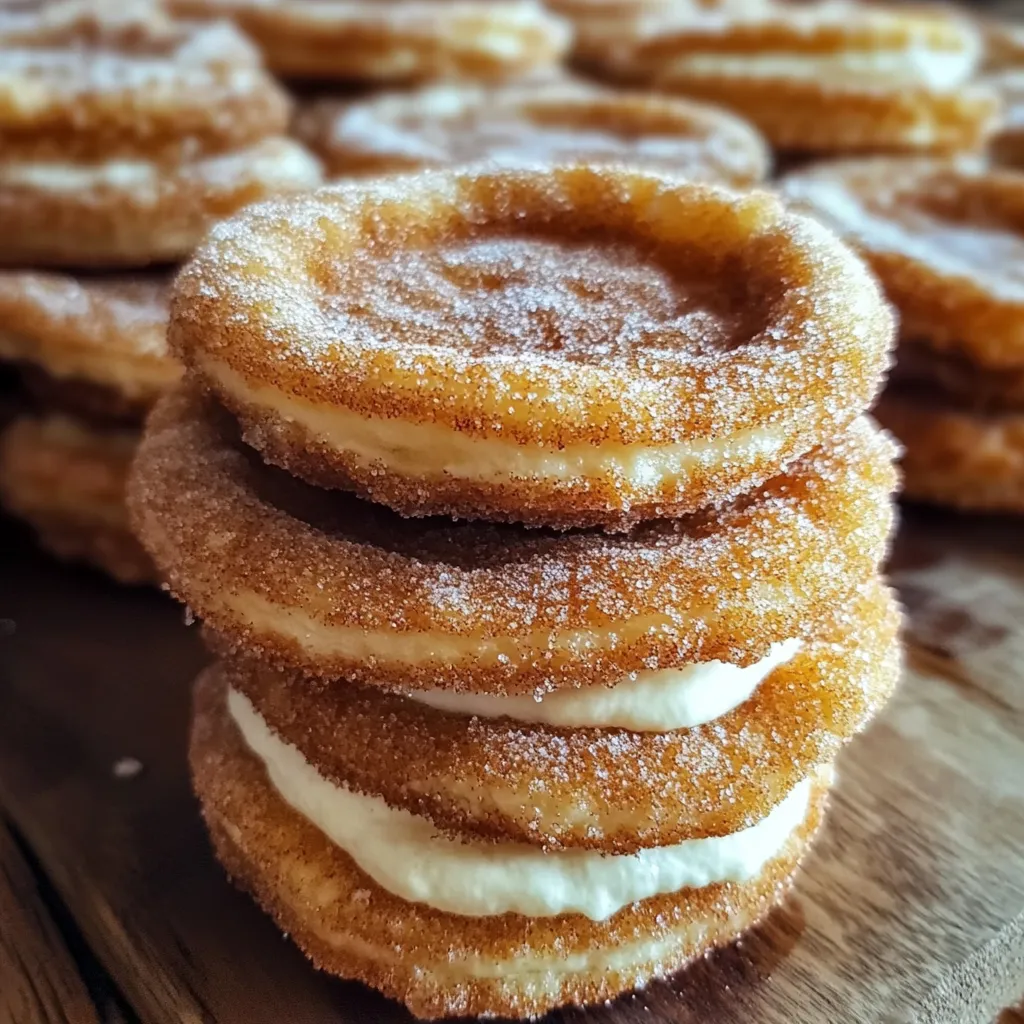
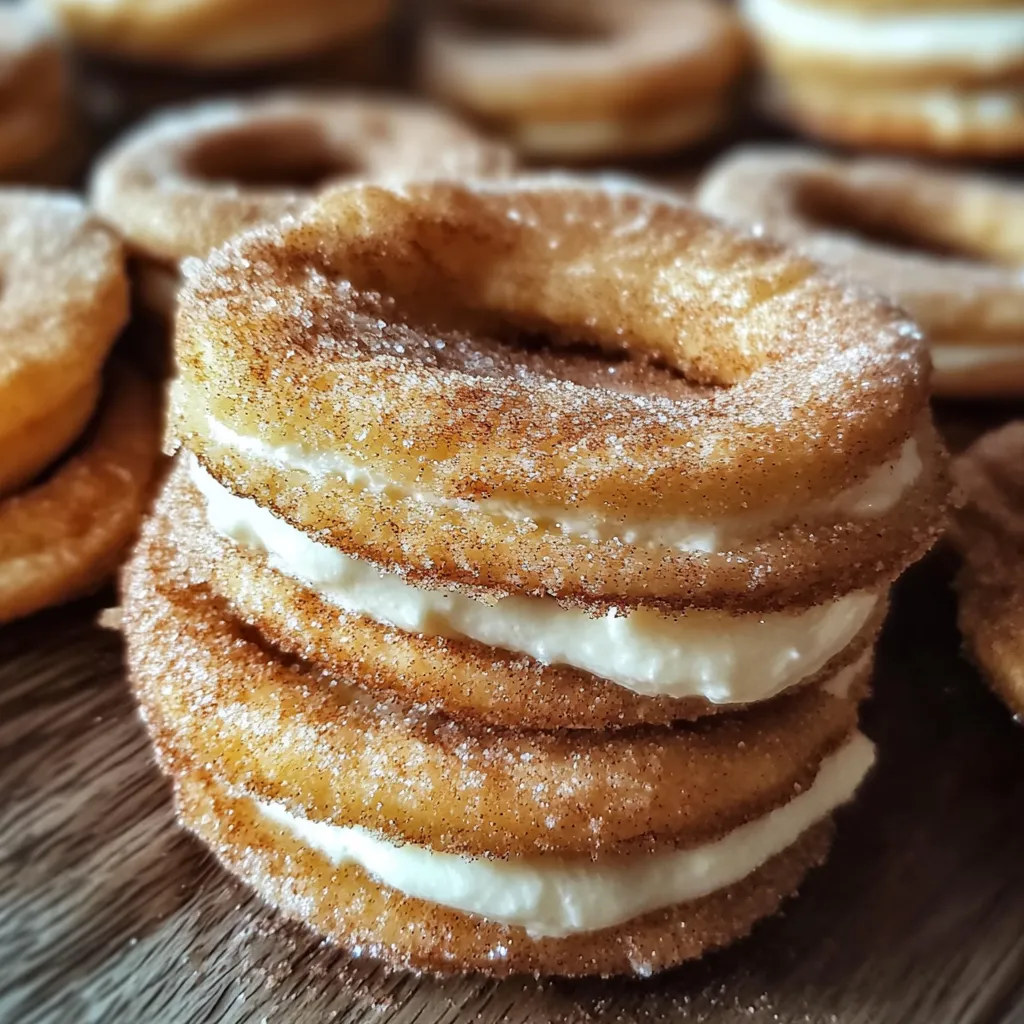
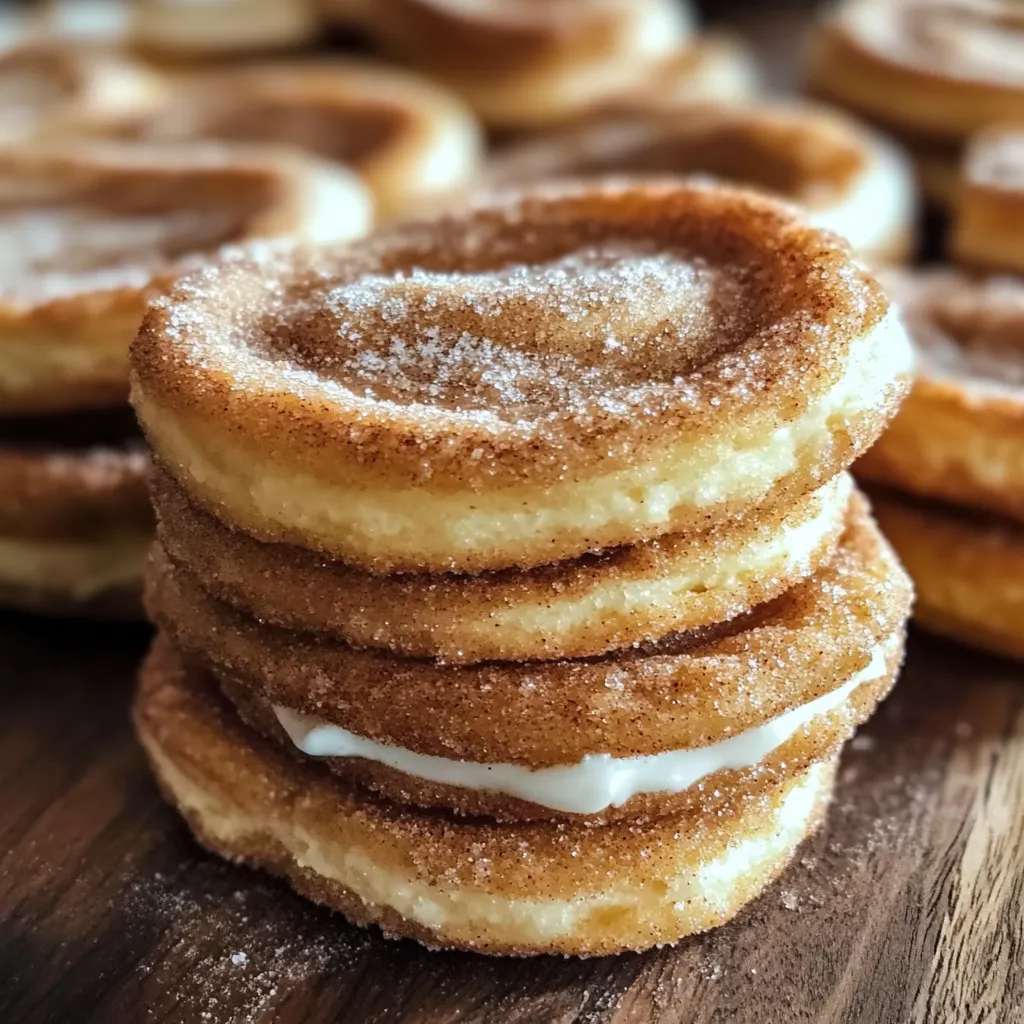
Churro Cheesecake Cookies blend two beloved desserts into one irresistible treat that delivers multiple flavor experiences in each bite. The cookie base features warm cinnamon notes reminiscent of traditional churros while cradling a pocket of creamy cheesecake filling that melts in your mouth. Each cookie gets rolled in cinnamon sugar after baking, creating that distinctive churro coating that provides both sweetness and subtle crunch. The contrast between crisp edges, soft cookie interior, and creamy center creates a textural masterpiece that elevates these beyond ordinary cookies.
I first encountered these cookies at my cousin's holiday party where they were arranged on a beautiful tiered stand. After watching several guests return for seconds (and thirds), I had to try one myself. The moment I bit into that warm cookie with its creamy center, I understood the fuss. My typically dessert-indifferent husband actually asked if I could get the recipe before we left. What surprised me most was my seven-year-old niece, who normally avoids anything labeled "cheesecake," devouring three cookies in rapid succession. The familiar cinnamon-sugar coating seems to make even skeptical eaters willing to try something new.
Essential Elements
- Cream cheese: Creates velvety filling that defines these cookies. Philadelphia brand consistently produces smoothest results but any full-fat version works beautifully.
- Unsalted butter: Forms foundation for perfect cookie texture. European-style with higher fat content creates richest flavor and ideal crumb.
- Brown sugar: Contributes moisture and caramel notes to cookie base. Dark brown provides deeper flavor while light brown creates milder profile.
- Ground cinnamon: Appears in both dough and coating, delivering signature churro flavor. Ceylon cinnamon offers delicate fragrance while cassia provides stronger impact.
- Vanilla extract: Enhances both cookie and filling components. Pure extract rather than imitation makes noticeable difference in final flavor.
- All-purpose flour: Creates structure that holds cheesecake filling without leaking. Unbleached variety provides slightly better flavor than bleached alternatives.
Creation Method
- Prepare cheesecake centers
- Beat softened cream cheese with sugar and vanilla until completely smooth with no lumps remaining. Add egg yolk, mixing until fully incorporated. Place mixture in refrigerator allowing it to firm up while preparing cookie dough.
- Create cookie base
- Cream butter with both sugars until light and fluffy, resembling whipped frosting. This critical step incorporates air creating tender texture. Add eggs one at time, fully incorporating each before adding next. Mix in vanilla until completely blended.
- Combine dry ingredients
- Whisk flour with baking soda, salt, and cinnamon ensuring even distribution of leavening. Add gradually to wet ingredients mixing just until combined. Overmixing develops gluten resulting in tough cookies.
- Form filled cookies
- Scoop generous portion of cookie dough and flatten in palm. Place teaspoon-sized ball of chilled cheesecake filling in center. Carefully fold dough around filling, completely sealing edges to prevent leaking during baking.
- Apply cinnamon coating
- Mix granulated sugar with cinnamon in shallow bowl. Roll freshly baked cookies in mixture while still warm enough for coating to adhere. Work quickly as cookies are fragile when hot but sugar won't stick properly if too cool.
- Bake with precision
- Place assembled cookies on parchment-lined baking sheet with ample space between each. Bake until edges are set but centers remain soft. Slight underbaking ensures cookies stay soft after cooling while centers maintain creamy texture.
- Cool properly
- Allow cookies to rest on baking sheet several minutes before transferring to cooling rack. This stabilizes structure preventing breakage while handling. Complete cooling before storage to maintain texture contrast.
My first attempt at these cookies taught me an important lesson about patience with the filling. I rushed the chilling process and tried working with semi-soft cream cheese mixture, creating a messy disaster when the filling oozed everywhere during baking. Now I make the filling first and leave it in the refrigerator while preparing the dough, ensuring it's properly set. I've also learned that slightly moistening my hands prevents the dough from sticking while shaping around the filling. The most surprising discovery was how these cookies actually improve with time - the flavors meld together beautifully by the second day, making them perfect for advance preparation.
Serving Inspiration
Pair with hot chocolate topped with cinnamon stick for complementary flavor experience. Arrange on dessert board alongside fresh berries whose tartness balances cookie sweetness. Consider serving with coffee featuring chocolate or vanilla notes which enhance cinnamon flavor profile.
Creative Variations
Add chocolate chips to cookie dough creating churro-meets-chocolate-chip experience. Incorporate orange zest into filling for bright citrus dimension reminiscent of Mexican chocolate. Replace traditional cinnamon with chai spice blend for complex flavor featuring cardamom and ginger notes.
Storage Solutions
Keep in airtight container with parchment between layers preventing sticking. Store at room temperature up to three days maintaining ideal texture balance. Refrigerate for longer storage though texture becomes slightly firmer; allow to come to room temperature before serving.
The first time I brought these cookies to my neighborhood cookie exchange, three different people requested the recipe before the evening ended. What makes these treats truly special isn't just their delicious flavor combination but how they transform familiar ingredients into something that feels both sophisticated and accessible. There's something magical about watching someone take their first bite - that moment of surprise when they discover the creamy center inside what appeared to be an ordinary cookie. While they might seem intimidating at first glance, the process is surprisingly straightforward once you understand the importance of chilling the filling and properly sealing the dough. These have become my signature contribution to gatherings, earning me a reputation as a skilled baker when the reality is that this recipe simply makes me look far more talented than I actually am.
Frequently Asked Questions
- → Can I make the dough or filling ahead of time?
- Yes! Both components can be prepared ahead. The cheesecake filling can be made and refrigerated for up to 2 days. The cookie dough can be prepared and refrigerated for up to 3 days (wrapped tightly in plastic wrap) or frozen for up to 3 months. If frozen, thaw the dough in the refrigerator overnight before assembling. Making components ahead can actually make assembly easier since a well-chilled filling is less likely to leak during baking.
- → Why did my cheesecake filling leak out during baking?
- This can happen for a few reasons: 1) The filling wasn't chilled enough - make sure it's very cold before assembly; 2) Too much filling was used - stick to about 1 teaspoon per cookie; 3) The dough wasn't sealed properly - ensure the filling is completely enclosed; or 4) The cookies were flattened too much before baking. Try chilling the assembled cookies for 15-20 minutes before baking, which helps prevent leakage by allowing the dough to firm up.
- → Can I use low-fat cream cheese for the filling?
- While full-fat cream cheese gives the best flavor and texture, you can use low-fat (Neufchâtel) cream cheese if preferred. However, avoid using fat-free cream cheese as it contains more moisture and stabilizers that can affect the consistency of the filling. If using low-fat cream cheese, you might want to add an extra teaspoon of flour to the filling to help it set properly during baking.
- → My cookies spread too much when baking. What went wrong?
- Cookies that spread too much usually indicate either too little flour in the dough or butter that was too soft. Make sure to measure flour correctly (spoon into measuring cup and level off) and use butter that's softened but still slightly cool to the touch. Another helpful tip is to chill the assembled cookie dough balls for 30 minutes before baking. Also, make sure your baking sheets aren't warm from a previous batch when you place new dough on them.
- → Can I freeze these cookies after baking?
- Yes, these cookies freeze well after baking! Let them cool completely, then place in a single layer on a baking sheet and freeze until solid (about 1-2 hours). Transfer to an airtight container or freezer bag, separating layers with parchment paper, and freeze for up to 3 months. Thaw at room temperature for about an hour before serving. For the best texture, you can refresh them in a 300°F oven for 3-5 minutes after thawing, then roll again in fresh cinnamon sugar if desired.