
 Pin it
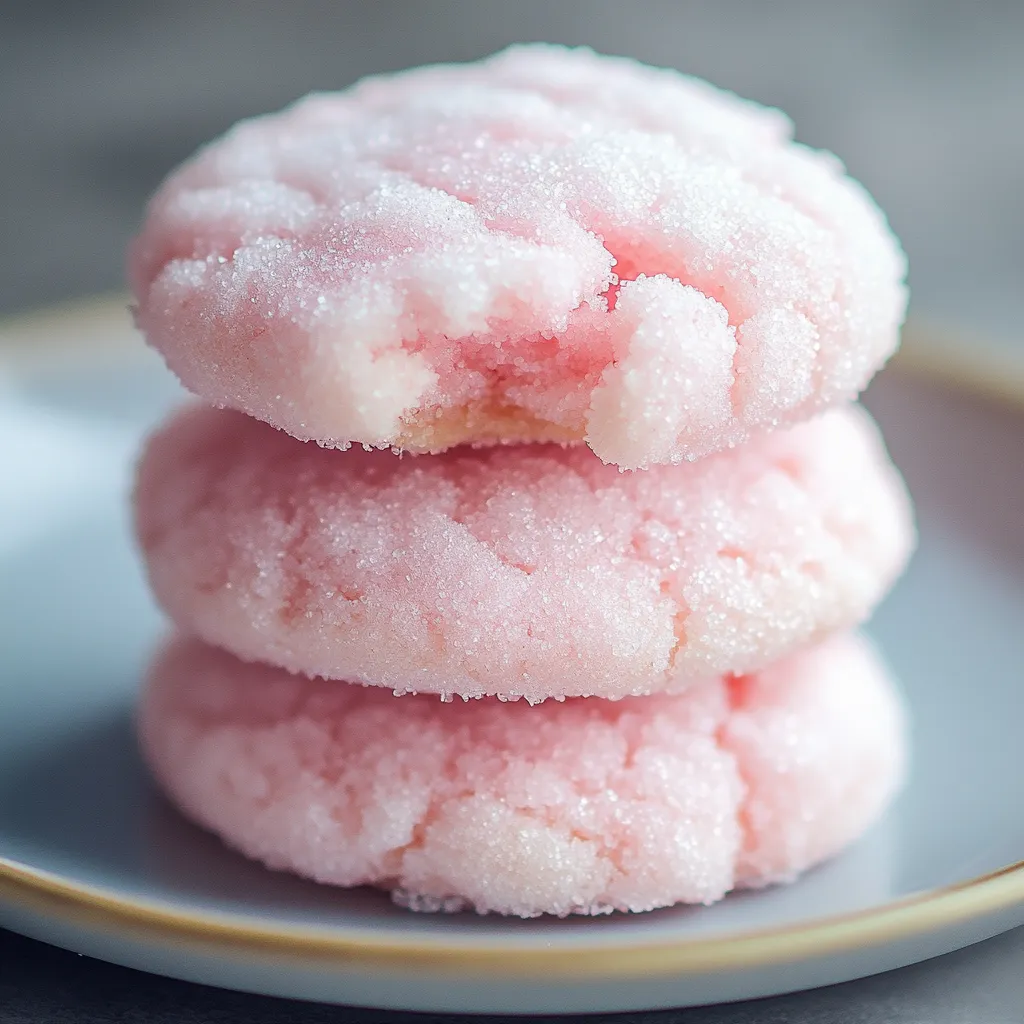
Cotton candy cookies transform a beloved fairground treat into irresistible baked goods featuring vibrant swirls of pink and blue dough infused with authentic cotton candy flavor that creates the perfect nostalgic experience in every sweet, chewy bite. These eye-catching cookies deliver the magical essence of spun sugar in a convenient, portable form that doesn't disappear instantly like their carnival inspiration. I created this recipe for my daughter's carnival-themed birthday party when I wanted a dessert that captured the whimsy of cotton candy without the sticky mess or sugar crash that often accompanies the real thing.
The first time I served these at a children's party, one mother took a bite and immediately declared them "dangerously addictive." What delights me most about this recipe is how it captures the essence of childhood joy in cookie form. Even my husband, who typically avoids overly sweet desserts, finds himself reaching for seconds of these perfectly balanced treats.
Whimsical Ingredients
- Unsalted butter: Creates the tender base; proper softening ensures ideal texture and spread
- Brown sugar: Provides moisture and depth that balances the cotton candy sweetness
- Granulated sugar: Contributes to the cookies' crisp edges while enhancing the cotton candy flavor
- Fresh eggs: Bind the ingredients while adding richness; room temperature ensures proper incorporation
- Pure vanilla extract: Adds warmth and complexity to complement the cotton candy flavor
- Cotton candy extract: Delivers the signature fairground flavor; available at specialty baking stores or online
- All-purpose flour: Forms the structure without overwhelming the delicate flavor; measure by spooning and leveling
- Gel food coloring: Creates vibrant marbling without adding excess liquid; pink and blue are traditional but customizable
I learned an important lesson about food coloring during my first attempt at these cookies. Using liquid food coloring added too much moisture to the dough, causing the cookies to spread excessively and lose their vibrant color during baking. I now exclusively use gel food coloring, which provides intense, vibrant hues without affecting the dough's consistency. This seemingly small detail significantly impacts both the appearance and texture of the finished cookies.
Cookie Craftsmanship
- Create The Perfect Dough:
- Begin with butter properly softened to cool room temperature—it should yield to gentle pressure but still maintain structure. Cream with both sugars until just light and fluffy, about 2-3 minutes; overbeating incorporates too much air and causes excessive spreading. Add room temperature eggs one at a time, allowing each to fully incorporate before adding the next, followed by both vanilla and cotton candy extracts. In a separate bowl, whisk together flour, baking soda, and salt to ensure even distribution of leaveners. Add dry ingredients to the butter mixture in two additions, mixing just until no flour streaks remain—overmixing develops gluten, resulting in tough rather than tender cookies.
- Master The Marbling Technique:
- Divide the finished dough equally between two bowls. Add pink gel food coloring to one portion and blue to the other, using the tip of a toothpick to transfer the color—a little goes a long way. Gently fold each color into its respective dough portion using a rubber spatula, taking care not to overwork the dough. For perfect marbling, take a small piece (about a tablespoon) of pink dough and a similar-sized piece of blue dough. Place them side by side and gently twist or fold them together just two or three times—resist the urge to fully blend them. The goal is distinct swirls of color rather than a uniform purple. Roll into balls between your palms with minimal handling to maintain the marbled effect.
- Perfect The Baking Process:
- Position oven racks in the center position and preheat to exactly 350°F—oven temperature accuracy is crucial for proper spread and texture. Line baking sheets with parchment paper rather than silicone mats, which can insulate the bottoms and prevent proper browning. Place dough balls at least 2 inches apart to allow for spreading. Bake one sheet at a time for 8-10 minutes—the cookies should appear slightly underdone with centers that look soft and edges that are just set. They will continue cooking from residual heat after removal. Allow cookies to remain on the baking sheet for exactly 5 minutes before transferring to a cooling rack; this brief resting period allows them to firm up enough to move without breaking while preventing overbaking.
- Enhance The Presentation:
- For special occasions, create a simple display that amplifies the carnival theme. Place cookies on a tiered stand with small tufts of real cotton candy as decoration (add just before serving as it will dissolve quickly). Alternatively, package individual cookies in clear cellophane bags tied with striped baker's twine for party favors. For an interactive dessert station, provide small bowls of coordinating sprinkles, white chocolate drizzle, and edible pearl dust, allowing guests to customize their own cookies. The vibrant colors and distinctive aroma create an immersive sensory experience that enhances the enjoyment of these special treats.
During a birthday party preparation, my friend attempted this recipe but complained that her cookies turned an unappetizing shade of gray-purple. After troubleshooting together, we discovered she had fully mixed the pink and blue doughs together rather than gently marbling them. I've since learned to emphasize the importance of minimal handling during the color combination phase—just two or three gentle folds create perfect swirls while maintaining color definition. Sometimes these seemingly small technique differences completely transform the final visual impact.
Serving Suggestions
These versatile cookies shine in various settings throughout the year. For children's birthday parties, serve alongside a scoop of vanilla ice cream with a small tuft of real cotton candy on top for an elevated dessert. At baby gender reveal gatherings, use just pink or just blue coloring to coordinate with the theme. For carnival-themed events, display on a dessert table with other fairground-inspired treats like caramel corn and candied apples. During summer celebrations, sandwich a small scoop of vanilla ice cream between two cookies for a nostalgic frozen treat reminiscent of childhood carnival visits.
Creative Variations
While the classic version delivers perfect nostalgic charm, this adaptable recipe welcomes thoughtful modifications. Create a unicorn version by using pastel purple, pink, and blue swirls topped with iridescent sugar pearls. For a cotton candy cookies and cream variation, fold white chocolate chips and crushed chocolate sandwich cookies into the dough before marbling. Experiment with different extract combinations—a touch of almond extract enhances the cotton candy flavor with subtle complexity. For winter holidays, use red and green coloring with the same cotton candy flavor for an unexpected twist on traditional Christmas cookies.
Storage Strategy
These cookies maintain their quality remarkably well when properly stored. Keep them in an airtight container at room temperature, placing a slice of bread in the container to maintain moisture. Layer cookies between sheets of parchment paper to prevent sticking and preserve their appearance. They remain fresh for up to 5 days, though the texture is best within the first 3 days. For longer storage, freeze the unbaked dough balls after marbling for up to 3 months. When ready to bake, place the frozen dough directly on baking sheets and add 1-2 minutes to the baking time. Freezing already baked cookies preserves their flavor but may slightly dull the vibrant colors.
I've been perfecting these cotton candy cookies for nearly three years, making subtle adjustments with each batch. What began as a themed party treat has evolved into one of my signature desserts—the one families specifically request for children's birthdays and special celebrations. Last summer, I taught a cookie-decorating class at our local community center, and these cookies were unanimously voted the favorite by both children and adults. The beauty of this recipe lies in its ability to transform a fleeting carnival experience into a lasting treat that brings joy long after the fairgrounds have closed for the season.
Frequently Asked Questions
- → Can I use regular sprinkles?
- Yes, but cotton candy sprinkles add a festive touch.
- → How long do these cookies keep?
- Store them in an airtight container at room temperature for up to 5 days.
- → Can I skip the food coloring?
- Yes, the cookies will still be delicious without the color.
- → Can I freeze the cookie dough?
- Yes, you can freeze the dough for up to 3 months.
- → How do I adjust the cotton candy flavor?
- Adjust the amount of cotton candy extract to taste.