
 Pin it
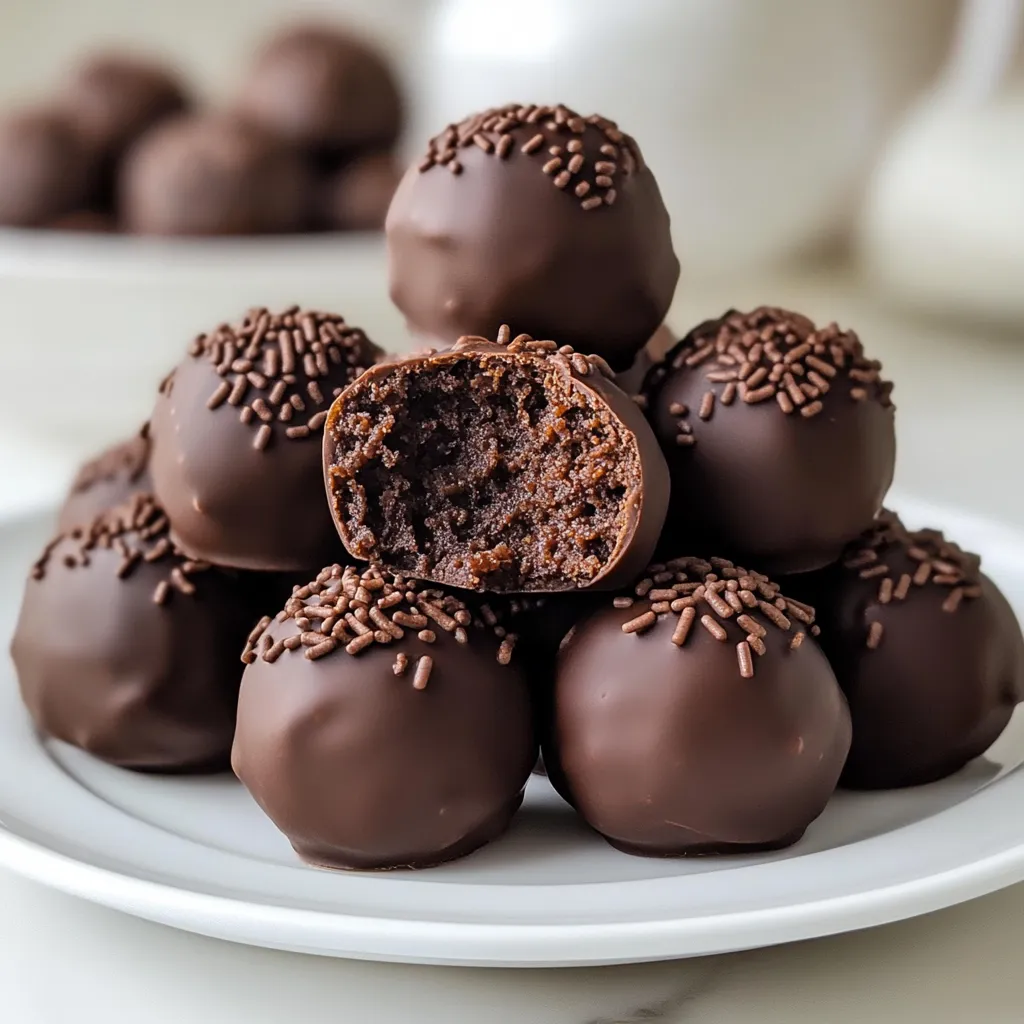
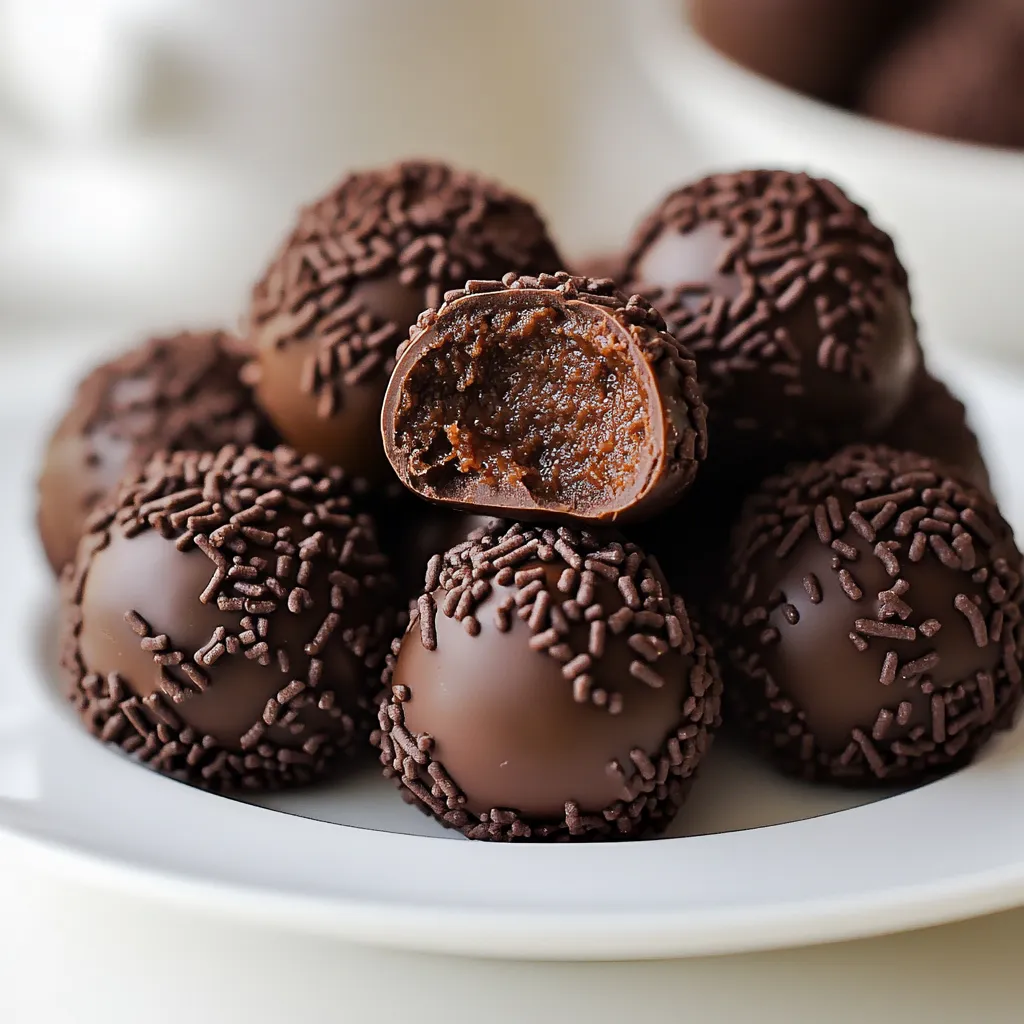
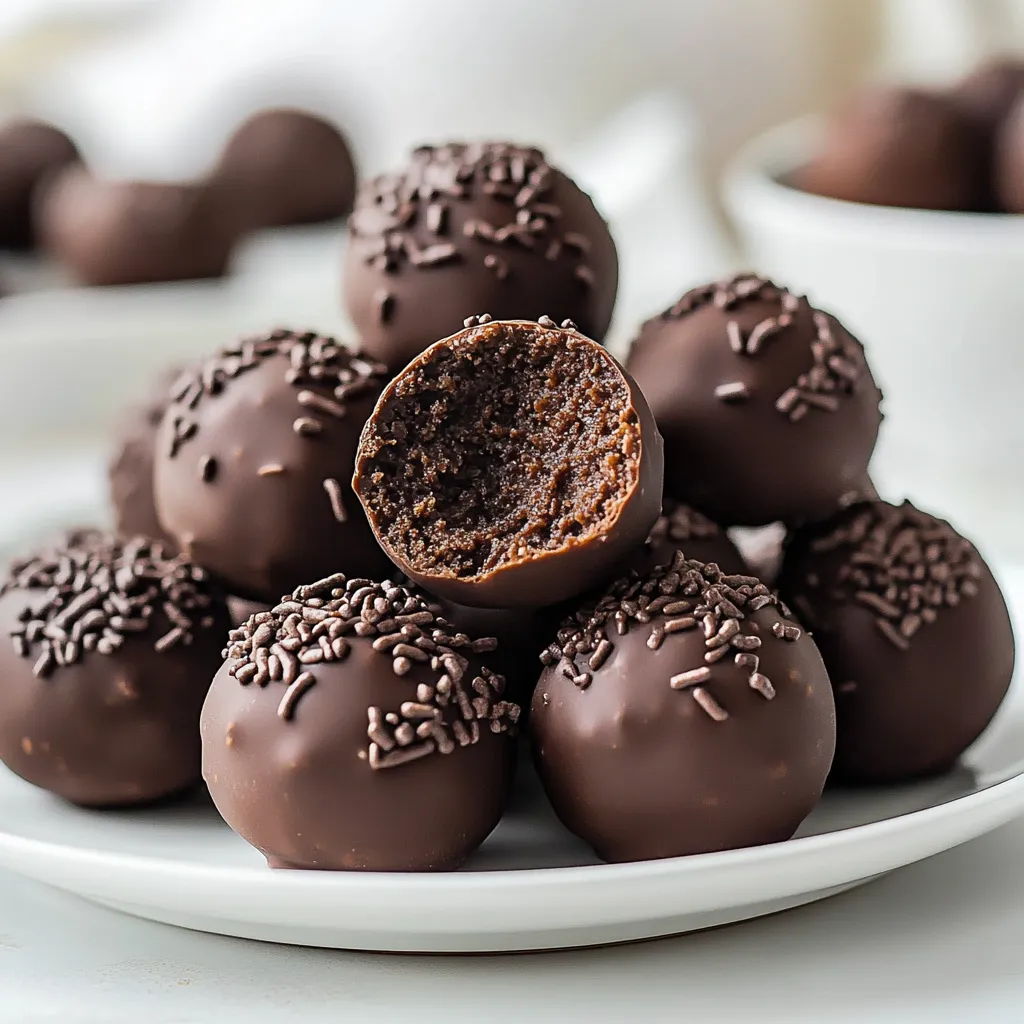
Easy brownie truffles transform simple ingredients into elegant bite-sized confections that taste like they required hours of effort. These decadent treats combine the fudgy richness of brownies with the creamy tanginess of cream cheese, all enveloped in a smooth chocolate coating. Perfect for special occasions or everyday indulgence, these truffles offer maximum impact with minimal kitchen time.
I created these truffles last minute when needed a dessert for an impromptu dinner party. The look on my guests' faces when they bit into these rich chocolate gems was priceless! What surprised me most was how the cream cheese transformed ordinary brownies into something extraordinarily silky. My neighbor who considers herself a chocolate connoisseur asked for the recipe, convinced I'd spent hours in the kitchen rather than minutes.
Necessary Elements
- 1 box brownie mix: Provides the perfect chocolate foundation without fuss. Choose fudgy varieties like Duncan Hines Chewy Fudge for best results.
- Ingredients called for on brownie box: Typically eggs, oil, and water that create the proper brownie texture needed for truffles.
- 8 ounces cream cheese: Creates that luxurious, velvety texture that elevates these treats. The slight tanginess balances the sweetness perfectly.
- 12 ounces chocolate melting wafers: Forms a smooth, crack-resistant coating that encases the truffle. Dark, milk, or white all work beautifully.
- Decorative sprinkles: Adds visual appeal and textural contrast. Choose colors that match your occasion or personal preference.
Assembly Process
- Brownie foundation:
- Prepare boxed brownie mix according to package directions using a 9×13-inch baking pan. This larger, shallower pan ensures quicker baking and cooling time compared to deeper pans. Bake until just set with a slight fudginess in the center, then cool completely to room temperature. The cooling process is crucial—warm brownies will create a gummy texture when mixed.
- Mixture creation:
- Scoop the cooled brownies into a large mixing bowl, leaving behind any crispy edge pieces which would create texture inconsistencies. Add softened cream cheese and beat with an electric mixer until completely smooth and homogeneous. The mixture should be soft but holdable, similar to a thick cookie dough. If it seems too soft, refrigerate for 30 minutes before proceeding.
- Truffle formation:
- Using a tablespoon measure or small cookie scoop, portion mixture into consistent amounts. Roll each portion between your palms to create smooth, even balls approximately 1-inch in diameter. Place formed balls on a parchment-lined baking sheet, keeping them evenly spaced to prevent sticking together.
- Freezing stage:
- Transfer the sheet of truffle balls to the freezer for a minimum of 30 minutes until firmly set. This crucial step ensures the brownie centers remain intact during the dipping process and prevents them from melting or falling apart when they encounter warm chocolate.
- Chocolate preparation:
- Place chocolate melting wafers in a microwave-safe bowl that's deep enough for dipping. Heat in 20-second intervals, stirring thoroughly between each until completely smooth and glossy. Avoid overheating which can cause the chocolate to seize or become too thick for proper coating.
- Dipping technique:
- Remove only a few truffle balls from the freezer at a time to maintain their firmness. Place each ball on a fork and lower into the melted chocolate, spooning additional chocolate over any exposed areas. Gently tap the fork handle against the bowl edge to remove excess chocolate, ensuring a thin, even coating.
- Decoration application:
- Immediately after dipping, before the chocolate shell sets, sprinkle decorations over the truffle. Work quickly as the frozen center causes the chocolate to begin hardening almost immediately. Alternatively, drizzle with contrasting chocolate for an elegant appearance.
- Setting process:
- Return dipped and decorated truffles to the parchment-lined sheet and refrigerate for 15-20 minutes until completely set. Once firm, transfer to an airtight container for storage, placing parchment paper between layers if stacking.
 Pin it
I discovered a fantastic variation of these truffles when preparing for my sister's baby shower last spring. By substituting white chocolate coating and adding a tablespoon of finely grated orange zest to the brownie mixture, I created an elegant chocolate-orange flavor combination that garnered numerous compliments. Several guests assumed they came from an upscale bakery rather than my kitchen!
Serving Suggestions
Present these elegant truffles on a simple white serving plate for maximum visual impact. For special occasions, place each truffle in a mini cupcake liner and arrange on a tiered stand with fresh berries scattered between for color contrast. This elevated presentation makes them suitable for wedding showers, dinner parties, or holiday gatherings.
These truffles make stunning additions to dessert boards alongside complementary items like fresh strawberries, chocolate-dipped pretzels, and cookie selections. The different textures and heights create visual interest while allowing guests to sample various treats. During holiday seasons, coordinate sprinkle colors with the celebration theme for a festive appearance.
Consider temperature when serving—remove truffles from refrigeration about 15 minutes before serving to take the chill off without compromising structure. This slight warming enhances the fudgy texture and allows the flavors to bloom more fully on your palate.
Creative Variations
Transform these versatile treats with simple adaptations that create entirely new flavor experiences. Add 1-2 tablespoons of coffee liqueur to the brownie-cream cheese mixture for sophisticated mocha truffles perfect for adult gatherings. The subtle coffee notes enhance the chocolate flavor beautifully.
For peanut butter lovers, incorporate 1/4 cup creamy peanut butter into the brownie mixture and use peanut butter chips melted with the chocolate coating. Top with chopped peanuts for visual reinforcement of the flavor profile and delightful textural contrast.
Holiday variations might include adding 1/2 teaspoon peppermint extract to the mixture and crushing candy canes for topping during winter celebrations, or incorporating 1/4 cup finely chopped toasted hazelnuts and rolling in cocoa powder for an elegant twist reminiscent of expensive European chocolates.
For extra decadence, consider adding a surprise center by pressing a small indent into each ball before freezing and filling with caramel, ganache, or fruit preserves before sealing and rolling into the final ball shape.
Storage Solutions
Maintain optimal freshness by storing these truffles properly refrigerated in an airtight container. They will maintain perfect quality for up to one week when well-sealed, though their texture is best during the first three days.
For longer storage, these truffles freeze beautifully for up to two months. Arrange in a single layer on a parchment-lined sheet until completely frozen, then transfer to freezer bags or containers. This initial freezing prevents them from sticking together.
When serving from frozen, transfer the desired amount to the refrigerator several hours before serving to thaw gradually. The slow thawing prevents condensation that would make the chocolate coating weepy or sticky. Avoid room temperature thawing which can cause structural issues.
These easy brownie truffles represent the perfect balance between convenience and indulgence. While they taste like they required significant effort, their simplicity makes them accessible to even novice bakers. The brilliant combination of textures—fudgy interior, smooth cream cheese, and snappy chocolate coating—creates a multi-dimensional treat that feels much more sophisticated than its humble boxed-mix origins suggest. I've found these truffles have become my signature contribution to gatherings, where they're inevitably the first dessert to disappear from the table!
 Pin it
Frequently Asked Questions
- → Can I use homemade brownies instead of a box mix?
- Absolutely! Homemade brownies work wonderfully in this recipe. Just make sure they're fudgy rather than cakey for the best texture, and be sure to remove any crispy edges before mixing with the cream cheese.
- → Why do my truffles fall apart when I try to dip them?
- This typically happens when the brownie balls aren't frozen solid enough. Make sure to freeze them for at least 30 minutes, or even longer if needed. Working quickly and keeping the undipped truffles in the freezer while you work in small batches also helps.
- → What can I use instead of chocolate melting wafers?
- You can use chocolate chips mixed with 1-2 teaspoons of coconut oil or shortening to help it melt smoothly. Regular chocolate bars also work well when chopped finely. Just avoid chocolate chips on their own as they contain stabilizers that make them difficult to melt smoothly.
- → How can I add different flavors to these truffles?
- You can easily customize these by using different brownie flavors (like mint or peanut butter), adding extracts to the cream cheese mixture (like almond, orange, or mint), mixing in chopped nuts or mini chocolate chips, or using different coatings like white chocolate or colored candy melts.
- → Why should I leave the firmer edges of the brownies behind?
- The crispy edges don't blend as smoothly with the cream cheese and can create an inconsistent texture in your truffles. Using just the soft, fudgy center portions ensures a smooth, creamy truffle interior.