
 Pin it
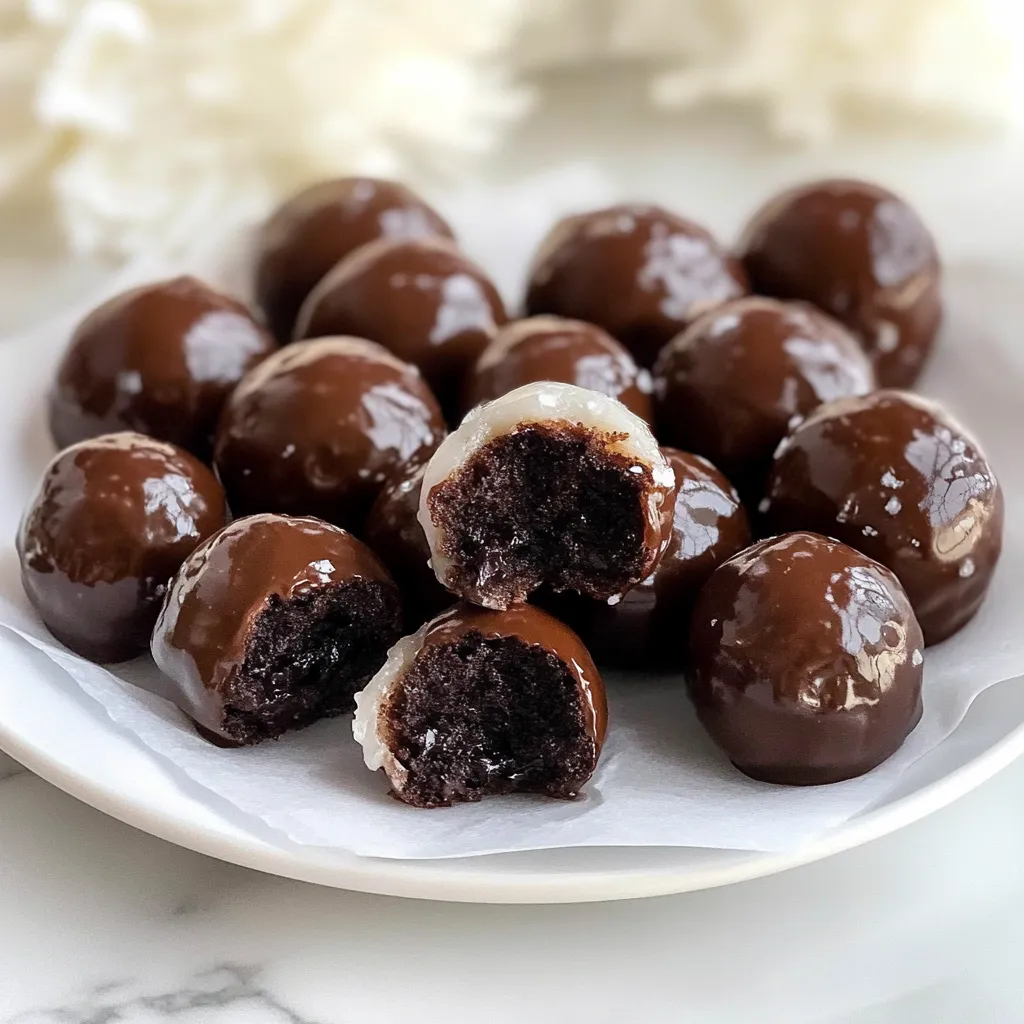
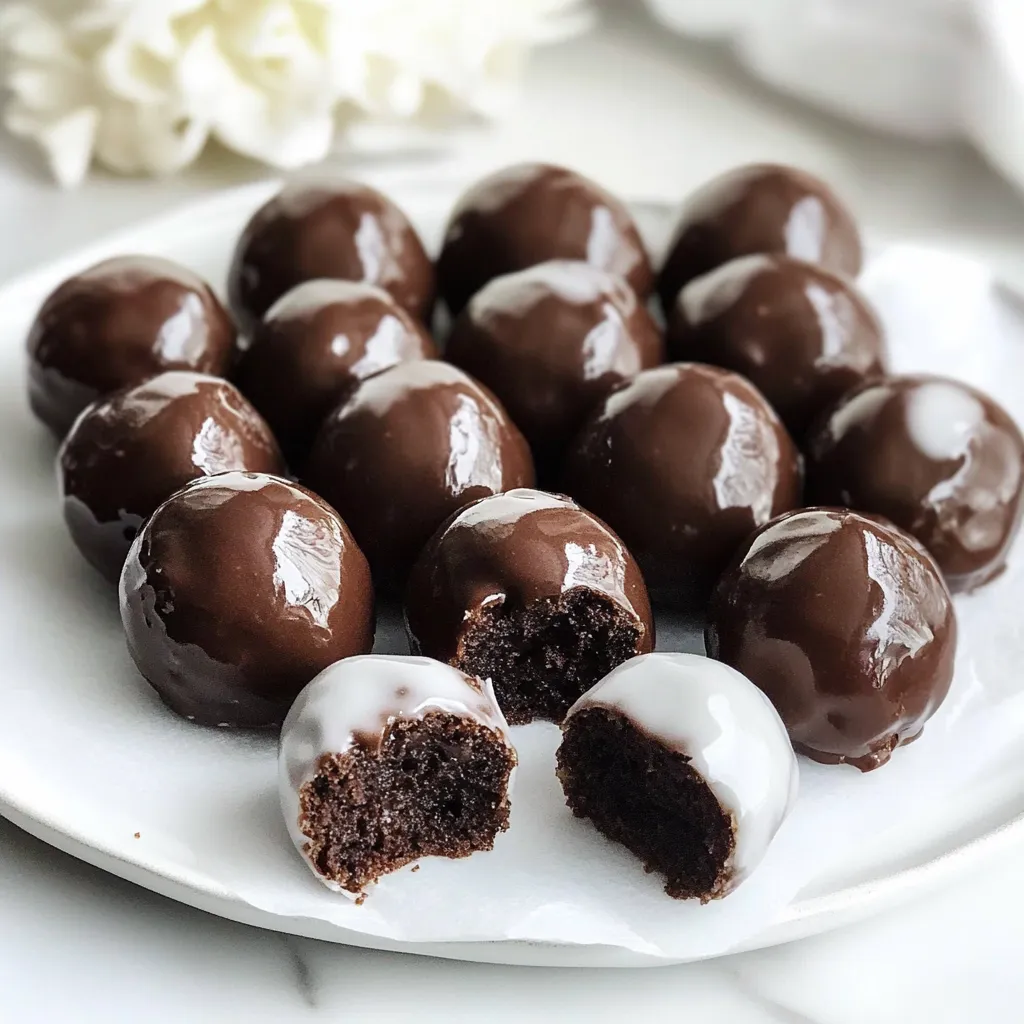
Glazed chocolate donut holes deliver an irresistible combination of rich cocoa flavor and sweet vanilla glaze in perfect bite-sized portions. These tender, cake-like treats feature an intensely chocolatey interior that remains incredibly moist, while the multiple layers of glaze create a satisfying sweet shell that melts in your mouth with each bite. Best of all, these indulgent morsels are baked rather than fried, making them both easier to prepare and somewhat lighter without sacrificing any of that classic donut satisfaction.
The small size of these treats makes them dangerously poppable—before you know it, you might find your plate empty and your chocolate craving thoroughly satisfied. Whether served alongside morning coffee, packed in lunchboxes, or presented as an after-dinner treat, these glazed delights bring smiles with minimal effort and maximum flavor impact.
I discovered this recipe when searching for a chocolate fix that wouldn't require a special shopping trip. The first time I pulled these from the oven, the entire kitchen filled with that intoxicating chocolate aroma that signals something extraordinary is happening. What surprised me most was how the simple vanilla glaze transformed these little bites from good chocolate cake balls into true donut holes with that distinctive sweet finish. My coffee-drinking neighbor stopped by just as I finished glazing and ended up staying for an hour, enjoying three donut holes while plotting how to make them for her book club!
Essential Elements
- All-purpose flour: Creates the foundation for the tender, cake-like structure. Measure carefully for consistent results.
- Unsweetened cocoa powder: Provides that deep, rich chocolate flavor without additional sweetness. High-quality cocoa like Ghirardelli or Valrhona makes a noticeable difference.
- Baking powder and baking soda: This combination of leavening agents ensures proper rise and texture. The baking soda reacts with the acidic cocoa for extra lift.
- Unsalted butter: Adds richness and moisture to the donut holes. Melting it first helps create a more uniform batter.
- Granulated and brown sugar: The combination provides sweetness while the brown sugar adds moisture and subtle caramel notes that enhance the chocolate.
- Eggs: Bind the ingredients together while adding richness. The extra egg yolk contributes to a more tender crumb.
- Vanilla extract: Enhances and rounds out the chocolate flavor with aromatic sweetness.
- Milk and sour cream: Create moisture and tenderness through their fat content and acidity. Room temperature dairy incorporates more smoothly.
- Powdered sugar: Forms the base of the glaze, providing sweetness and structure. Sifting prevents lumps for a smooth finish.
Baking Method
- Oven preparation:
- Begin by preheating your oven to 350°F and thoroughly greasing mini muffin pans or donut hole pans. Proper greasing ensures easy removal of the baked treats without sticking or breaking.
- Dry ingredient combination:
- In a large bowl, whisk together flour, cocoa powder, baking powder, baking soda, and salt until thoroughly combined with no visible streaks of cocoa. This even distribution ensures consistent flavor and leavening throughout the batter.
- Wet ingredient mixing:
- In a separate bowl, whisk melted butter with both granulated and brown sugars until smooth and slightly thickened. The whisking incorporates small air bubbles that contribute to a lighter texture. Add eggs, the additional yolk, and vanilla extract, whisking until fully incorporated but not overly aerated.
- Dairy preparation:
- Combine milk and sour cream in a measuring cup, stirring gently to blend. The room temperature dairy ingredients incorporate more easily and prevent the batter from seizing when added to the butter mixture.
- Alternating additions:
- Gradually incorporate the dry ingredients and milk mixture into the butter mixture, beginning and ending with the dry ingredients. This method prevents overmixing while ensuring proper hydration of the flour proteins. Mix just until combined after each addition, using gentle folding motions rather than vigorous stirring.
- Proper portioning:
- Using a mini cookie scoop or small spoon, fill each cup about three-quarters full with batter. This allows room for expansion during baking without overflow. The scoop ensures uniform size for even baking times.
- Careful baking:
- Place pans in the preheated oven and bake for approximately 10 minutes until the tops spring back when lightly touched. A toothpick inserted into the center should come out with a few moist crumbs but no wet batter. Avoid overbaking, which results in dry donut holes.
- Strategic cooling:
- Allow the baked donut holes to cool in their pans for 3-5 minutes before transferring to a wire rack. This brief rest period allows them to set slightly for easier removal, while the wire rack prevents condensation from making them soggy.
- Glaze creation:
- Whisk together sifted powdered sugar, milk, and vanilla extract until smooth and pourable but still thick enough to coat the back of a spoon. The consistency should be similar to honey—if too thick, add milk a few drops at a time; if too thin, add more powdered sugar.
- Multiple glazing:
- Once donut holes are completely cooled, dip each one into the glaze, allowing excess to drip off before returning to the wire rack. After the first layer sets slightly (about 5 minutes), dip again for a thicker coating. A third dip creates that classic bakery-style glazed finish.
- Setting time:
- Allow the glazed donut holes to rest undisturbed until the glaze sets completely, approximately 30-60 minutes depending on humidity. This patience ensures a dry, non-sticky finish perfect for serving or storing.
 Pin it
I experimented with several variations when making these for a family brunch. My favorite discovery was adding a teaspoon of espresso powder dissolved in the milk, which remarkably enhanced the chocolate flavor without adding any coffee taste. Another winning modification was folding mini chocolate chips into the batter just before portioning. The melted pockets of chocolate created delightful surprises throughout each bite that had everyone reaching for seconds!
Serving Ideas
Present these glazed chocolate donut holes in a pyramid arrangement on a simple white cake stand for maximum visual impact. For brunch gatherings, arrange them alongside fresh berries and whipped cream for a build-your-own donut hole bar that encourages creativity and conversation.
These treats make excellent additions to dessert tables when displayed in decorative cupcake liners inside a shallow bowl or basket. The individual liners prevent sticking while making them easy for guests to grab. During holiday seasons, add seasonal sprinkles to the wet glaze for festive color coordination.
For coffee gatherings, serve donut holes alongside various dipping options like vanilla custard, chocolate ganache, or fruit preserves. Small dishes of these accompaniments allow guests to customize their experience while encouraging them to linger over conversation.
Creative Variations
Transform these versatile donut holes with simple adaptations that create entirely new flavor experiences. Add orange zest to the batter and a tablespoon of orange juice to the glaze for chocolate-orange donut holes that bring sophisticated flavor contrast. The citrus brightness cuts through the rich chocolate beautifully.
For peppermint fans, add a quarter teaspoon of peppermint extract to the batter and top the glazed donut holes with crushed candy canes or peppermint candies. This variation makes a perfect holiday treat that feels festive and seasonal.
Coffee lovers might appreciate a mocha version with espresso powder in the batter and a coffee-infused glaze made by replacing the milk with strong brewed coffee. This adult-friendly variation pairs perfectly with after-dinner coffee service.
For textural contrast, try rolling the freshly glazed donut holes in toasted chopped nuts, coconut flakes, or colorful sprinkles before the glaze sets. These additions not only create visual interest but also add complementary flavors and satisfying crunch.
Storage Secrets
Maintain optimal freshness by storing glazed donut holes in an airtight container at room temperature. Place parchment paper between layers to prevent sticking. They will maintain their best quality for up to two days, though the texture is prime during the first 24 hours.
For extended storage, refrigerate in an airtight container for up to five days. Allow them to come to room temperature before serving for best flavor and texture, as cold temperatures can make them seem less tender and mute the chocolate flavor.
For make-ahead convenience, prepare the donut holes but delay glazing until shortly before serving. Unglazed donut holes freeze beautifully for up to three months when placed in freezer bags with air removed. Thaw at room temperature before glazing for that fresh-made quality without the last-minute effort.
These glazed chocolate donut holes represent the perfect balance between indulgence and convenience. While they taste like they required significant skill and effort, their straightforward preparation makes them accessible to bakers of all experience levels. The brilliant combination of tender chocolate cake and sweet vanilla glaze creates a multi-dimensional treat that satisfies intense chocolate cravings while providing that distinctive donut experience. I've found these bite-sized delights have become my secret weapon for impromptu gatherings, where they consistently elicit enthusiastic praise despite requiring minimal time in the kitchen.
 Pin it
Frequently Asked Questions
- → Can I make these donut holes ahead of time?
- Yes, you can make them up to 2 days ahead. Store in an airtight container at room temperature. For best flavor, add the glaze just before serving.
- → Can I freeze these donut holes?
- Yes, freeze unglazed donut holes for up to 3 months. Thaw at room temperature, then add fresh glaze before serving.
- → What if I don't have donut hole pans?
- Mini muffin pans work perfectly as an alternative! The shape will be slightly different but the taste will be just as delicious.
- → Can I make these with regular cocoa instead of Dutch-processed?
- Yes, either natural or Dutch-processed cocoa will work in this recipe, though Dutch-processed will give a deeper chocolate flavor.
- → How do I know when the donut holes are done?
- Insert a toothpick into the center of a donut hole - it should come out clean or with a few moist crumbs, but no wet batter.
- → Can I make these dairy-free?
- You can substitute plant-based milk, vegan butter, and dairy-free sour cream alternative to make a dairy-free version.