
 Pin it
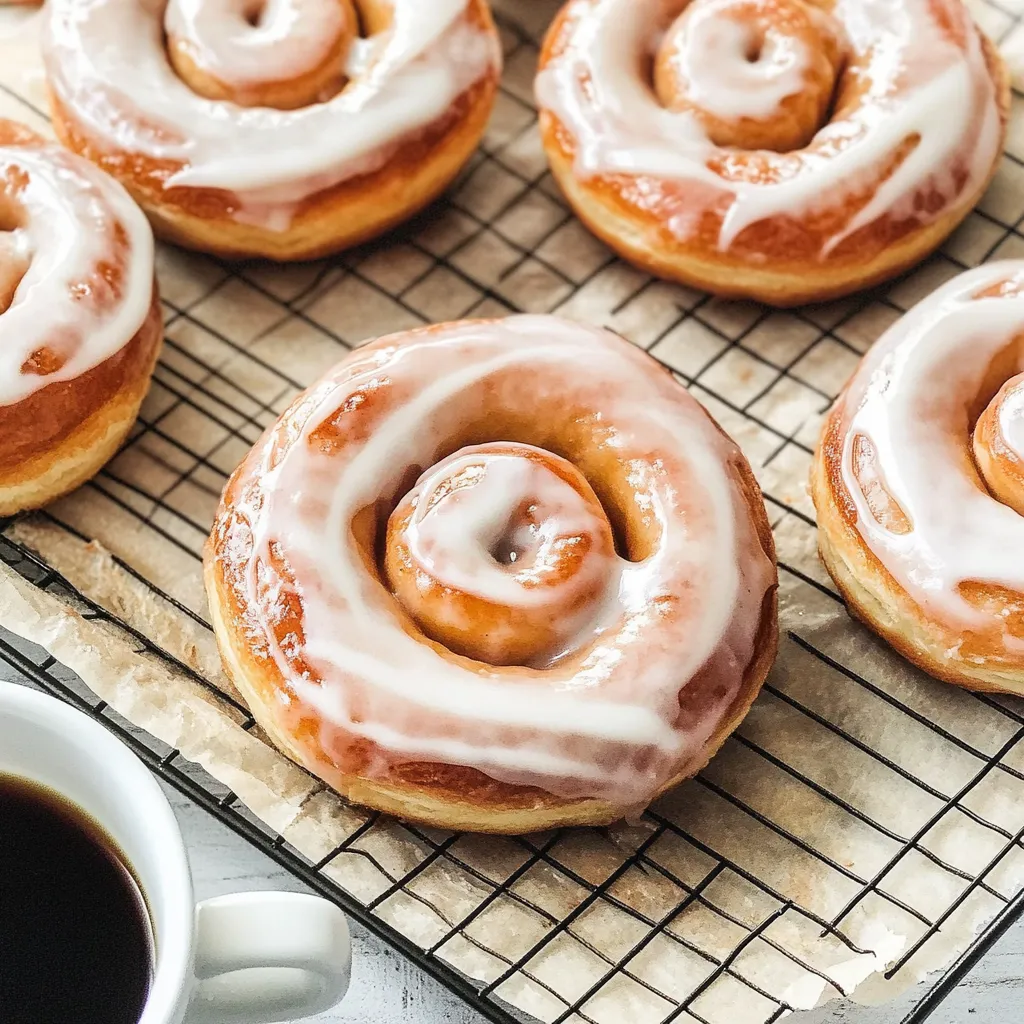
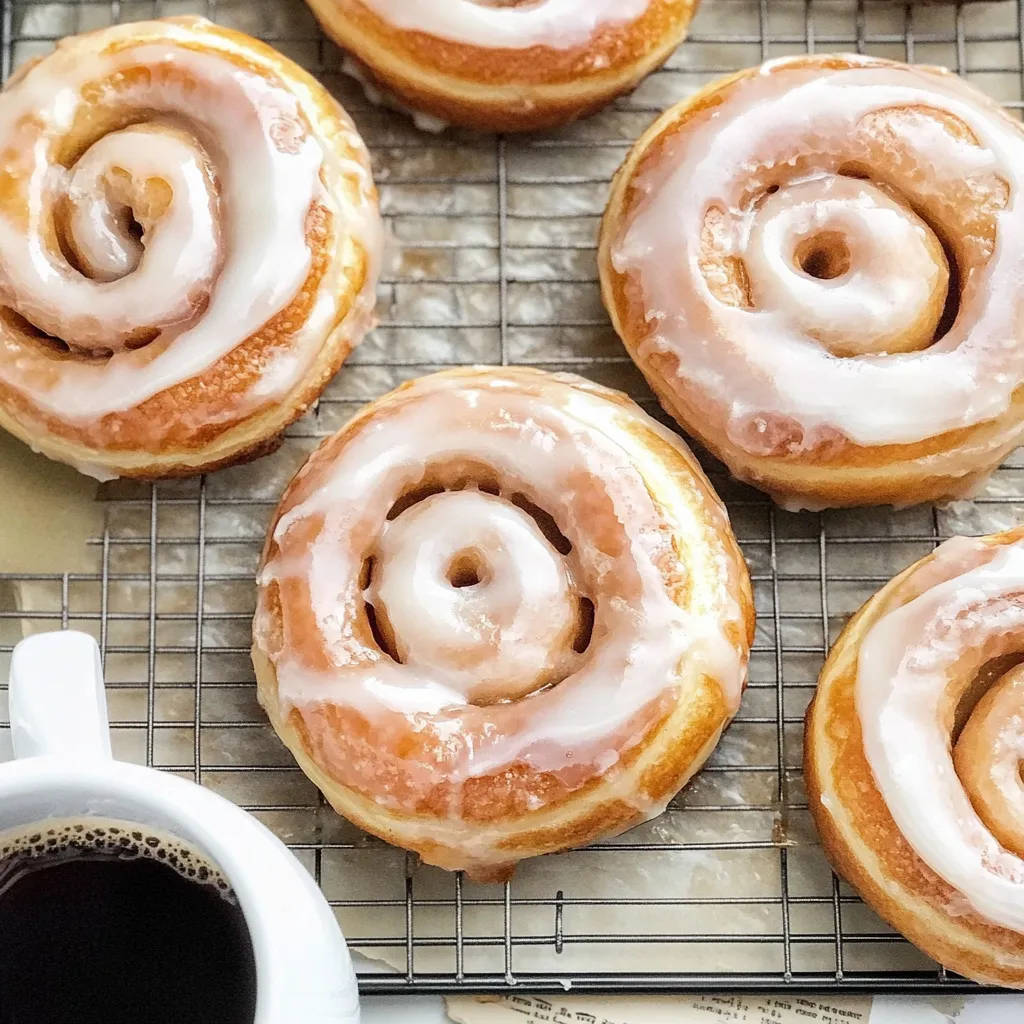
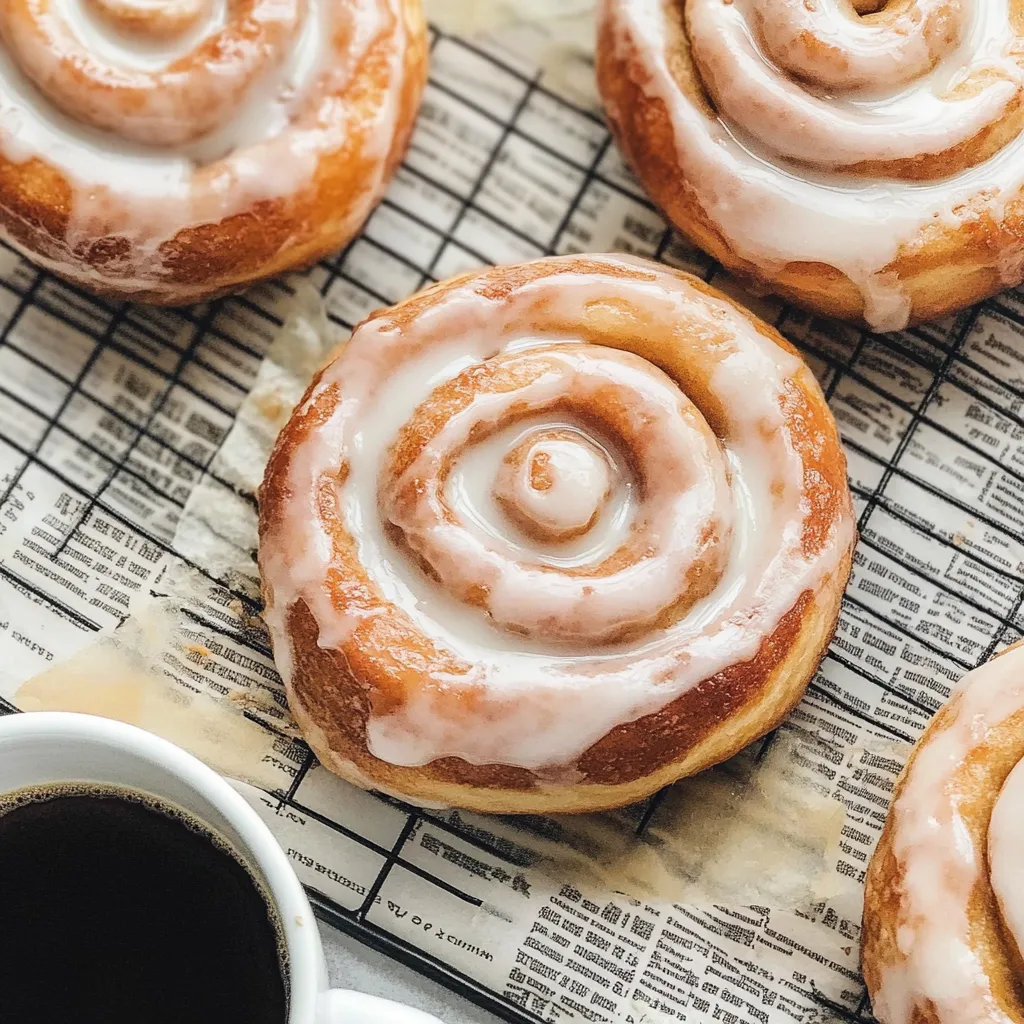
Deliciously soft and pillowy, these homemade honey buns bring together the best elements of cinnamon rolls and donuts. The perfect balance of sweetness comes from a cinnamon sugar swirl inside and a generous honey glaze coating that transforms them into an irresistible treat. Creating these sweet delights might take some kitchen time, but each bite of these golden beauties rewards your patience with pure comfort.
Reasons To Fall In Love
I tried these honey buns last weekend when my grandchildren visited, and watching their faces light up as they bit into these warm, freshly glazed treats was absolutely priceless. The kitchen filled with cinnamon aromas that brought back memories of my mother's baking on Sunday mornings.
Perfect Ingredients Collection
- Water: Needs to be between 105°F-115°F to properly activate the yeast and ensure your dough rises beautifully
- Granulated sugar: Feeds the yeast and provides the foundation of sweetness that balances the warm cinnamon notes
- All-purpose flour: Creates the perfect structure; remember to fluff before measuring to ensure light, fluffy results
- Honey: Provides that distinctive flavor that makes these truly honey buns; never substitute this golden nectar
- Shortening: Delivers that authentic bakery-style texture that sets these apart from ordinary cinnamon rolls
- Vegetable oil: Perfect for frying with its neutral flavor that won't compete with the delicate honey notes
- Instant yeast: Creates reliable rise without the blooming step, making the process more foolproof
My mother always kept local honey in our pantry, and I continue this tradition. The subtle floral notes from wildflower honey add complexity that store-bought treats simply cannot match.
Creating Your Honey Buns
- Mix and Knead:
- Combine your warm water, sugar, and instant yeast in a large bowl, then stir in the melted shortening. Gradually add flour until a soft dough forms. Turn onto a floured surface and knead for about 5-7 minutes until smooth and elastic. The dough should feel tacky but not stick heavily to your fingers.
- First Rise:
- Place your dough in a lightly greased glass bowl, cover with a clean kitchen towel, and let rise in a warm spot for 60-90 minutes. Look for the dough to double in size and appear puffy. If your kitchen runs cool, create a warm environment by placing the bowl near a preheating oven.
- Shape and Fill:
- Gently punch down the risen dough and roll it into a rectangle about ¼-inch thick on a generously floured surface. Sprinkle evenly with cinnamon-sugar mixture, leaving a small border around the edges. Starting from the long side, roll the dough tightly into a log, pinching the seam to seal.
- Slice and Second Rise:
- Using a sharp serrated knife, cut the log into 1-inch oblong pieces. Arrange these pieces on a parchment-lined baking sheet with sufficient space between them. Cover loosely and allow to rise until puffy but not fully doubled, approximately 30-45 minutes.
- Flatten and Cook:
- Once risen, gently press each bun with your fingertips to slightly flatten before cooking. If frying, heat oil to exactly 350°F-365°F and fry each bun for about 2 minutes per side until golden brown. If baking, place in a preheated 350°F oven for 15-18 minutes until lightly golden.
- Glaze Finish:
- While still warm, dip each honey bun into the prepared honey glaze, ensuring complete coverage. Place on a wire rack to let excess glaze drip off and set slightly before serving or storing.
 Pin it
Growing up in Tennessee, honey buns were my father's favorite weekend treat. He'd enjoy them with strong black coffee early in the morning before everyone else woke up. When I make these now, that memory comes flooding back with each sticky-sweet bite. The local sourwood honey from our farmers market adds a dimension that makes these even more special than I remember from childhood.
Serving Wonders
These honey buns shine brightest when served slightly warm alongside a steaming cup of coffee or tea. For a truly indulgent breakfast experience, pair them with fresh seasonal berries to balance their sweetness. They also make wonderful additions to brunch spreads, especially when complemented by savory dishes like egg casseroles or breakfast meats that contrast with their sweetness.
Delicious Variations
Consider adding chopped toasted pecans or walnuts to the cinnamon-sugar filling for delightful texture contrast. For those avoiding dairy, coconut oil works beautifully in place of shortening. Spice lovers might enjoy adding a pinch of cardamom or nutmeg to the cinnamon mixture for more complex flavor notes. You could also incorporate orange or lemon zest into the dough for a bright citrus twist that pairs wonderfully with the honey.
Freshness Tips
Store completely cooled honey buns in an airtight container at room temperature for up to three days. The glaze actually helps preserve moisture, making them remain tender longer than unglazed pastries. To reheat, warm them gently in a 300°F oven for about five minutes—microwaving tends to make them tough. For longer storage, freeze unglazed buns for up to one month, then thaw, warm, and glaze before serving.
I've found that the difference between good honey buns and great ones lies in patience—allowing proper rise time and not rushing the process pays dividends in texture and flavor. My personal secret involves adding a tiny splash of vanilla to the honey glaze, which brings out the floral notes in the honey while complementing the warm cinnamon swirl inside. These honey buns might require some effort, but creating this treasured family favorite from scratch connects me to generations of baking tradition in a way that simply can't be replicated with store-bought versions.
 Pin it
Frequently Asked Questions
- → Can I use active dry yeast instead of instant yeast?
- Yes, you can use active dry yeast. Make sure to activate it in warm water before using.
- → Can I bake these instead of frying?
- Yes, you can bake them at 350°F for about 18 minutes or until golden brown.
- → How should I store these honey buns?
- Store them in an airtight container for up to 5 days or freeze for up to three months.
- → Can I make the dough ahead of time?
- Yes, you can prepare the dough and let it rise in the refrigerator overnight.
- → What can I serve with these honey buns?
- They are great on their own or with a cup of coffee or tea.