
 Pin it
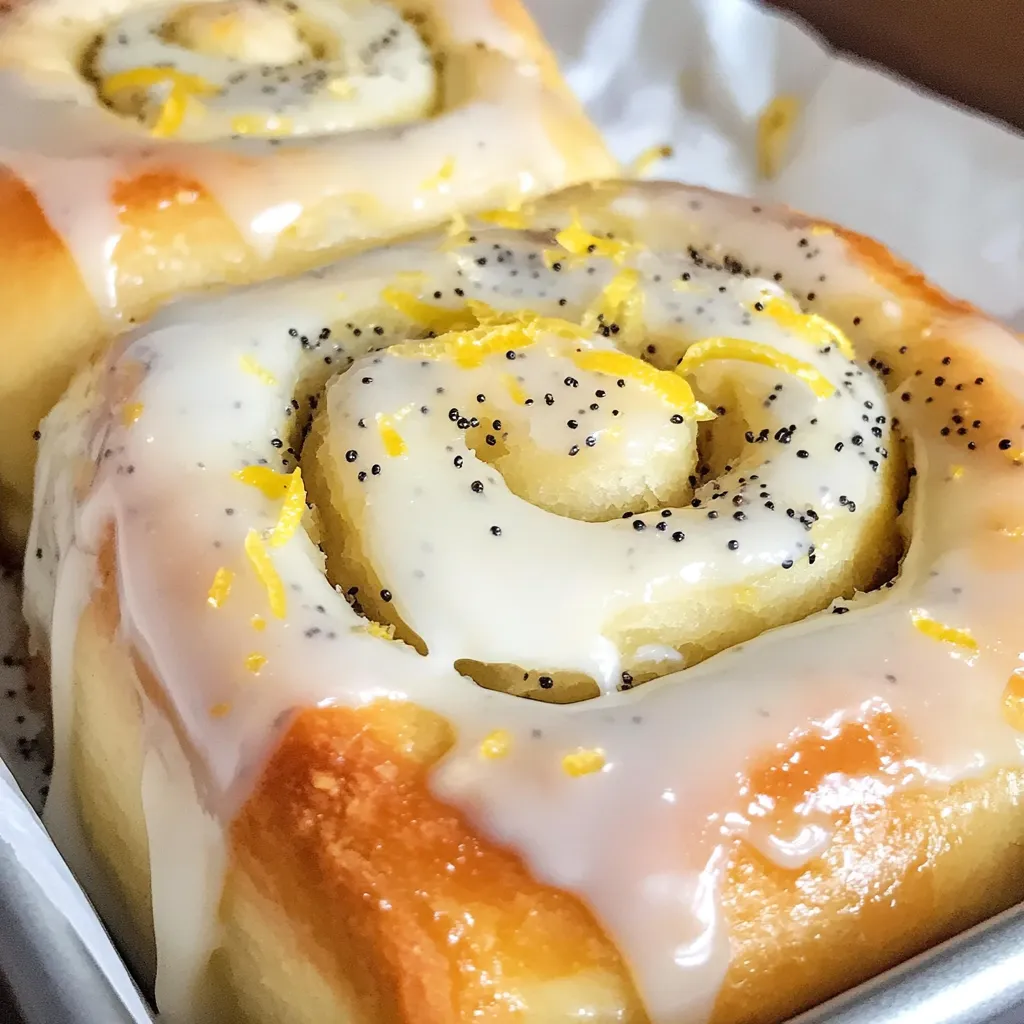
Lemon Rolls deliver sunshine-bright flavor in a pillowy soft package that combines the beloved texture of cinnamon rolls with vibrant citrus punch. The buttery, fluffy dough wraps around a gooey lemon-sugar filling creating perfect spirals that bake up tall and tender. Crowned with tangy lemon icing that melts into every crevice, these rolls offer a refreshing twist on traditional breakfast pastries – ideal for spring brunches or whenever you crave something bright and indulgent.
I created these rolls while searching for a breakfast option that captured summer brightness in pastry form. After serving them at a family gathering, my typically reserved brother-in-law immediately asked for the recipe, claiming they were "what cinnamon rolls wish they could be." What surprised me most was watching my young niece, who normally picks around "bits" in her food, enthusiastically devour an entire roll with the lemon zest intact. The familiar spiral format seems to make even picky eaters willing to try something beyond standard cinnamon – the bright color and aroma prove irresistible.
Essential Elements
- Fresh lemons: Provide essential oils and bright acidity throughout each component. Zest contains concentrated flavor compounds that infuse dough, filling, and icing with authentic citrus notes.
- Buttermilk: Creates exceptionally tender texture while contributing subtle tang that enhances lemon flavor. The acidity also helps activate yeast for proper rising.
- Instant yeast: Ensures quick, reliable rise without additional proofing step. Fast-acting varieties specifically labeled "instant" or "rapid rise" work best for this streamlined recipe.
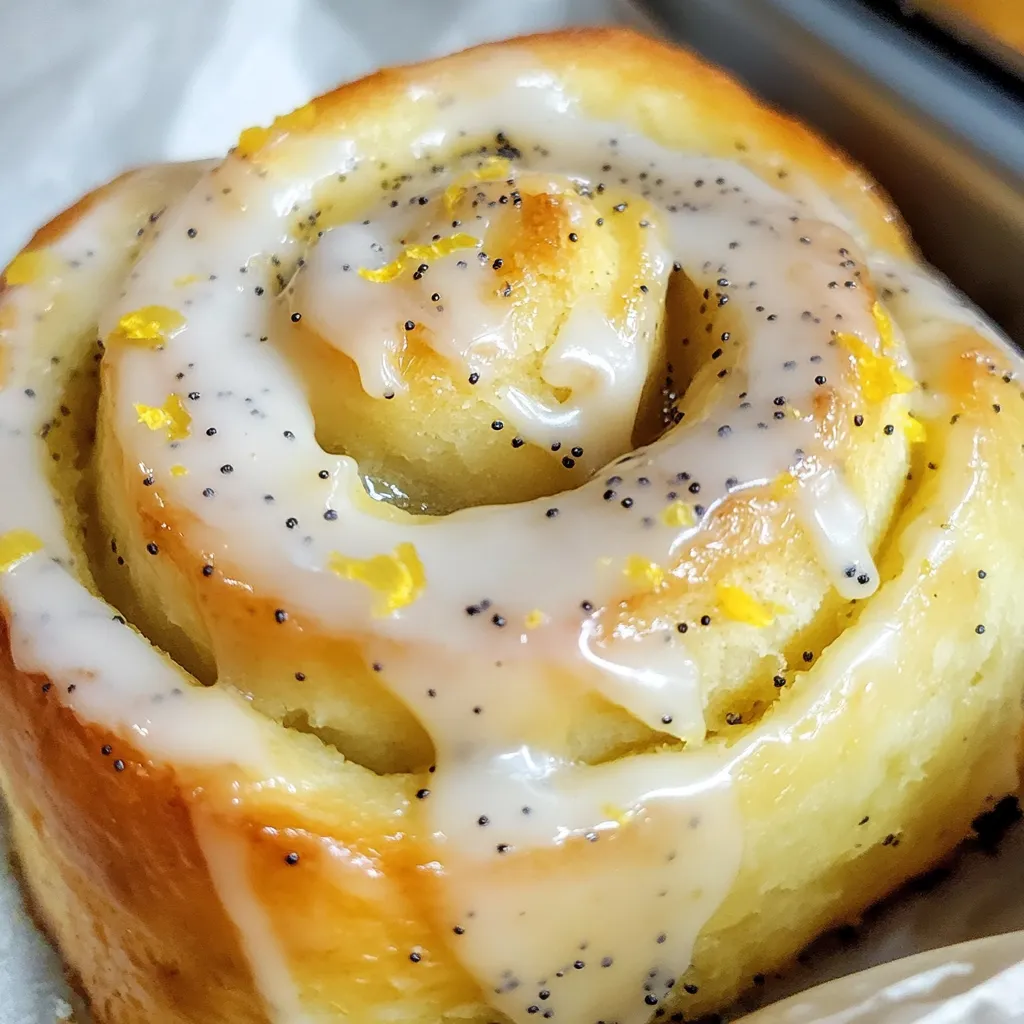
- Poppy seeds: Add subtle visual contrast and slight crunch throughout dough. Their nutty flavor complements lemon beautifully while creating signature appearance.
- Brown sugar: Contributes depth and moisture to filling beyond what granulated sugar alone provides. Light brown variety adds caramel notes without overwhelming the lemon.
- Butter: Appears in every component creating rich mouthfeel throughout. Softened consistency in filling creates perfectly spreadable texture while melted butter in icing adds glossy finish.
Baking Blueprint
- Create perfect dough:
- Combine dry ingredients creating foundation with even distribution of poppy seeds throughout. Warm buttermilk mixture carefully creating ideal environment for yeast activation without killing it. Add eggs individually ensuring proper incorporation for enriched dough structure. Incorporate fresh lemon zest distributing citrus oils throughout. Add additional flour gradually creating workable consistency that feels tacky but not sticky.
- Prepare aromatic filling:
- Massage lemon zest into sugar mixture releasing essential oils throughout. This critical technique maximizes flavor while ensuring even distribution. Add softened butter creating spreadable consistency that adheres perfectly to dough surface.
- Form beautiful spirals:
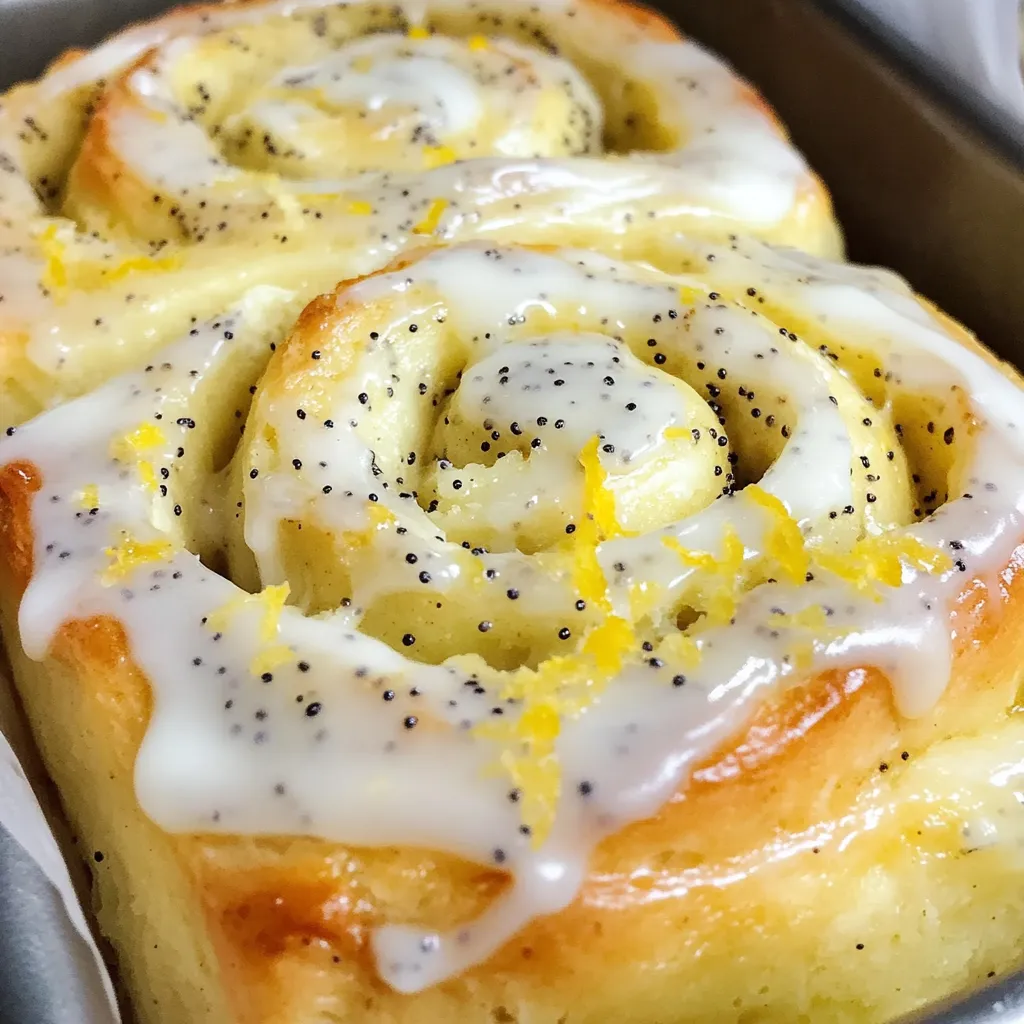
- Roll dough into precise rectangle maintaining even thickness throughout. Spread filling leaving small margin on one edge for proper sealing. Roll dough horizontally creating tight cylinder filled with lemon-sugar mixture. Cut into twelve equal portions using dental floss for cleanest results without compression.
- Allow assisted rise:
- Arrange rolls in prepared baking dish allowing slight space between each. Use slightly warmed (then turned off) oven creating perfect environment for rapid rise regardless of kitchen temperature. Cover with foil protecting dough while trapping warmth and humidity.
- Bake to golden perfection:
- Remove risen rolls before preheating oven to proper baking temperature. Bake until beautifully golden and fully cooked through. The extended baking time allows complete development of texture while ensuring centers are fully baked.
- Create tangy finish:
- Whisk powdered sugar with fresh lemon juice and melted butter creating pourable consistency. Apply to slightly cooled rolls allowing icing to partially absorb while remaining visible. Garnish with additional zest reinforcing lemon presence visually and flavor-wise.
 Pin it
My first attempt at these rolls taught me valuable lessons about flour measurement. I added too much flour trying to eliminate all stickiness, resulting in dense, bready rolls rather than the fluffy texture I was seeking. Now I add flour gradually, stopping when the dough feels tacky but pulls away from the bowl sides. I've also discovered that letting the rolls cool for exactly 15 minutes before adding icing creates the perfect balance - warm enough for partial absorption but cool enough to maintain visible icing on top. The most surprising discovery was how well these freeze individually – I wrap extras tightly and freeze them, then thaw overnight in the refrigerator and warm briefly before enjoying, with almost identical texture to fresh-baked.
Serving Suggestions
Present on white platter allowing vibrant yellow icing to stand out beautifully. Offer additional lemon curd alongside for those desiring extra citrus intensity. Consider serving with fresh berries whose tartness complements sweet rolls perfectly.
Flavor Variations
Add blueberries to filling creating lemon-blueberry variation with beautiful color contrast. Incorporate cardamom into dough for sophisticated spice notes that enhance citrus flavor. Replace some lemon zest with orange creating multi-citrus version with more complex profile.
Storage Solutions
Keep rolls in airtight container at room temperature maintaining optimal texture up to two days. Refrigerate for longer storage though texture becomes slightly firmer. Freeze individual rolls wrapped tightly for up to one month, thawing overnight before gently rewarming.
The first time I brought these rolls to a proper brunch gathering, three different people asked for the recipe before the meal ended. There's something about bright lemon flavor in a familiar breakfast format that captures attention and creates immediate fans. What makes these rolls truly special isn't complicated technique but thoughtful execution – using fresh lemons throughout and respecting the dough's proper consistency creates something that tastes simultaneously familiar and unexpected. I've discovered they're perfect for those occasions when you want to create something memorable that still feels approachable – they consistently earn enthusiastic reactions while using techniques most home bakers already know.
 Pin it
Frequently Asked Questions
- → Can I make these lemon rolls ahead of time?
- Yes! Prepare the rolls the evening before, place them in the pan, cover tightly with plastic wrap, and refrigerate overnight. Take them out 1-2 hours before baking to warm up and rise slightly.
- → Do I need a stand mixer to make these rolls?
- No, while a stand mixer makes it easier, you can mix the dough by hand using a dough whisk or wooden spoon. It will take a bit more effort but works just as well.
- → Can I freeze these lemon rolls?
- Yes! You can freeze them either before or after baking. For unbaked rolls, freeze after cutting and before rising. For baked rolls, freeze without icing and add fresh icing after thawing and reheating.
- → Why do you put the rolls in a turned-off oven to rise?
- This creates a warm, draft-free environment that helps the dough rise faster and more evenly. Just make sure the oven is turned OFF before placing the dough inside.
- → Can I use bottled lemon juice instead of fresh?
- Fresh lemon juice provides the best flavor, but bottled can work in a pinch for the icing. However, you'll still need fresh lemons for the zest, which is essential for the flavor.
- → Are the poppy seeds necessary?
- No, the poppy seeds are optional. They add a nice texture and visual element, but the rolls will be just as delicious without them if you prefer to omit them.