
 Pin it
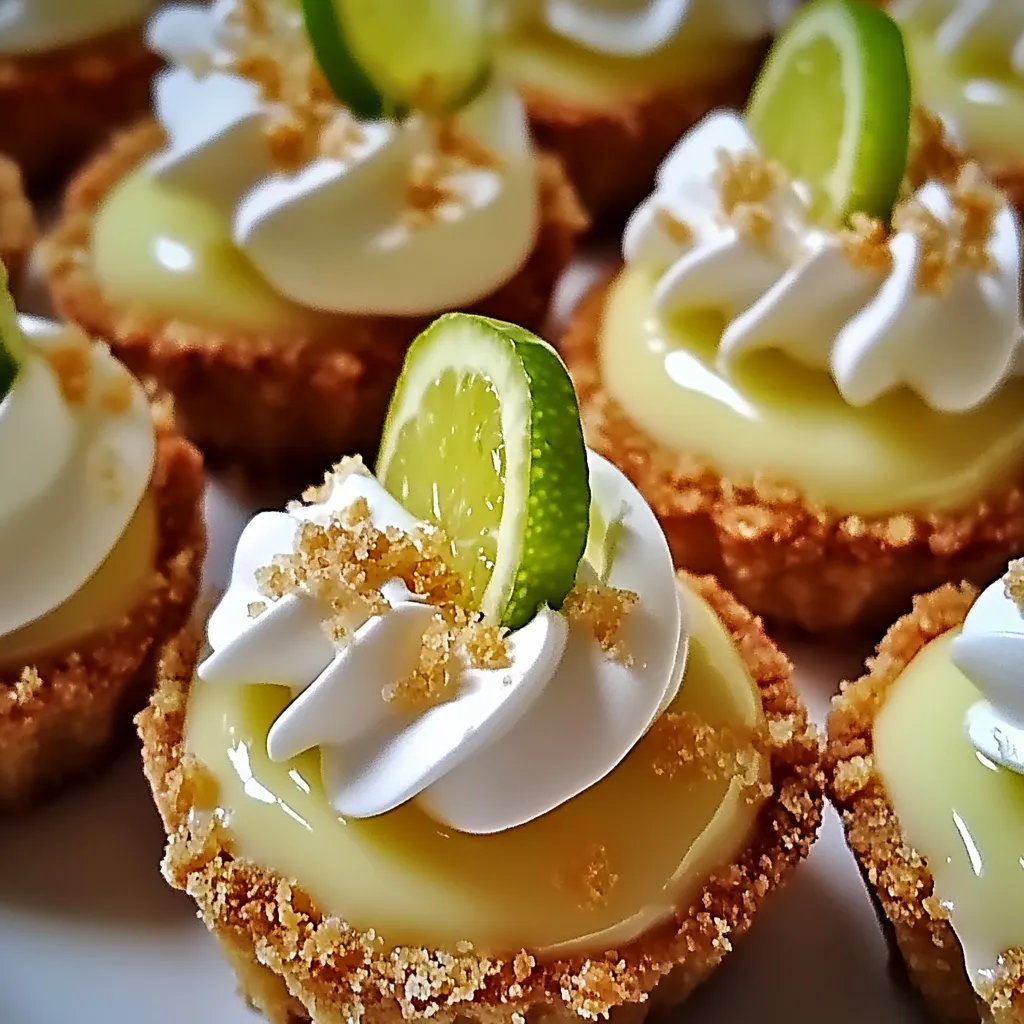
No-bake mini key lime pies deliver all the bright, tangy flavor of traditional key lime pie without heating your kitchen, featuring a silky cream cheese-infused filling nestled in buttery graham cracker crusts that creates the perfect balance of creamy and crunchy in every bite. These individual desserts transform the beloved classic into elegant, portable treats perfect for entertaining while eliminating the anxiety of perfectly slicing a full-sized pie. I discovered this time-saving recipe during a particularly sweltering Florida summer when turning on the oven felt like punishment, yet I still needed an impressive dessert for a neighborhood gathering.
The first time I served these at a summer dinner party, one guest took a bite and declared them "dangerously addictive." What delights me most about this recipe is how it captures the essence of key lime pie—that perfect balance of sweet and tart—in a simplified format that never disappoints. Even my mother-in-law, who guards her traditional key lime pie recipe like a state secret, requested these for her birthday celebration.
Citrus Essentials
- Graham crackers: Create the traditional foundation; honey grahams provide the best flavor and texture
- Unsalted butter: Binds the crust while adding richness; European butter offers superior flavor
- Cream cheese: Provides structure and creaminess; full-fat creates the ideal texture
- Sweetened condensed milk: Delivers signature sweetness and body; traditional brands work best
- Fresh key limes: Supply essential tangy flavor; Persian limes can substitute but lack the distinctive aroma
- Heavy cream: Creates luxurious topping; ultra-pasteurized varieties whip more predictably
- Granulated sugar: Balances the crust and adds stability to whipped cream; superfine dissolves more readily
- Vanilla extract: Enhances whipped cream; pure extract rather than artificial provides better flavor
I learned an important lesson about lime juice during my first attempt at these mini pies. Using bottled juice created a flat, one-dimensional flavor that lacked brightness. I now exclusively use freshly squeezed key limes, which require more effort but deliver that vibrant, aromatic quality that defines authentic key lime desserts. This seemingly small detail transforms the filling from merely good to memorably exceptional.
Pie Perfection
- Craft The Ideal Crust:
- Begin with graham crackers processed to a fine, sandy texture—not too coarse, which creates a crumbly base, nor too fine, which results in a dense, hard crust. Combine with just enough melted butter to bind the crumbs without becoming greasy. The proper ratio is approximately 1.5 tablespoons of butter per half-cup of crumbs. Adding a touch of sugar enhances browning flavors while helping the crust set properly. Press the mixture firmly into individual serving vessels using the bottom of a shot glass or measuring spoon—this creates even compression and a professional appearance.
- Master The Filling Technique:
- Start with cream cheese genuinely softened to room temperature—this is non-negotiable for achieving a lump-free filling. Beat until completely smooth before incorporating other ingredients. When adding sweetened condensed milk, scrape the bowl thoroughly to ensure no cream cheese pockets remain. Fresh key lime juice should be strained to remove pulp and seeds, which can disrupt the silky texture. Add the juice gradually while mixing on low speed to prevent curdling. The finished filling should ribbon from the beaters and taste prominently of lime with balanced sweetness.
- Perfect The Assembly:
- Fill each crust carefully using a piping bag for the cleanest presentation, or spoon the filling and smooth with an offset spatula. Leave a small margin at the top to accommodate the whipped cream garnish. For the most striking visual effect, create a slight dome rather than a flat surface. Refrigerate until completely set—at least three hours but preferably overnight—which allows flavors to meld and texture to stabilize. The patience required rewards you with perfect consistency that holds its shape when sliced.
- Create Professional Finishing Touches:
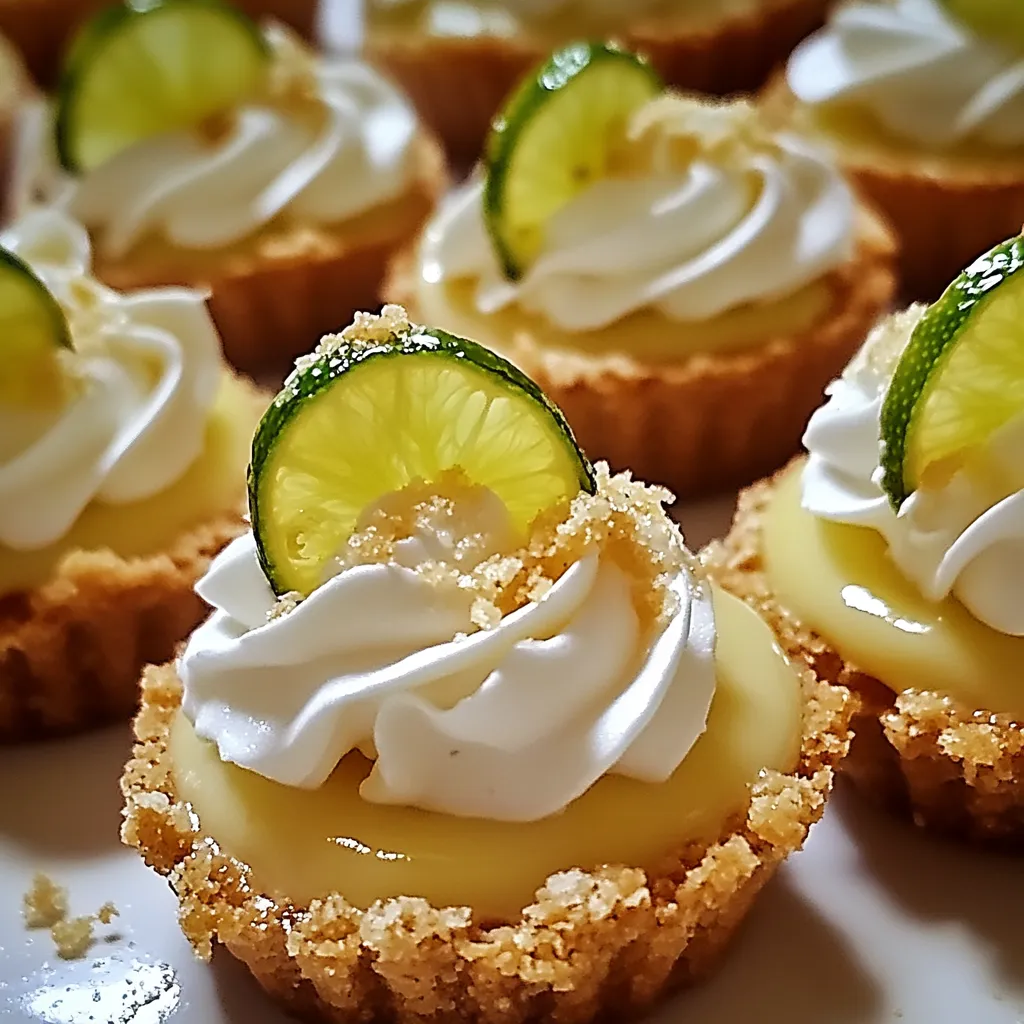
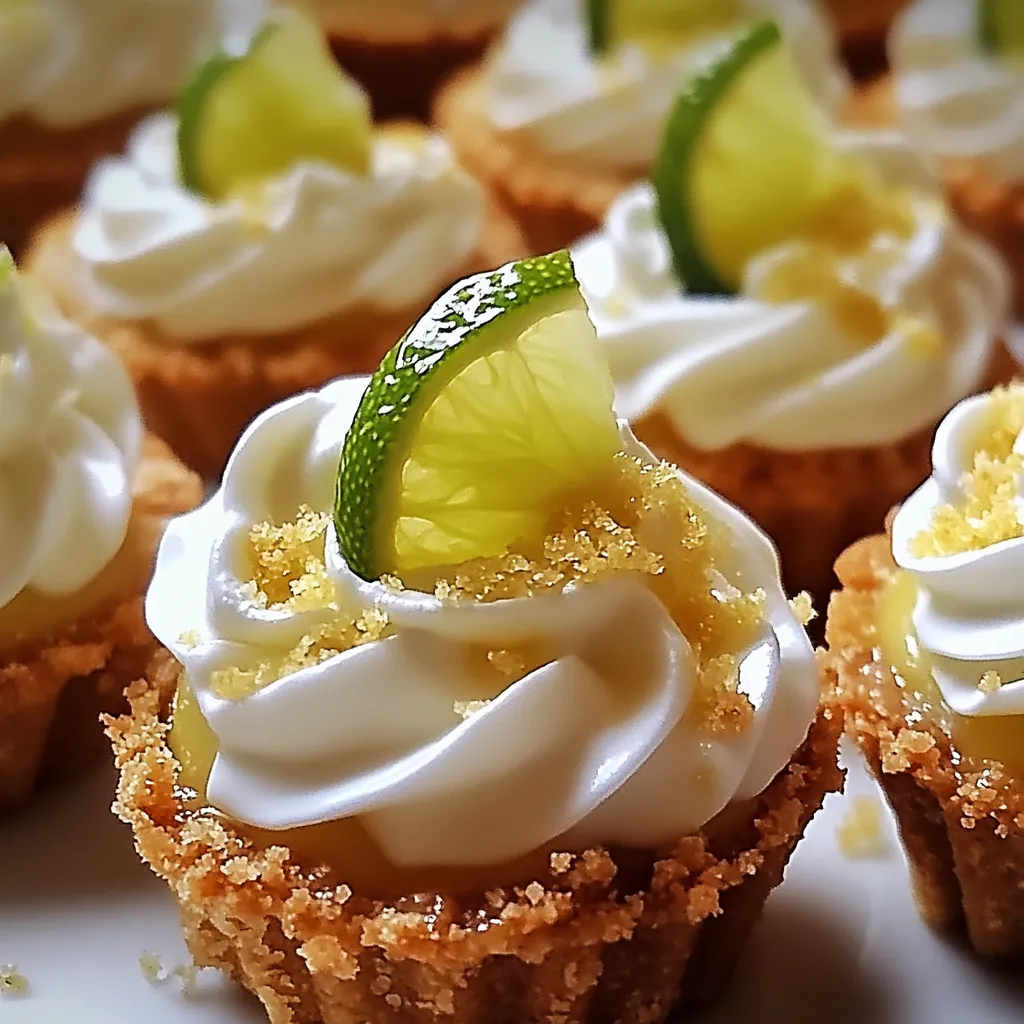
- Whip cold heavy cream with a touch of sugar and vanilla until soft peaks form—be vigilant, as overwhipped cream becomes grainy and butter-like. Transfer to a piping bag fitted with a star tip for beautiful presentation. Pipe decorative rosettes around the perimeter of each pie just before serving. For the freshest appearance, add garnishes like lime zest, candied lime slices, or mint leaves as final accents. The contrast between the pale green filling, white cream, and vibrant garnishes creates an impressive visual presentation.
 Pin it
During a summer gathering, my friend attempted this recipe but complained that her filling never set properly. After troubleshooting together, we discovered she had used reduced-fat cream cheese and fat-free sweetened condensed milk, thinking they would be healthier substitutes. I've since learned that the full-fat versions are non-negotiable for proper setting and texture—the fat content is essential for structure. Sometimes seemingly minor substitutions completely transform the final result, and not for the better.
Serving Suggestions
These versatile mini pies shine in various settings throughout the year. For summer gatherings, place each on a small pool of raspberry coulis for an elegant color contrast. During brunch, serve alongside a seasonal fruit salad for a refreshing finale. For dinner parties, garnish with candied lime slices and mint for sophisticated presentation. During the holidays, add a touch of cranberry compote for festive color. The individual portions eliminate the need for tableside cutting and serving, making them perfect for buffets or passed dessert trays.
Creative Variations
While the classic version delivers perfect flavor balance, this adaptable recipe welcomes thoughtful modifications. Create a tropical version by adding toasted coconut to the crust and coconut extract to the whipped cream. For a chocolate twist, press the graham cracker mixture over a thin layer of melted chocolate that hardens to create a barrier between crust and filling. Experiment with different citrus—blood orange or Meyer lemon creates sophisticated alternatives to traditional lime. For elegant entertaining, prepare the mixture in a martini glass with crushed graham crackers as the bottom layer for a deconstructed presentation.
Storage Strategy
These mini pies maintain their quality remarkably well when properly stored. Keep them refrigerated in an airtight container for up to three days, though texture is best within the first 48 hours. For make-ahead convenience, prepare crusts and filling separately up to two days in advance, then assemble a few hours before serving. For longer storage, freeze the assembled pies (without whipped cream) for up to one month. Thaw overnight in the refrigerator, then add fresh whipped cream before serving. Individual plastic dome containers make storage and transport effortless while protecting the presentation.
I've been perfecting these no-bake key lime pies for nearly five years, making subtle adjustments with each batch. What began as a practical solution to summer baking has evolved into one of my signature desserts—the one friends specifically request for gatherings. Last Fourth of July, as neighbors gathered for our annual block party, these mini pies disappeared faster than any other dessert on the table. The beauty of this recipe lies in its ability to deliver sophisticated flavor with minimal effort, proving that sometimes the most impressive desserts are also the most straightforward.
 Pin it
Frequently Asked Questions
- → Can I use regular lime juice instead of key lime juice?
- Yes, regular lime juice works just as well.
- → How long do these pies need to chill?
- Chill the pies for at least 2-3 hours, or until set.
- → Can I make these pies gluten-free?
- Yes, use gluten-free graham crackers for the crust.
- → Can I prepare these pies ahead of time?
- Yes, you can make them a day ahead and store them in the refrigerator.
- → How do I get a stronger lime flavor?
- Increase the lime zest by 1 teaspoon for a stronger flavor.