
 Pin it
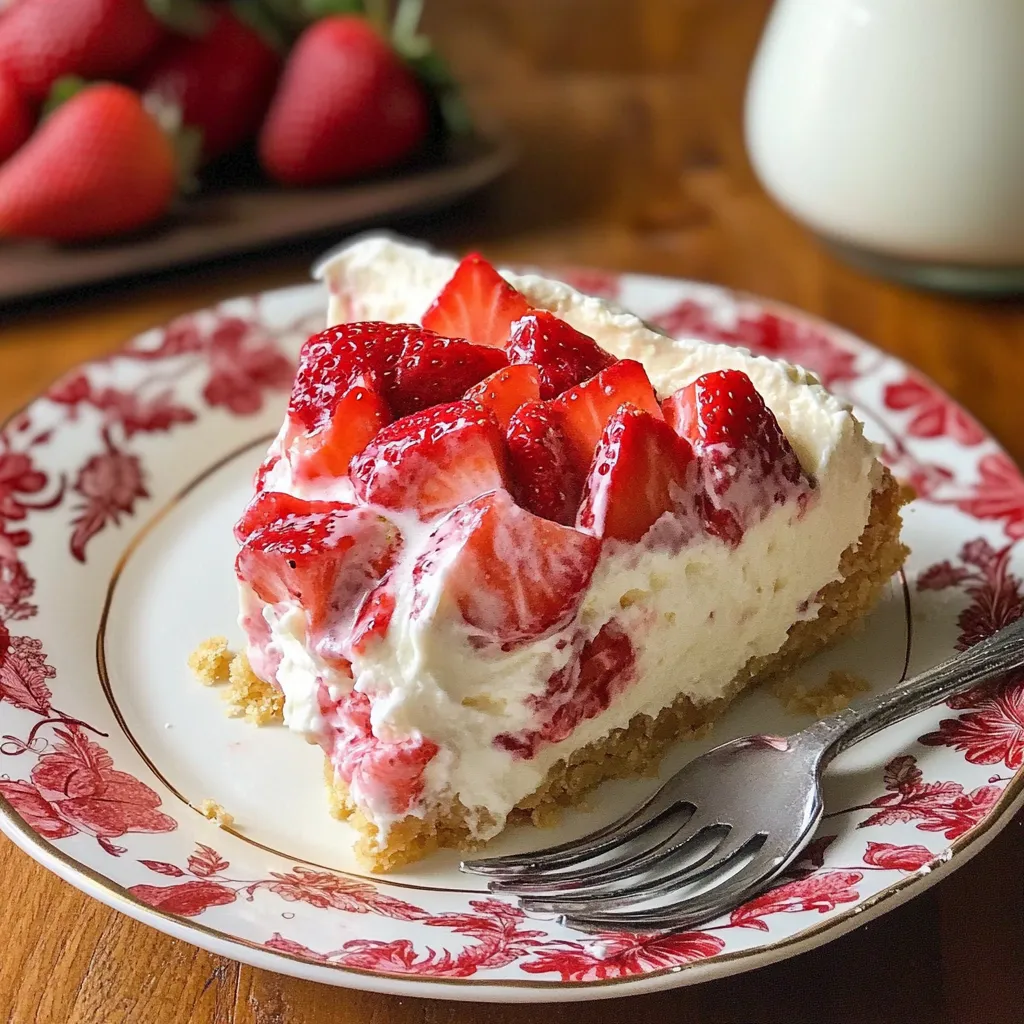
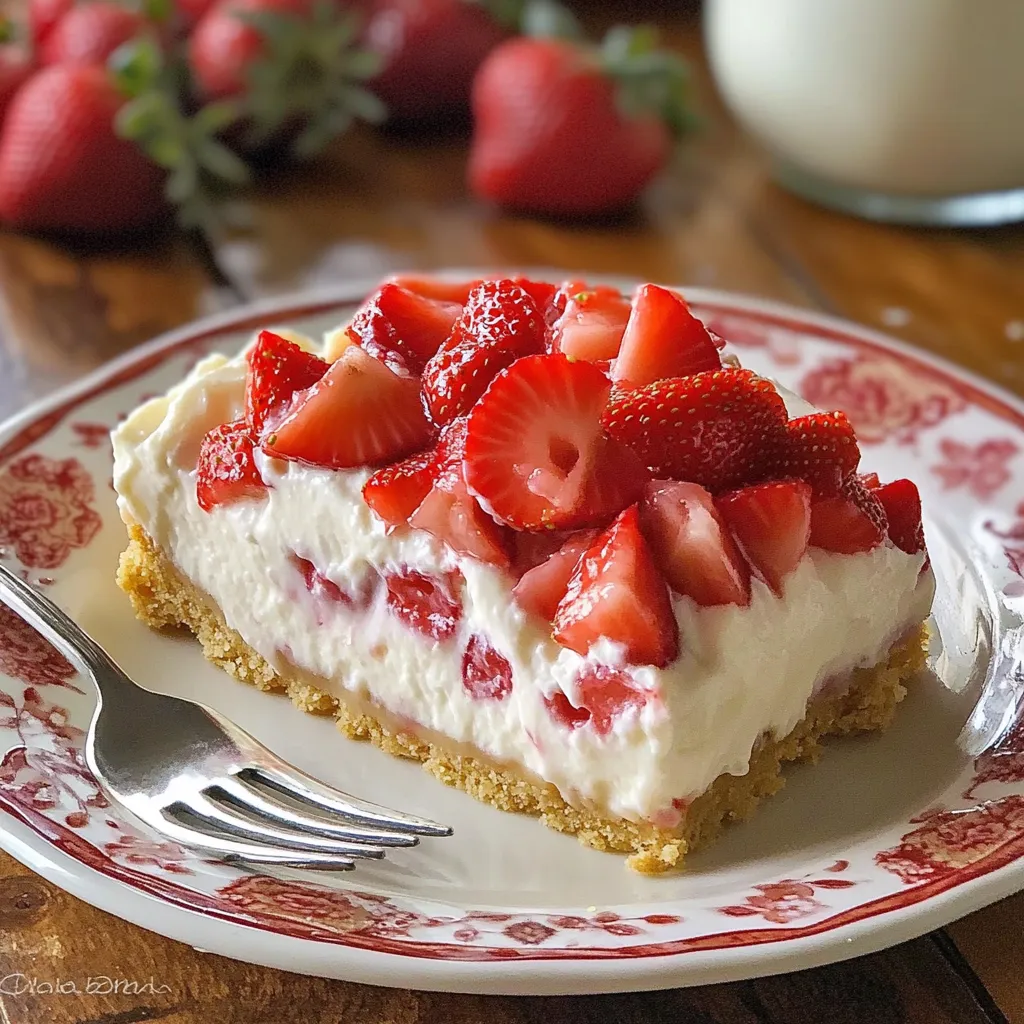
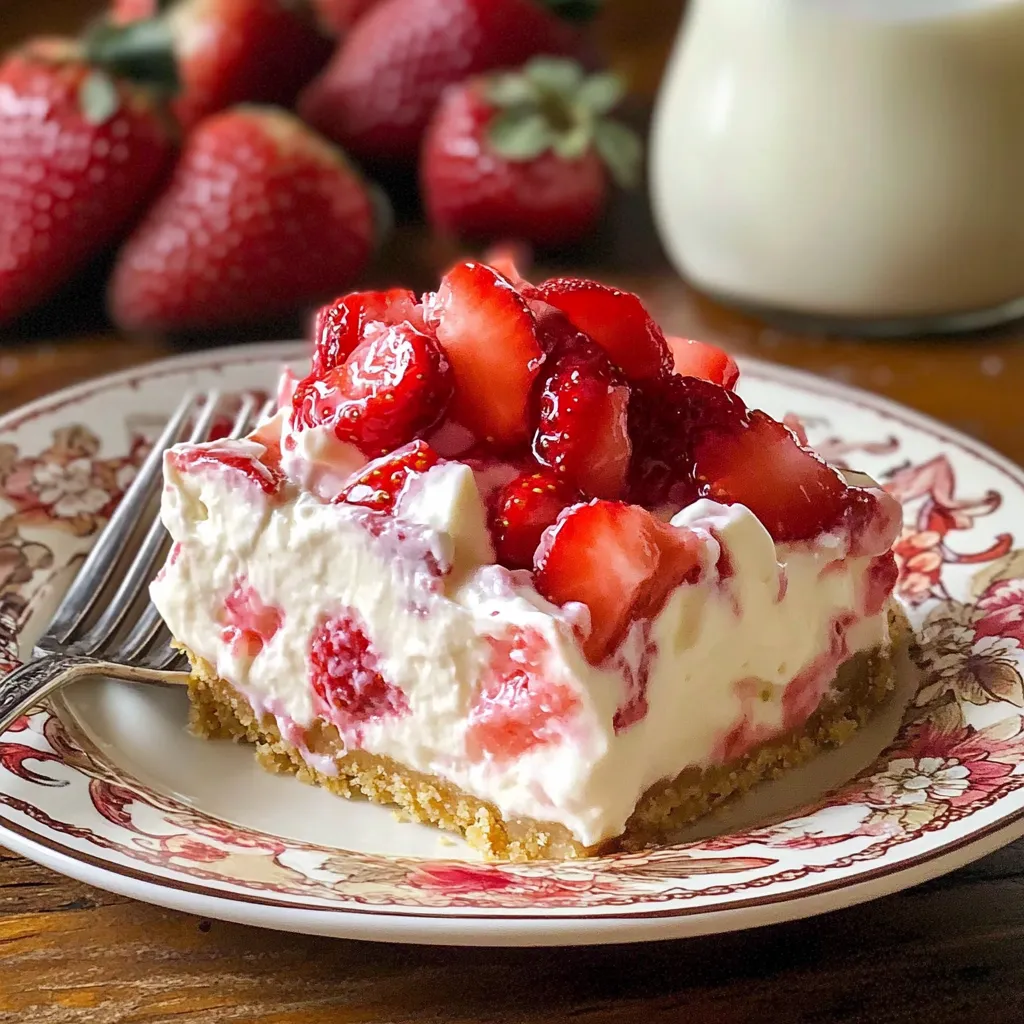
Velvety cream cheese and dreamy pudding layers rest atop a buttery cookie crust, all crowned with vibrant fresh strawberries in this show-stopping dessert that requires zero oven time. This magnificent creation delivers all the beloved flavors of strawberry cheesecake in a lighter, more refreshing format perfect for warm weather entertaining or anytime you crave something simultaneously indulgent and bright.
I first created this dessert for a summer garden party when the thought of turning on the oven seemed unbearable. The enthusiastic reception it received—including three requests for the recipe and one guest secretly taking a second piece—convinced me it deserved a permanent place in my dessert rotation. Now it appears at everything from baby showers to holiday gatherings, always drawing compliments for both its appearance and flavor.
Essential Ingredient Selection
- Golden Oreos: Choose these vanilla sandwich cookies for their buttery flavor and perfect crumb texture. Their subtle vanilla notes complement the cheesecake flavors without competing with the strawberries.
- Quality Cream Cheese: Select full-fat, block-style cream cheese for proper structure and richness. Allow it to reach complete room temperature for the smoothest blending and creamiest texture.
- Fresh Strawberries: Choose bright red, fragrant berries with no white shoulders for optimal sweetness. Local, in-season strawberries provide superior flavor and juiciness that elevates the entire dessert.
- Instant Cheesecake Pudding: This specialty pudding mix contains distinctive cheesecake flavoring that creates authentic taste without the complexity of traditional cheesecake preparation. The instant variety sets quickly and maintains proper structure.
- Real Butter: Use unsalted butter to control the overall salt content. The butter's quality significantly impacts the crust's flavor, so select the best you can afford.
Mastering The Technique
- Perfect Crust Formation
- Begin by processing Golden Oreos to a fine, even crumb texture, including the cream filling which adds sweetness and helps bind the crust. Thoroughly mix with precisely melted butter until every crumb is moistened but not soggy. Press this mixture into your serving dish using the bottom of a measuring cup, applying firm, even pressure to create a compact layer approximately 1/4-inch thick. Refrigerate for at least 20 minutes before adding any filling to allow the butter to solidify, creating a stable foundation for the dessert.
- Cream Cheese Layer Development
- Blend room temperature cream cheese using an electric mixer on medium speed until completely smooth before adding any other ingredients. This preliminary beating eliminates potential lumps that would mar the texture. Incorporate powdered sugar gradually, scraping down the bowl frequently to ensure uniform sweetness. Fold in whipped topping with a rubber spatula using a gentle over-under motion to maintain aeration. Spread this mixture over the chilled crust, creating a smooth, even layer that reaches all corners of the dish.
- Pudding Layer Perfection
- Whisk pudding mix and cold milk vigorously for a full two minutes to properly activate the thickening agents. The mixture should begin firming immediately but remain spreadable. After initial thickening, fold in whipped topping using minimal strokes to prevent deflation while achieving complete integration. Apply this layer over the cream cheese mixture, using an offset spatula to create a level surface that will showcase the strawberry topping appropriately.
- Optimal Berry Arrangement
- Slice strawberries to uniform thickness, approximately 1/4-inch, to ensure visual appeal and consistent eating experience. Arrange berry slices in slightly overlapping rows for the most attractive presentation, completely covering the pudding layer. This complete coverage not only enhances appearance but also ensures every serving contains the perfect proportion of berries to creamy layers.
- Proper Setting Period
- Refrigerate the completed dessert for a minimum of four hours, preferably overnight. This crucial chilling time allows the layers to meld while moisture from the berries slightly softens the top layer of pudding, creating a cohesive texture experience. The extended chilling also firms the dessert to the perfect consistency for clean, beautiful slices that maintain their structure when served.
 Pin it
My grandmother always insisted that patience makes the difference between good and exceptional desserts. This wisdom applies perfectly to this Strawberry Cheesecake Lush, where allowing proper time for each layer to set creates the remarkable contrast between the crisp crust and creamy fillings. The first time I rushed the process for a last-minute gathering, the layers blended together rather than maintaining their distinct beauty—a visual disappointment despite the wonderful flavor.
Serving Suggestions
Cut into squares using a sharp knife wiped clean between slices. Garnish with mint sprigs for elegant color contrast. Serve on chilled plates to maintain proper texture in warm weather.
Creative Variations
- Substitute blueberries or raspberries for seasonal options
- Create a chocolate version with chocolate pudding and regular Oreos
- Add a layer of strawberry jam beneath the fresh berries for intensity
- Incorporate lemon zest into the cream cheese layer for brightness
Storage Strategy
Cover tightly with plastic wrap, pressing it directly onto any exposed surface to prevent condensation. Refrigerate for up to four days, though the crust will gradually soften over time. This dessert is not suitable for freezing, as the texture of both the berries and creamy layers would deteriorate upon thawing.
This Strawberry Cheesecake Lush represents the perfect intersection of convenience and indulgence, creating a dessert that impresses without demanding technical skill or heating up your kitchen. Its ability to be prepared well in advance makes it the ideal solution for entertaining, while its beautiful presentation ensures it will be the centerpiece of any dessert table.
 Pin it
Frequently Asked Questions
- → Can I use different cookies for the crust?
- Yes! While Golden Oreos provide a vanilla flavor that complements the strawberries, you could use regular Oreos, graham crackers, vanilla wafers, or shortbread cookies as alternatives.
- → How far in advance can I make this dessert?
- This dessert can be made 1-2 days in advance. The crust may soften slightly over time, but the flavor will continue to develop. Add the strawberry topping just before serving for the freshest appearance.
- → Can I use frozen strawberries instead of fresh?
- Fresh strawberries are best for texture and appearance, but if using frozen, thaw them completely and drain well to prevent excess moisture from making the dessert soggy.
- → What can I substitute for Cool Whip?
- You can use homemade whipped cream by whipping 3 cups of heavy cream with 1/3 cup powdered sugar until stiff peaks form. However, homemade whipped cream may not hold up as long, so the dessert is best consumed within 24 hours.
- → Can I make this dessert with other fruits?
- Absolutely! Blueberries, raspberries, peaches, or a mixed berry blend would all work wonderfully. You can even layer multiple fruits for a colorful effect.