
 Pin it
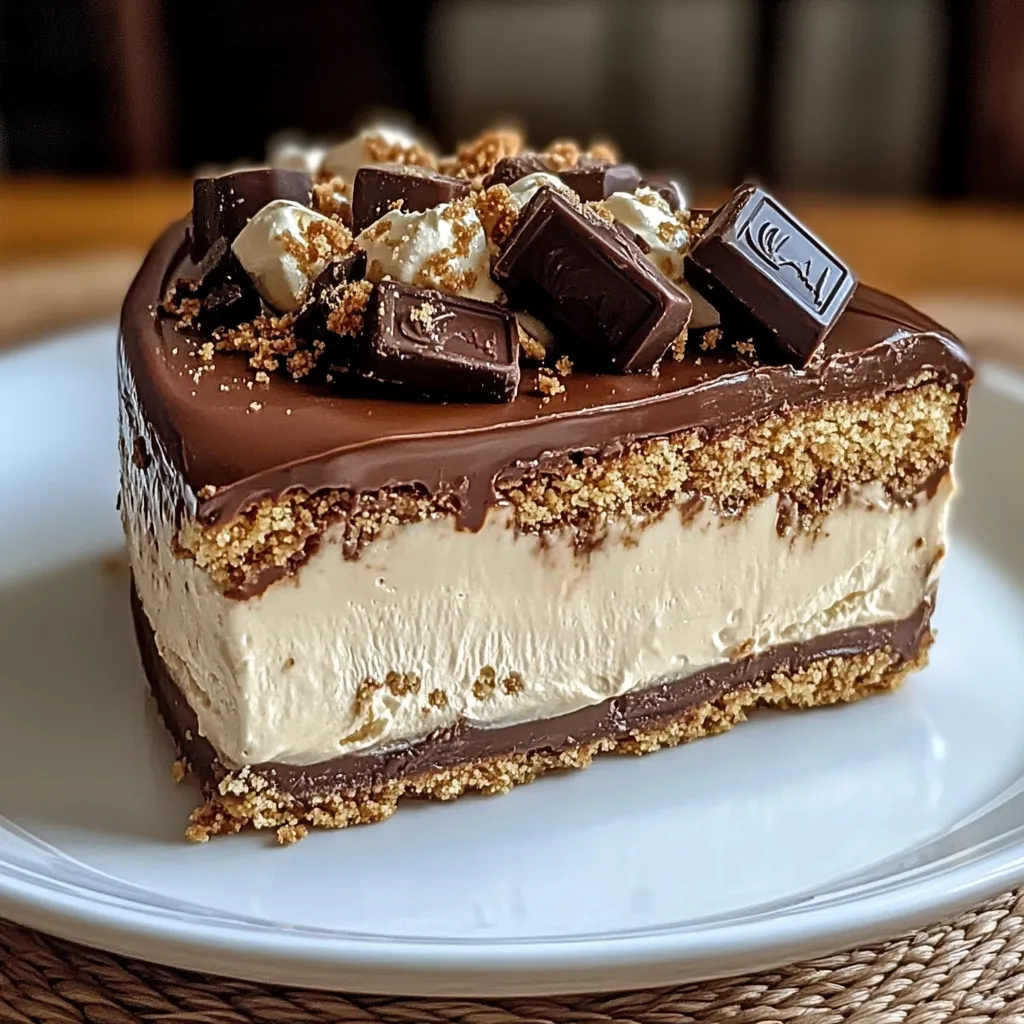
Homemade no-bake Twix cheesecake delivers all the beloved flavors of the classic candy bar transformed into a luscious, creamy dessert experience. This indulgent creation features a buttery shortbread crust, velvety cream cheese filling, and generous layers of caramel and chocolate that perfectly capture the essence of Twix in cheesecake form. Best of all, this show-stopping dessert requires zero oven time, making it perfect for warm weather entertaining or when you need an impressive dessert without the fuss.
I discovered this recipe last summer when hosting a backyard gathering during a heatwave. The thought of turning on the oven seemed unbearable, yet I wanted something special to serve my guests. The moment I sliced into this cheesecake, revealing those beautiful layers of filling studded with Twix pieces, my friends were already reaching for their phones to take pictures! My nephew, who typically avoids cheesecake, requested this specific dessert for his graduation celebration three months later.
Crucial Components
- 1½ cups crushed shortbread cookies: These form our buttery foundation that mimics the iconic Twix cookie layer. Look for pure shortbread cookies rather than sandwich varieties for authentic flavor.
- ½ cup unsalted butter: Creates the perfect binding consistency for the crust while adding rich flavor. Always use unsalted to control the overall sweetness.
- 16 oz cream cheese: Provides that signature tangy creaminess essential to any cheesecake. Full-fat cream cheese at room temperature ensures the smoothest texture possible.
- 1 cup powdered sugar: Sweetens the filling while dissolving completely without any grittiness. The fine texture blends seamlessly into the cream cheese.
- 1 cup heavy whipping cream: Creates airiness and structure in the filling. The higher fat content helps the cheesecake hold its shape without baking.
- 1 cup caramel sauce: Replicates that distinctive Twix caramel layer. Choose a thick, high-quality caramel sauce for best results.
- 1 cup chocolate ganache: Delivers the perfect chocolate coating element. Using real chocolate chips rather than chocolate syrup creates authentic texture and flavor.
- 2 cups chopped Twix bars: Incorporate the actual candy throughout for bursts of authentic Twix flavor and textural contrast in every bite.
Assembly Instructions
- Crust foundation:
- Combine crushed shortbread cookies with melted butter and sugar until thoroughly moistened. The mixture should hold together when pressed between your fingers without being overly greasy. Press firmly into the bottom of a 9-inch springform pan using the back of a measuring cup to create a compact, even layer. Be sure to press slightly up the sides for structural integrity.
- Filling preparation:
- Beat room temperature cream cheese with an electric mixer until completely smooth with no lumps remaining. This typically takes 2-3 minutes of continuous beating. Gradually incorporate powdered sugar and vanilla extract, mixing until perfectly combined but not overly aerated.
- Cream whipping:
- In a separate bowl, whip heavy cream until stiff peaks form. The cream should stand up straight when the beater is lifted without flopping over. Fold gently into the cream cheese mixture using a large rubber spatula with a light hand, maintaining as much air as possible while ensuring complete incorporation.
- Layering technique:
- Spoon half the cheesecake filling over the prepared crust, spreading evenly to the edges. Distribute half the chopped Twix pieces across this layer, pressing gently to secure them in place. Top with remaining cheesecake filling, carefully spreading to create a smooth, level surface.
- Chilling process:
- Cover the assembled cheesecake with plastic wrap without touching the surface and refrigerate for a minimum of 4 hours. Overnight chilling produces the firmest texture and allows flavors to meld beautifully throughout the dessert.
- Topping application:
- Before serving, prepare chocolate ganache by heating heavy cream just until steaming, then pouring over chocolate chips and letting stand 2 minutes before stirring until smooth. Drizzle the set cheesecake with caramel sauce and chocolate ganache in an attractive pattern, allowing some to cascade down the sides for visual appeal.
- Final garnishing:
- Arrange additional chopped Twix pieces artistically around the edge of the cheesecake, pressing slightly into the top to secure them. For special occasions, consider creating a border of whole Twix fingers standing upright around the perimeter for dramatic presentation.
- Serving preparation:
- Run a thin knife around the edge of the springform pan before releasing the clasp. Transfer to a serving platter and slice with a clean knife dipped in hot water and wiped dry between cuts for pristine portions.
 Pin it
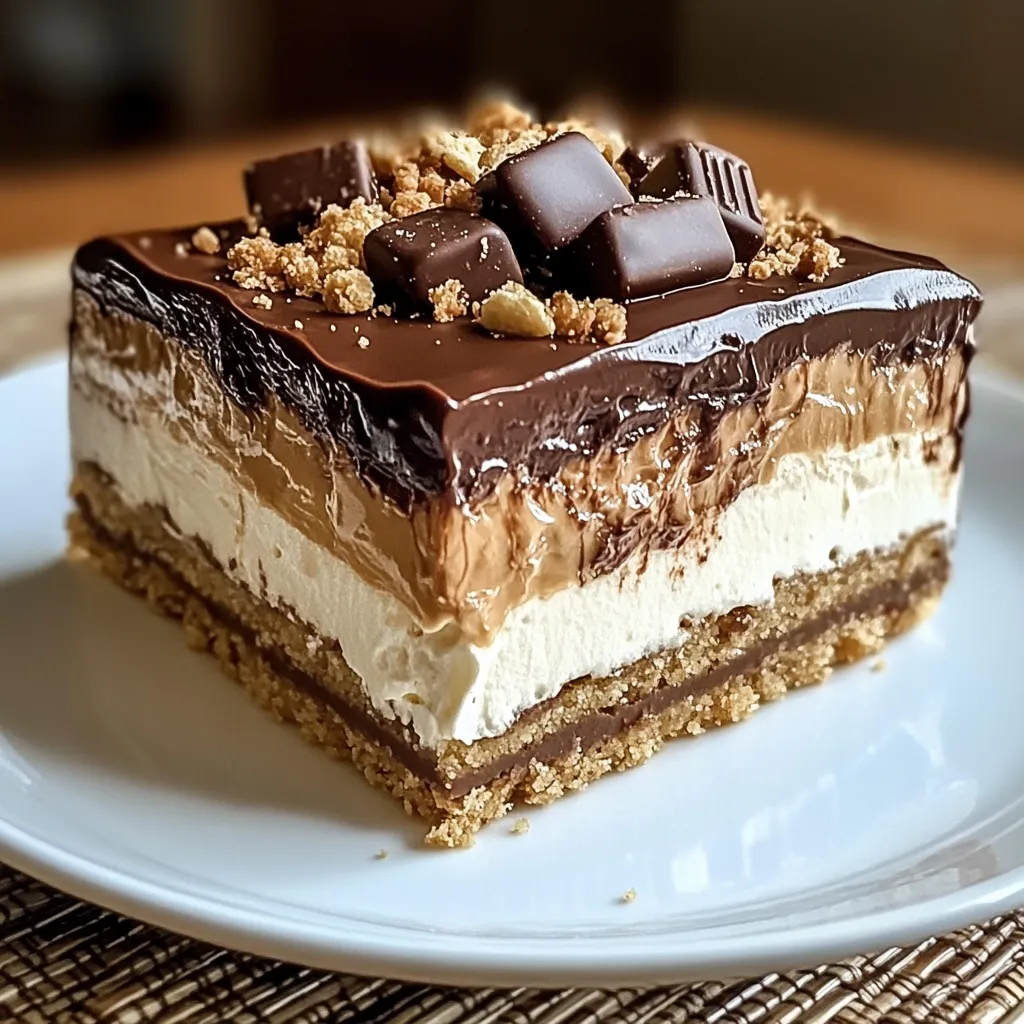
I personally love the caramel element most in this dessert. There's something magical about how it forms a distinct layer that mimics the actual candy bar experience. During my sister's anniversary dinner, I experimented with a homemade salted caramel version that added sophisticated depth to the normally sweet dessert. Everyone was surprised by how this simple addition transformed what they expected to be a casual dessert into something worthy of a fine restaurant.
Presentation Possibilities
Elevate this dessert by serving individual portions in clear glass trifle dishes that showcase the beautiful layers. Start with a base of crushed shortbread, followed by the cheesecake filling, caramel drizzle, chocolate ganache, and crowned with Twix pieces. The visual appeal of these distinct strata creates an impressive presentation perfect for dinner parties.
For casual gatherings, consider creating a cheesecake board featuring this dessert surrounded by complementary items like fresh berries, chocolate-covered pretzels, and additional caramel sauce for dipping. The varied textures and colors create an attractive display that encourages sampling and conversation.
During holiday seasons, personalize individual servings with decorative toppings that reflect the occasion. Christmas holly made from small mint leaves and red candy berries, chocolate hearts for Valentine's Day, or colorful sprinkles for birthdays add festive touches without overwhelming the classic Twix flavors.
Flavor Adaptations
White chocolate variation creates a stunning visual contrast while maintaining the candy bar essence. Substitute white chocolate chips for the regular chocolate in the ganache and use vanilla cookie bars in place of traditional Twix. The resulting dessert offers a beautiful pale golden appearance perfect for elegant occasions.
Coffee enthusiasts might appreciate adding 1 tablespoon of espresso powder to the cheesecake filling for a mocha twist that enhances the chocolate notes beautifully. This sophisticated adaptation pairs wonderfully with after-dinner coffee service and appeals to adult palates.
Peanut butter lovers can incorporate 1/2 cup smooth peanut butter into the cream cheese mixture for a Reese's-inspired variation that combines beautifully with the chocolate and caramel elements. Consider garnishing with chopped peanut butter cups for visual reinforcement of the flavor profile.
Seasonal adaptations might include adding crushed peppermint candies during holiday season, orange zest in the spring, or a layer of fresh sliced strawberries in summer. Each variation maintains the essential Twix character while offering seasonal relevance.
Freshness Preservation
Maintain optimal freshness by storing this cheesecake properly covered in the refrigerator. The dessert remains at peak quality for approximately 4-5 days when well-sealed, though the crust may gradually soften as it absorbs moisture from the filling.
For extended storage, freeze individual slices by wrapping each portion tightly in plastic wrap followed by aluminum foil. These portions will maintain quality for up to three months in the freezer. Thaw overnight in the refrigerator for best texture restoration.
When serving previously frozen cheesecake, allow it to stand at room temperature for 20-30 minutes before eating. This slight warming enhances the flavors and softens the texture to its original creamy consistency. Refresh the presentation with additional caramel and chocolate drizzle if desired.
The homemade no-bake Twix cheesecake perfectly captures what makes dessert so special – the ability to transform familiar flavors into something new yet comfortingly recognizable. The contrast between the smooth, creamy filling and the textural elements of shortbread crust and candy pieces creates a truly satisfying experience with every bite. While the preparation is surprisingly simple, the result delivers such visual and flavor complexity that everyone assumes you've spent hours in the kitchen. This dessert has become my signature contribution to gatherings, proving that sometimes the most impressive creations require the least amount of effort!
 Pin it
Frequently Asked Questions
- → Can I use store-bought caramel sauce instead of making my own?
- Yes, you can use a good quality store-bought caramel sauce to save time. Thick caramel sauce or dulce de leche works best. For the salted version, simply stir in 1/2 teaspoon of salt if the store-bought sauce isn't already salted.
- → Why isn't my caramel turning amber?
- Caramel can be tricky. Be patient and make sure you're using medium heat. Avoid stirring once the sugar and water are combined (you can gently swirl the pan instead). If it's taking too long, slightly increase the heat, but watch it carefully as it can burn quickly.
- → My cheesecake isn't setting properly. What went wrong?
- The most common reason is under-whipping the heavy cream. Make sure your cream reaches stiff peaks before folding it into the cream cheese mixture. Also ensure you're refrigerating the cheesecake for at least 4 hours, preferably overnight for the best set.
- → Can I make this cheesecake with other candy bars?
- Absolutely! This recipe works wonderfully with other candy bars like Snickers, Milky Way, or Kit Kat. Simply substitute an equal amount of your preferred candy bar for the Twix. You may want to adjust the caramel amount if using a candy that's already very caramel-heavy.
- → How far in advance can I make this cheesecake?
- You can make this cheesecake up to 2 days ahead and keep it refrigerated. The ganache layer is best added within 24 hours of serving for the best appearance. For longer storage, freeze the cheesecake (without the ganache) for up to 2 months.