
 Pin it
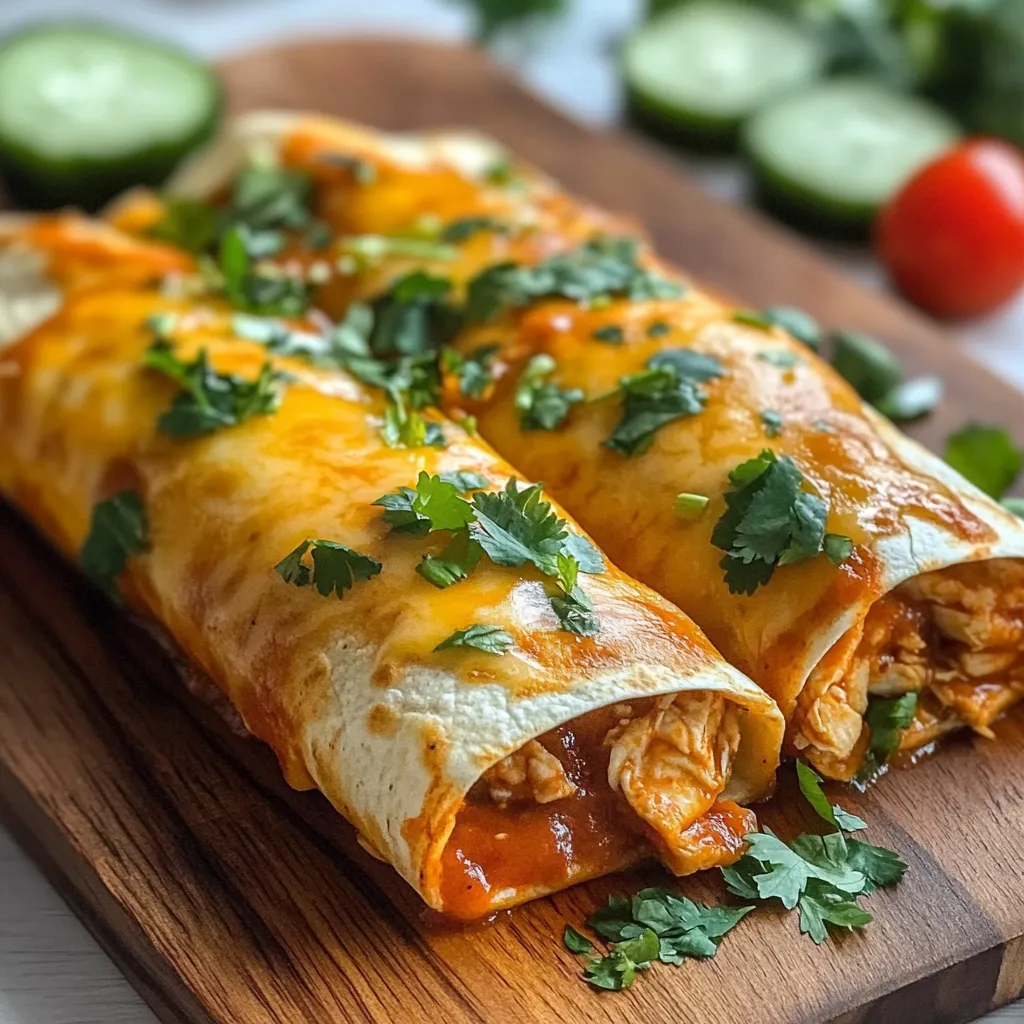
Golden-brown tortillas encase a savory filling of perfectly seasoned chicken and melted cheese, creating the signature crunch of chimichangas without the heavy feeling of deep-frying. This oven-baked version delivers all the textural contrast and bold flavors of the traditional Mexican favorite while keeping preparation simple and mess-free.
The first time I served these baked chimichangas at a family gathering, my brother-in-law (a devoted chimichanga enthusiast) took one bite and declared them "even better than restaurant versions." Their crispy exterior combined with the moist, flavorful filling creates a perfect balance that keeps everyone coming back for seconds.
Essential Ingredient Selection
- Quality Tortillas: Choose large (10-inch) flour tortillas that feel fresh and pliable. Stiff or dry tortillas will crack during rolling, while overly soft ones won't crisp properly in the oven.
- Shredded Chicken: Rotisserie chicken provides exceptional flavor and moisture with minimal effort. Focus on a mixture of white and dark meat for the best flavor profile and texture.
- Cheese Blend: A combination of sharp cheddar and Monterey Jack creates the perfect balance of flavor and meltability. Freshly grated cheese melts more smoothly than pre-packaged varieties.
- Salsa Component: Select a chunky salsa or diced tomatoes with green chilies to add moisture and flavor without making the filling watery. The vegetable pieces create texture contrast within the filling.
- Spice Mixture: The combination of cumin, chili powder, garlic powder, and onion powder creates authentic Mexican flavor depth without overwhelming heat. These spices bloom beautifully in the oven.
Mastering The Technique
- Perfect Filling Integration:
- Begin by thoroughly combining all filling ingredients in a large bowl, ensuring even distribution of spices and cheese throughout the mixture. The cheese should be incorporated while the chicken is still slightly warm to partially melt it, creating binding properties that help the filling stay together during baking.
- Proper Rolling Method:
- Lay a tortilla flat and position a precise 1/3 cup of filling slightly below the center in a horizontal line, leaving a 1-inch border on each side. Fold the bottom edge up over the filling, then fold both sides inward toward the center. Roll tightly from bottom to top, applying gentle pressure to create a compact package. This specific technique ensures even filling distribution and prevents leakage during baking.
- Secure Seam Placement:
- Position each chimichanga seam-side down on the baking sheet, using the weight of the filling to naturally seal the edge. This strategic placement eliminates the need for toothpicks or other securing methods and ensures the chimichangas maintain their shape throughout baking.
- Surface Treatment:
- Brush the entire exterior surface with olive oil or melted butter, paying special attention to the corners and edges where crisping begins. This thin, even coating promotes uniform browning and develops the characteristic crunchy texture that defines a perfect chimichanga.
- Strategic Baking Approach:
- Place chimichangas in a preheated 400°F oven, allowing adequate space between each for proper air circulation. Bake for 10 minutes, then rotate the pan for even browning. Continue baking for an additional 10-15 minutes until the exterior reaches a deep golden brown color and feels firm to the touch. This two-stage baking process ensures thorough heating of the filling while achieving optimal crispness.
 Pin it
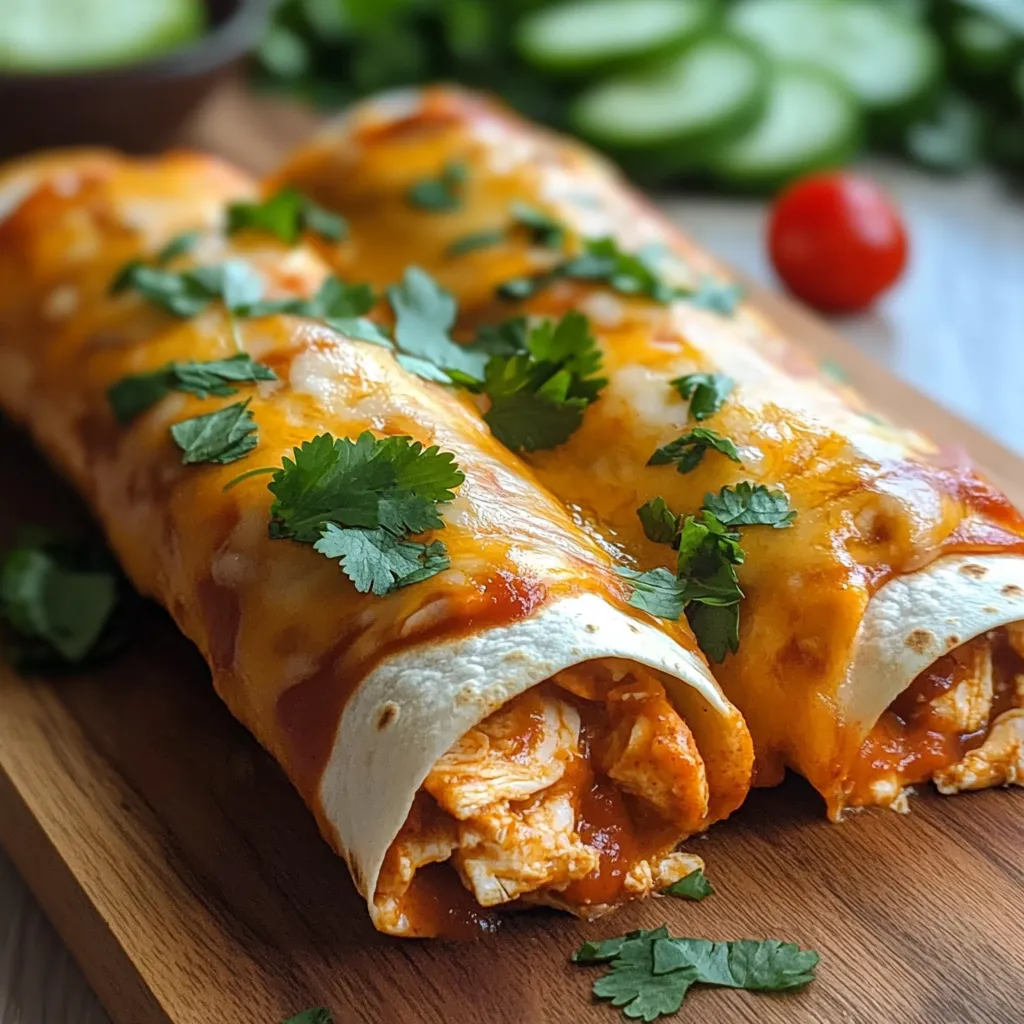
My grandmother's secret to perfect chimichangas was in the rolling technique. "Treat them like you're swaddling a baby," she would say, demonstrating how to keep the filling securely tucked while maintaining an even distribution throughout. Her wisdom transformed what could be a messy eating experience into a portable, perfectly proportioned meal.
Serving Suggestions
Create a topping bar with guacamole, sour cream, and various salsas for customization. Serve atop a bed of Mexican rice with a side of black beans for a complete meal. Garnish with lime wedges and fresh cilantro for brightness and color contrast.
Creative Variations
- Substitute black beans and corn for a vegetarian version
- Add sautéed peppers and onions for additional texture
- Incorporate Mexican chorizo for a spicier profile
- Create breakfast chimichangas with scrambled eggs and bacon
Storage Strategy
Refrigerate leftovers in an airtight container for up to three days. Reheat in a 350°F oven for 10-15 minutes to restore crispness. For make-ahead preparation, assemble chimichangas, wrap individually in plastic, and refrigerate for up to 24 hours before baking.
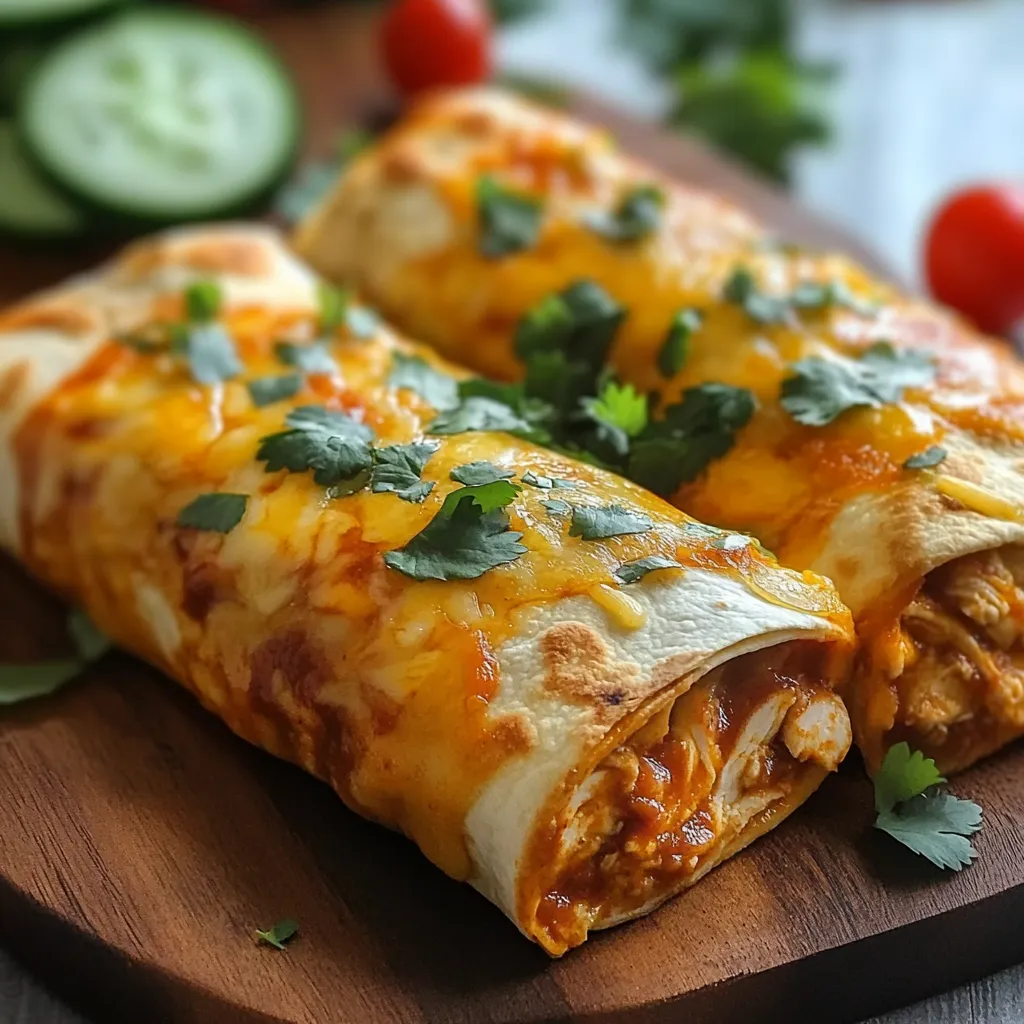
These Baked Chicken Chimichangas represent the perfect balance between indulgence and mindful eating. The oven-baking method delivers the satisfying crunch and rich flavors you crave while keeping preparation simple and cleanup minimal – proving that healthier versions of favorite dishes can be just as delicious as their traditional counterparts.
 Pin it
Frequently Asked Questions
- → Can I make these chimichangas ahead of time?
- Yes! You can assemble them up to a day ahead and refrigerate, covered. Add about 5 minutes to the baking time if cooking from cold. You can also freeze the assembled but unbaked chimichangas for up to 3 months.
- → How can I make these gluten-free?
- Simply substitute the flour tortillas with gluten-free tortillas. Make sure they're large enough and pliable when warmed so they don't crack when folded.
- → What's the best way to reheat leftover chimichangas?
- For the crispiest results, reheat in an oven or toaster oven at 350°F for 10-15 minutes. You can also use an air fryer at 350°F for 3-4 minutes. Avoid the microwave if possible, as it will make them soggy.
- → Can I use a different protein instead of chicken?
- Absolutely! Ground beef, shredded pork, or even plant-based meat alternatives work great. For a vegetarian version, try black beans and rice or roasted vegetables.
- → My tortillas keep unwrapping when I fold them. What am I doing wrong?
- Try warming your tortillas slightly before filling them to make them more pliable. You can also secure them with toothpicks (just remember to remove before serving) or place them seam-side down and let them sit for a few minutes before baking.