
 Pin it
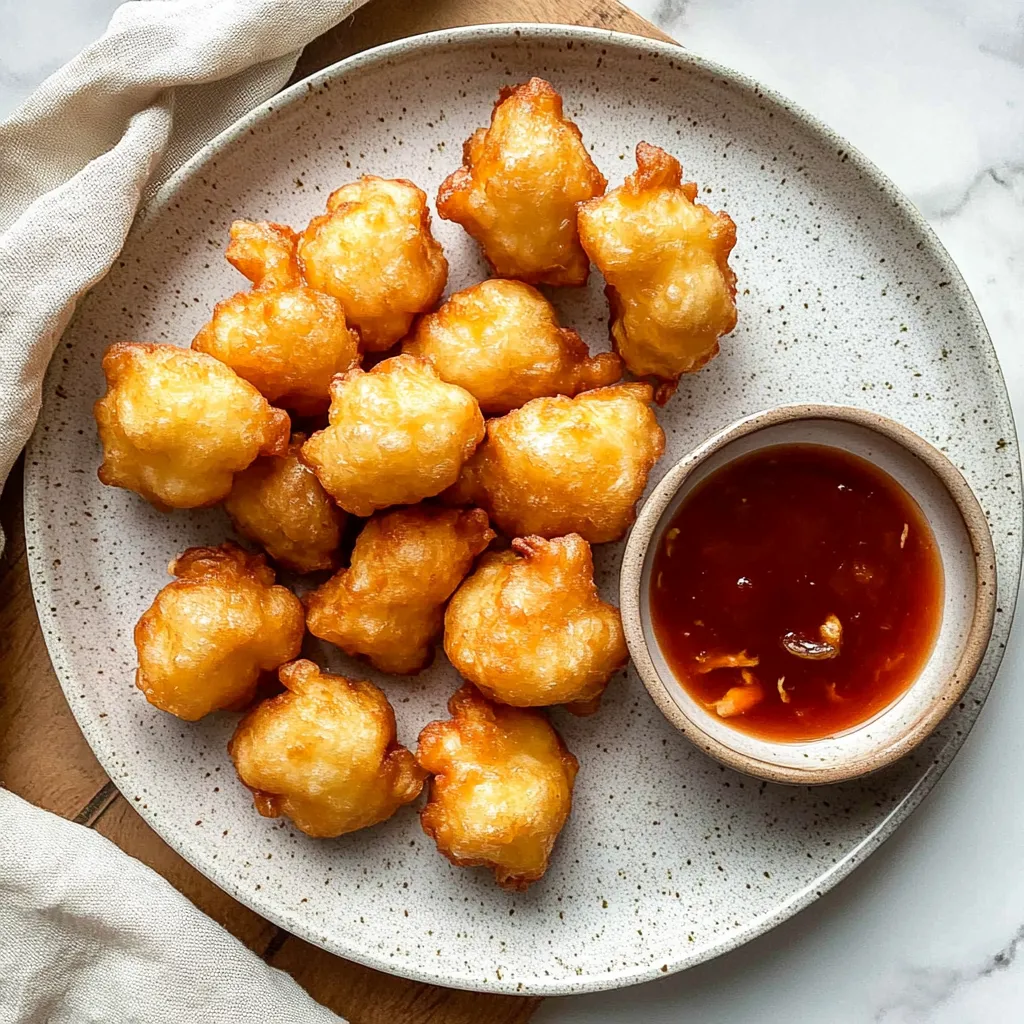
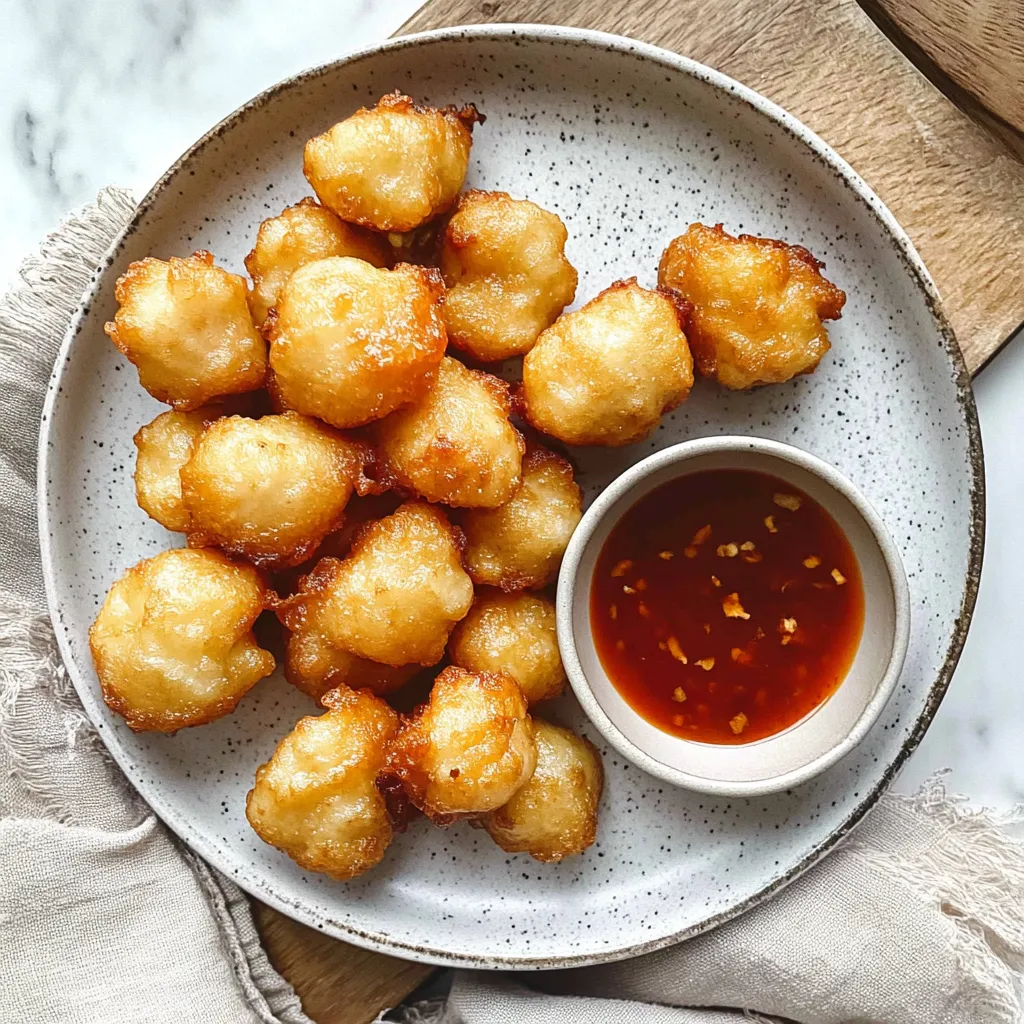
Puffy golden spheres of battered chicken deliver the perfect combination of crispy exterior and juicy interior, paired with a tangy-sweet sauce that creates an irresistible takeout classic at home. Each golden orb offers that distinctive light, airy crunch giving way to tender chicken inside - recreating the Chinese restaurant favorite that brings both nostalgia and amazing flavor to your table.
After countless failed attempts at recreating the perfect Chinese chicken balls from my childhood, I finally discovered the secret to achieving that distinctive puffy coating. What began as a frustrating kitchen experiment has become our family's favorite weekend treat, with my children now requesting 'puff balls' almost every Friday night.
Essential Ingredients
- Chicken Breast: Creates clean-tasting, tender centers that highlight the crispy coating.
- Cornstarch: The crucial ingredient that ensures maximum crispiness in the exterior.
- Baking Powder: The secret to achieving that signature puffed appearance when fried.
- Cold Water: Using chilled water slows gluten development, resulting in a lighter, crispier coating.
- Fresh Lemon Juice: Provides bright acidity in the sauce that bottled versions simply can't match.
Creating Perfect Chicken Balls
- Batter Perfection:
- Begin by whisking your dry ingredients thoroughly to ensure the baking powder is evenly distributed. This creates a consistent puff throughout each chicken ball during frying.
- Consistency Control:
- Add cold water gradually until you achieve a thick batter that coats the chicken pieces completely but slowly drips off. This precise consistency ensures the coating will hold its round shape during frying.
- Frying Technique:
- Maintain your oil at 350°F for optimal results. Gently lower battered chicken pieces into the hot oil, cooking just a few at a time to prevent temperature drops that would result in soggy, oil-soaked balls.
- Color Development:
- Allow each chicken ball to fry undisturbed until golden brown, which indicates the perfect level of crispness. Resist the urge to flip them too soon, which can cause the coating to separate from the chicken.
- Draining Method:
- Transfer cooked chicken balls to a wire rack rather than paper towels. This crucial step allows air to circulate around the entire surface, maintaining maximum crispiness.
 Pin it
My grandmother, who grew up near a Chinese restaurant in San Francisco, taught me her sauce recipe after watching my early failed attempts. She explained that the balance of sweet and sour elements should allow you to taste each component individually while creating a harmonious whole.
Perfect Pairings
Serve these golden balls alongside vegetable fried rice and steamed broccoli for a complete homemade Chinese feast. For an appetizer spread, pair with crab rangoons and vegetable spring rolls.
Flavorful Variations
Transform this dish by adding minced ginger and garlic to the chicken before battering for a more aromatic result. Create a spicy version by adding Sriracha to your sweet and sour sauce, or try a honey garlic sauce for a different flavor profile.
Storage Solutions
Store leftover chicken balls separate from the sauce in an airtight container in the refrigerator for up to three days. Reheat in a 375°F oven for 10 minutes to restore crispiness.
After perfecting this recipe through years of trial and error, I've learned that the true secret lies in respecting the technique while embracing the joy of the process. While these chicken balls require some effort, the moment you bite through that perfectly crisp exterior into juicy chicken within, you'll understand why this takeout classic has remained beloved for generations.
 Pin it
Frequently Asked Questions
- → Can I make these ahead of time?
- The sauce can be made up to two weeks ahead, but the chicken balls are best served immediately after frying for maximum crispiness.
- → What oil is best for frying?
- Use any neutral oil with a high smoke point like vegetable, canola, or peanut oil. The oil should be heated to around 350°F (175°C) for best results.
- → Can I use chicken thighs instead of breast?
- Yes! Chicken thighs work great and stay juicier than breast meat. Just make sure to trim excess fat and cut into even-sized chunks.
- → Why is my batter not crispy?
- Make sure your oil is hot enough before frying. Cold batter hitting hot oil creates the crispy exterior. Also, don't overcrowd the pan, which lowers the oil temperature.
- → What can I serve with these?
- These go great with fried rice, steamed vegetables, or noodles. For a complete takeout-style meal, serve with egg rolls and crab rangoon.