
 Pin it
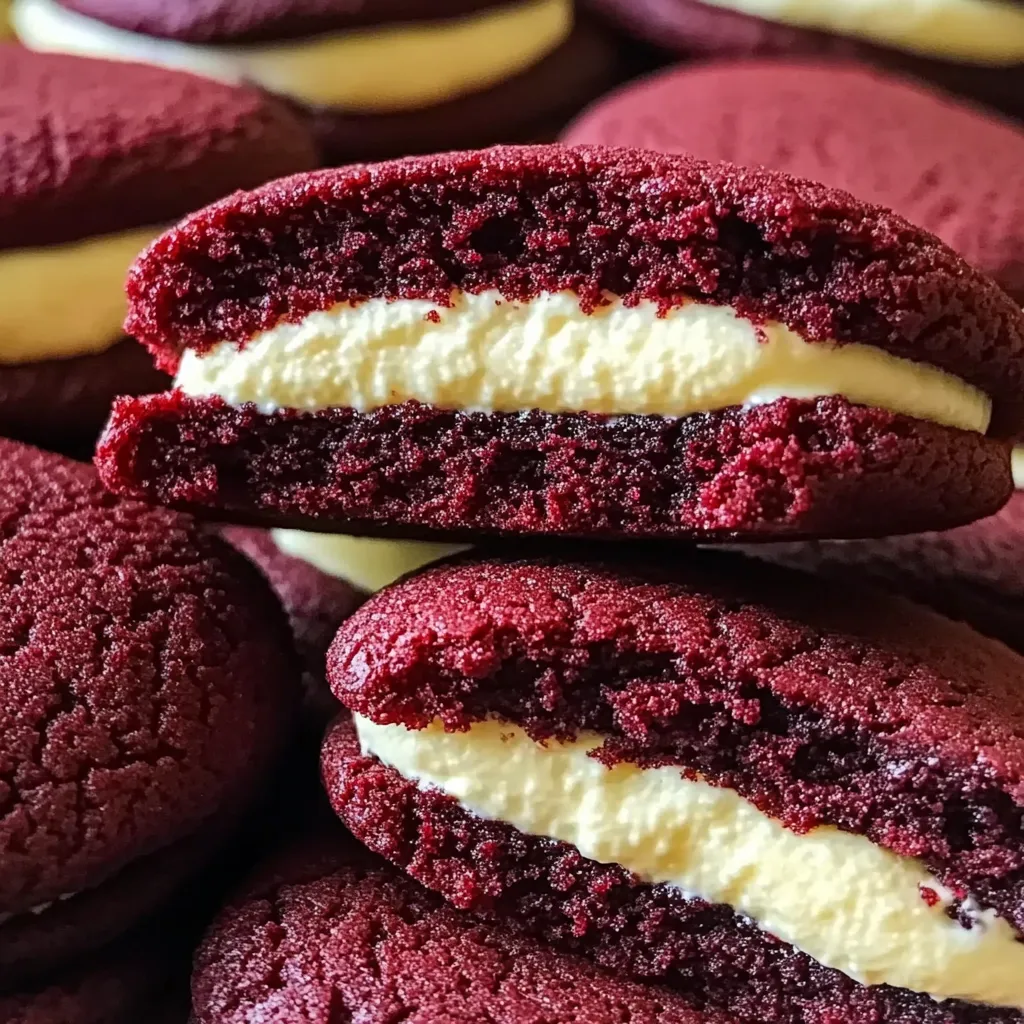
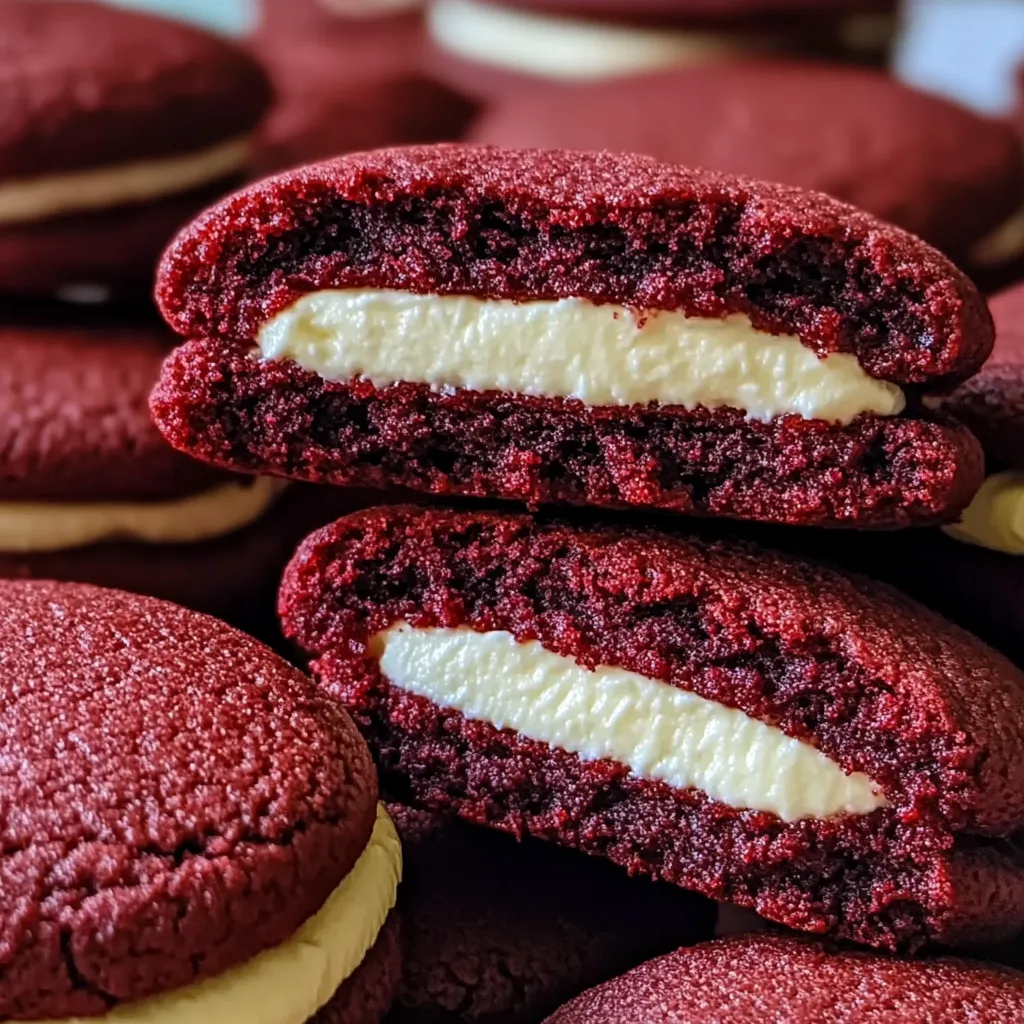
Cream Cheese Filled Red Velvet Cookies transform the beloved cake flavor into handheld treats with an irresistible hidden center of tangy sweetness. Each vibrant red cookie conceals a pocket of creamy filling that creates the perfect contrast to the soft, slightly cocoa-flavored exterior. The visual impact of breaking open these cookies reveals their secret – a luscious cream cheese center that adds both moisture and flavor complexity while creating that classic red velvet experience in every bite.
I first made these cookies for a holiday cookie exchange last December, unsure if they would stand out among the traditional offerings. Within minutes of serving, three different people asked for the recipe while they were still eating. My typically sugar-averse brother-in-law shocked everyone by returning for seconds and quietly asking if I could pack some for him to take home. What surprised me most was watching my young niece, who normally dissects her food with suspicion, biting into these cookies with complete abandon and declaring them "the best thing ever." The hidden filling seems to create that perfect moment of surprise that makes these cookies memorable beyond their delicious flavor.
Essential Elements
- Red food coloring: Creates signature vibrant appearance essential to red velvet experience. Gel coloring provides most intense color with minimal liquid addition to dough.
- Cocoa powder: Contributes subtle chocolate notes without overwhelming. Dutch-processed delivers smoother flavor than natural cocoa in this application.
- Cream cheese: Forms creamy center that defines these cookies. Philadelphia brand consistently produces smoothest results with ideal tanginess.
- Vinegar: Activates baking soda while enhancing red color development. White vinegar leaves no detectable flavor in finished cookie.
- Unsalted butter: Creates tender texture and rich flavor throughout cookie base. European-style with higher butterfat produces exceptional results.
- Powdered sugar: Sweetens filling without grittiness while stabilizing structure. Pre-sifting prevents lumps in smooth cream cheese center.
Baking Blueprint
- Prepare dry foundation:
- Whisk flour with cocoa powder, baking soda and salt ensuring even distribution of leavening and flavor. This thorough mixing prevents cocoa powder from clumping while creating consistent color throughout dough.
- Create butter base:
- Beat softened butter with granulated sugar until noticeably lighter in both color and texture. This critical step incorporates air into the mixture creating soft cookie structure while properly dissolving sugar crystals.
- Add color elements:
- Incorporate egg, vanilla, food coloring and vinegar mixing until fully blended. Vibrant red color should develop throughout mixture without streaking. Scrape bowl thoroughly ensuring even color distribution.
- Form soft dough:
- Gradually add dry ingredients to wet mixture combining just until incorporated. Avoid overmixing which develops gluten leading to tough cookies rather than tender ones desired for this recipe.
- Prepare creamy filling:
- Beat room temperature cream cheese with powdered sugar and vanilla until completely smooth without lumps. Filling should maintain shape while remaining easily spreadable. Slight tanginess balances cookie sweetness perfectly.
- Assemble filled cookies:
- Flatten portion of dough creating shallow well in center. Add measured amount of cream cheese filling then top with second piece of dough. Seal edges completely enclosing filling within cookie dough.
- Bake with precision:
- Place formed cookies on parchment-lined baking sheets allowing adequate spacing. Bake just until edges set while centers remain soft. Slight underbaking creates ideal texture as cookies will continue firming while cooling.
My first attempt at these cookies taught me valuable lessons about patience with the assembly process. In my hurry to get them in the oven, I didn't properly seal the edges of several cookies, creating a messy (though still delicious) situation as filling escaped during baking. Now I take extra time ensuring complete sealing while keeping the dough relatively thick around the filling. I've also discovered that chilling the assembled cookies briefly before baking helps them maintain their shape and prevents spreading – about fifteen minutes in the refrigerator produces the perfect dome-shaped cookie. The most surprising discovery was how these cookies actually improve with time – the subtle cocoa flavor develops more fully while the cream cheese filling melds with the cookie, creating an even better flavor balance on day two.
Serving Suggestions
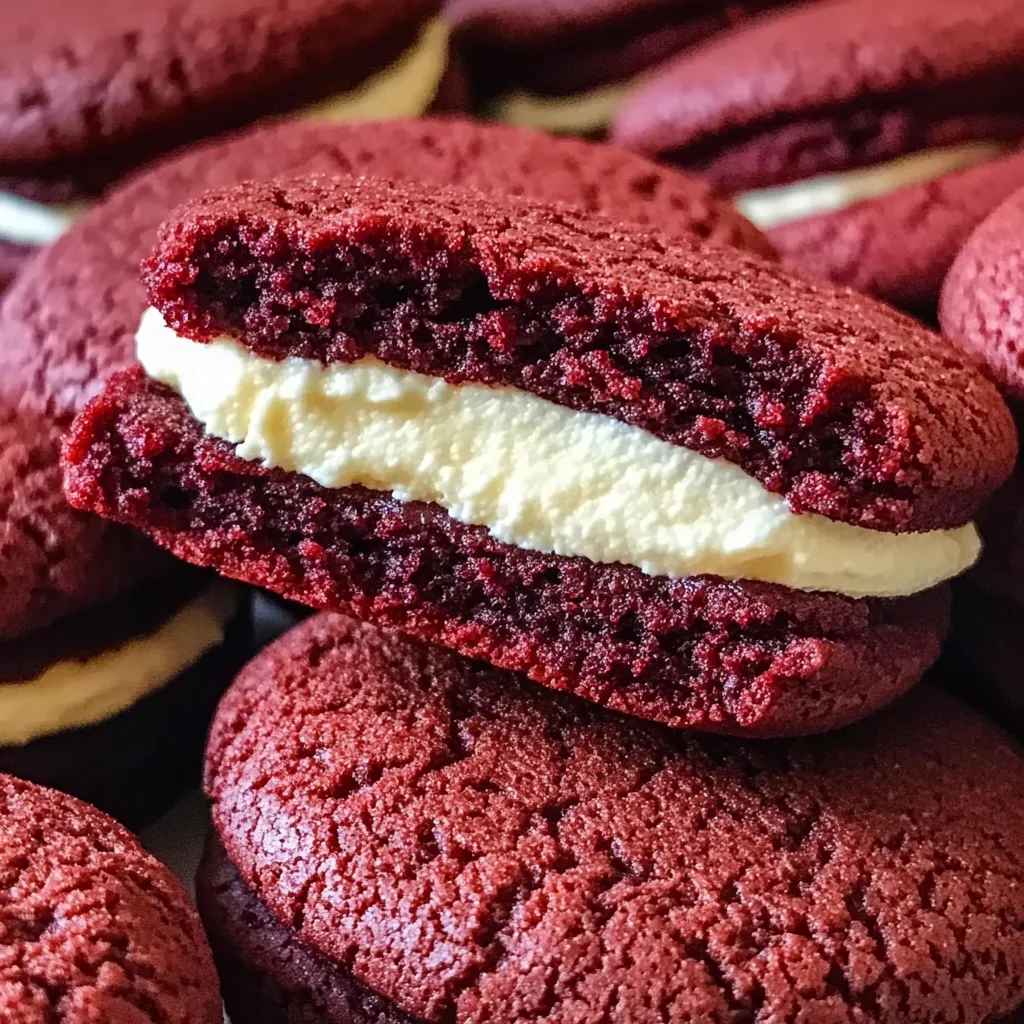
Pair with cold milk creating perfect temperature contrast to cookies. Present on tiered stand with whole cookies on top and halved cookies below revealing filling for visual impact. Consider offering alongside fresh berries whose tartness complements sweet-tangy cookie flavors beautifully.
Flavor Variations
Add mini chocolate chips to cookie dough enhancing chocolate notes throughout. Incorporate orange zest into cream cheese filling creating citrus brightness that complements red velvet flavor. Substitute portion of granulated sugar with brown sugar for deeper caramel undertones throughout cookie base.
Storage Success
Keep in airtight container with parchment between layers preventing sticking. Refrigerate during warm weather to maintain cream cheese filling safety and texture. Allow cookies to return to room temperature before serving for ideal texture and flavor experience.
The first time I brought these cookies to my neighborhood cookie exchange, they disappeared before the traditional favorites despite their newcomer status. What makes these treats truly special isn't just their striking appearance, but how they transform a familiar flavor into something unexpectedly delightful. The contrast between the soft cookie and creamy center creates a texture experience that's difficult to resist, while the classic red velvet flavor provides comforting familiarity. I've discovered they're perfect for those occasions when you want to create something visually impressive that still delivers on flavor – they consistently earn enthusiastic reactions without requiring advanced decorating skills or specialty ingredients.
Frequently Asked Questions
- → Why do you need vinegar in red velvet cookies?
- The vinegar reacts with the baking soda to help the cookies rise and also enhances the red color by reacting with the cocoa powder.
- → Can I use gel food coloring instead of liquid?
- Yes, gel food coloring works well and may give you a more intense color. Start with 1-2 teaspoons as it's more concentrated than liquid coloring.
- → How do I know if my cookies are done baking?
- The edges should be set and slightly golden, but the centers will still look soft. They'll firm up as they cool, so don't overbake them.
- → Can I make the dough ahead of time?
- Yes! You can refrigerate the dough for up to 2 days. Just let it sit at room temperature for about 30 minutes before shaping the cookies.
- → Why did my cream cheese filling leak out during baking?
- Make sure you completely seal the dough around the filling and chill the formed cookies for 15-20 minutes before baking if they seem too soft.
- → How should I store these cookies?
- Store in an airtight container in the refrigerator for up to 5 days due to the cream cheese filling.