Pound chicken thin, coat in flour, egg, and panko breadcrumbs, then fry until golden. Serve with a homemade sweet and tangy sauce made from ketchup and Asian seasonings.
The perfect Chicken Katsu combines juicy, tender chicken with an irresistibly crispy golden-brown crust. This beloved Japanese comfort food transforms simple ingredients into a satisfying meal that's both impressive and achievable at home.
I learned this recipe from a Japanese friend's mother, who taught me that the key to perfect katsu lies in properly pounding the chicken and maintaining steady oil temperature. Her technique of pressing the panko coating firmly onto each piece has never failed me.
Essential Ingredients Guide
* Chicken breasts: Choose quality boneless, skinless breasts that can be evenly pounded
* Panko breadcrumbs: These Japanese-style breadcrumbs create the signature ultra-crispy coating
* Neutral oil: Select oil with a high smoke point like vegetable or canola for perfect frying
* All-purpose flour: Creates the foundation layer that helps the coating stick
* Fresh eggs: Act as the essential binding agent between flour and panko
Creating Perfect Katsu
Chicken Preparation
Pound chicken breasts to an even ½-inch thickness between plastic wrap using gentle, controlled motions.
Seasoning Step
Season both sides with salt and pepper, allowing flavors to penetrate the meat.
Coating Process
Dredge in flour, then egg, and finally press firmly into panko for maximum coverage.
Oil Temperature
Heat oil to exactly 350°F (175°C), maintaining temperature throughout cooking.
Frying Technique
Cook each piece until golden brown, about 3-4 minutes per side.
Resting Period
Let rest on a wire rack to maintain crispiness before slicing.
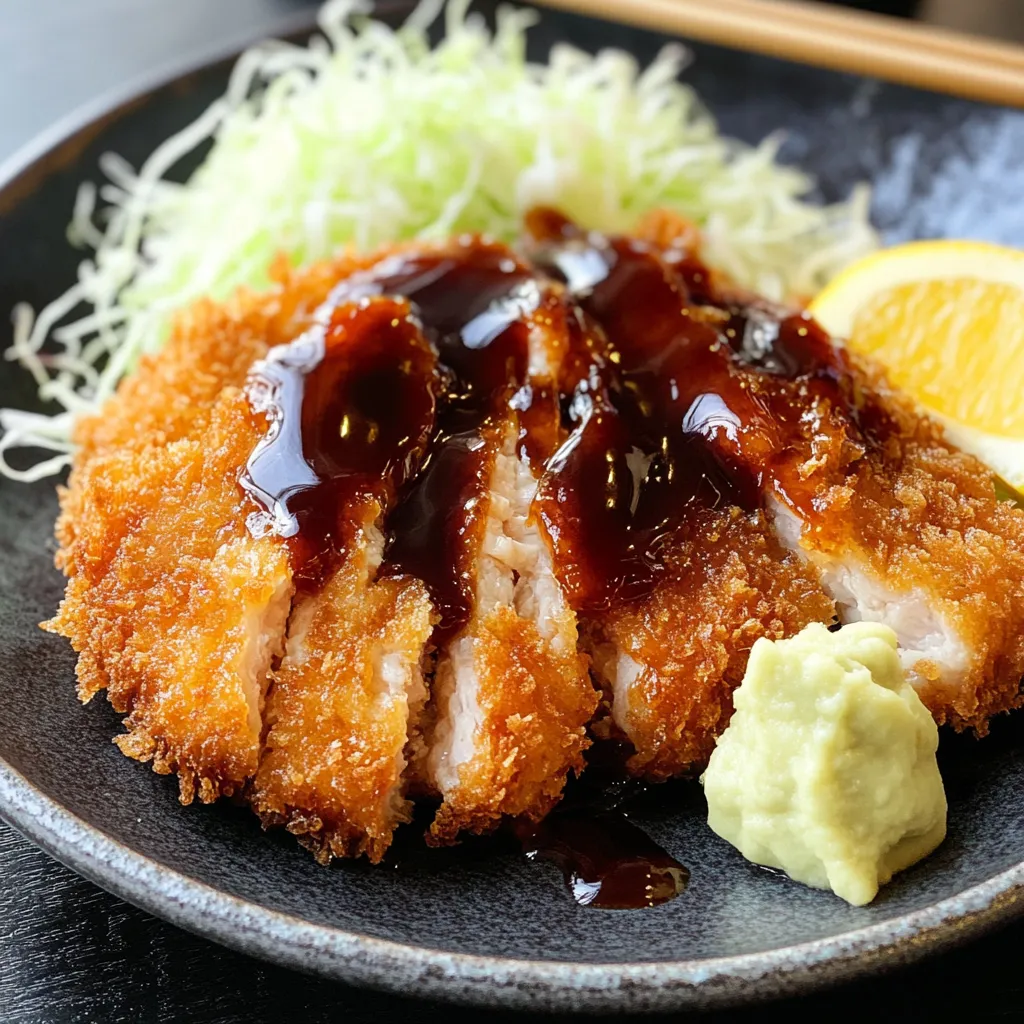
Pin itChicken Katsu | recipesfives.com
My journey with this recipe began in a tiny Tokyo kitchen, where I watched in awe as my host mother created the most perfectly crisp katsu I'd ever tasted. She taught me that patience during the coating process makes all the difference.
Perfect Pairings
Elevate your katsu to a complete meal with thoughtful accompaniments. Serve over fluffy white rice with shredded cabbage dressed in rice vinegar. Drizzle with tonkatsu sauce for authentic flavor. A side of miso soup creates a traditional Japanese dinner experience.
Creative Variations
Make this recipe your own with delicious adaptations. Try using chicken thighs for extra juiciness. Create a curry katsu by serving with Japanese curry sauce. Make katsu sandwiches (katsu sando) with soft milk bread and tonkatsu sauce. For a healthier version, bake at 400°F until golden and crispy.
Smart Storage
Keep leftover katsu crispy by storing in an airtight container with paper towels to absorb moisture. Reheat in a 350°F oven until hot and crispy, about 10 minutes. Avoid microwaving, which makes the coating soggy.
This Chicken Katsu recipe has become my go-to comfort food, proving that simple ingredients handled with care can create something extraordinary. Whether served traditionally or with modern twists, it never fails to bring smiles to the table.
Kitchen Wisdom
Organize your breading station in a line for efficient workflow. Keep one hand dry and one wet to prevent coating buildup on your fingers.
Seasonal Sides
Adapt your sides seasonally. Light cucumber salads in summer, warm curry in winter. Each season offers new ways to enjoy this versatile dish.
Storage Success
For make-ahead preparation, bread the chicken and freeze uncooked. Thaw in the refrigerator overnight before frying.
After years of making this dish, I've found that Chicken Katsu is more than just a recipe - it's a testament to the beauty of simple ingredients transformed through careful technique. Each crispy, juicy bite carries the warmth of Japanese home cooking and the satisfaction of mastering a beloved classic.
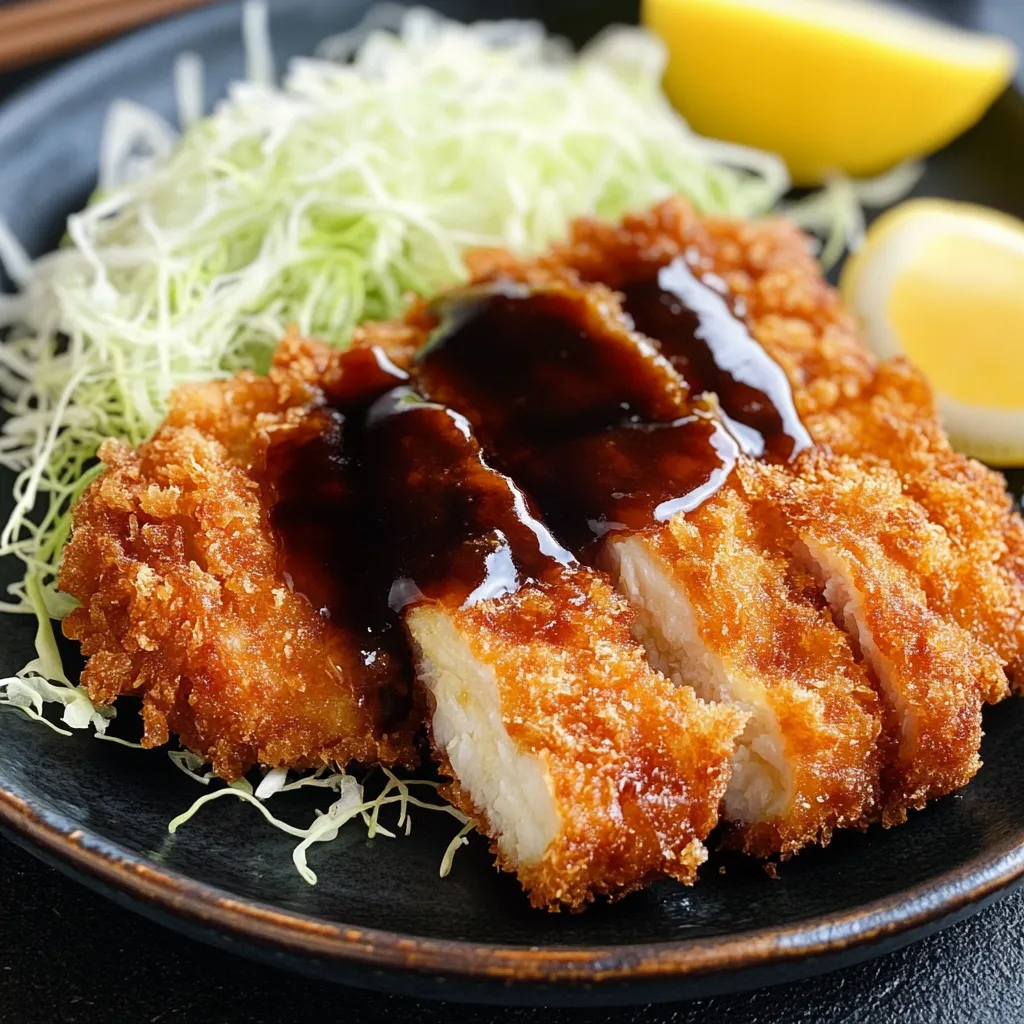
Pin itEasy Chicken Katsu | recipesfives.com
Frequently Asked Questions
→ Can I bake this instead of frying?
Yes! Spray with oil and bake at 400°F for 20-25 minutes, flipping halfway through. It won't be quite as crispy but still delicious.
→ What can I serve with chicken katsu?
Serve with steamed rice, shredded cabbage, miso soup, or turn it into a katsu curry with Japanese curry sauce.
→ Can I make the sauce ahead?
Yes! The tonkatsu sauce actually gets better after a day in the fridge. It'll keep for up to 2 weeks refrigerated.
→ Why isn't my coating sticking?
Make sure to pat the chicken dry first, and press the panko on firmly. Let the breaded chicken rest for 5 minutes before frying.
→ Can I use regular breadcrumbs?
Panko gives the best crunch, but regular breadcrumbs will work. The texture won't be quite as light and crispy.
Crispy Japanese Chicken Katsu
Crispy panko-breaded chicken cutlets served with a sweet and tangy homemade tonkatsu sauce. A Japanese restaurant favorite made easy!
Mix ketchup, soy sauce, brown sugar, mirin, Worcestershire sauce, ginger, and garlic in a bowl. Let it sit for at least 30 minutes to let the flavors blend together.
Step 02
Pound the chicken breasts to about 1/2 inch thick. Season both sides with salt, pepper, and a little soy sauce.
Step 03
Get three bowls ready: put flour in one, beaten egg in another, and panko breadcrumbs in the last one.
Step 04
Coat each piece of chicken in flour first, then dip in egg, and finally cover with panko breadcrumbs, pressing gently to help them stick.
Step 05
Heat oil in a pan to 350°F. Fry the chicken for 4-5 minutes on each side until golden brown and cooked through.
Step 06
Let the chicken drain on paper towels, then slice and serve with your homemade tonkatsu sauce.
Notes
The sauce gets even better if you let it sit in the fridge overnight
Make sure your oil is hot enough before frying for the crispiest coating
Try the sauce with other dishes like coconut shrimp or pork cutlets
Tools You'll Need
Meat mallet or rolling pin
3 shallow bowls for breading
Large non-stick skillet
Paper towels
Allergy Information
Please check ingredients for potential allergens and consult a health professional if in doubt.

 Pin it
 Pin it
 Pin it