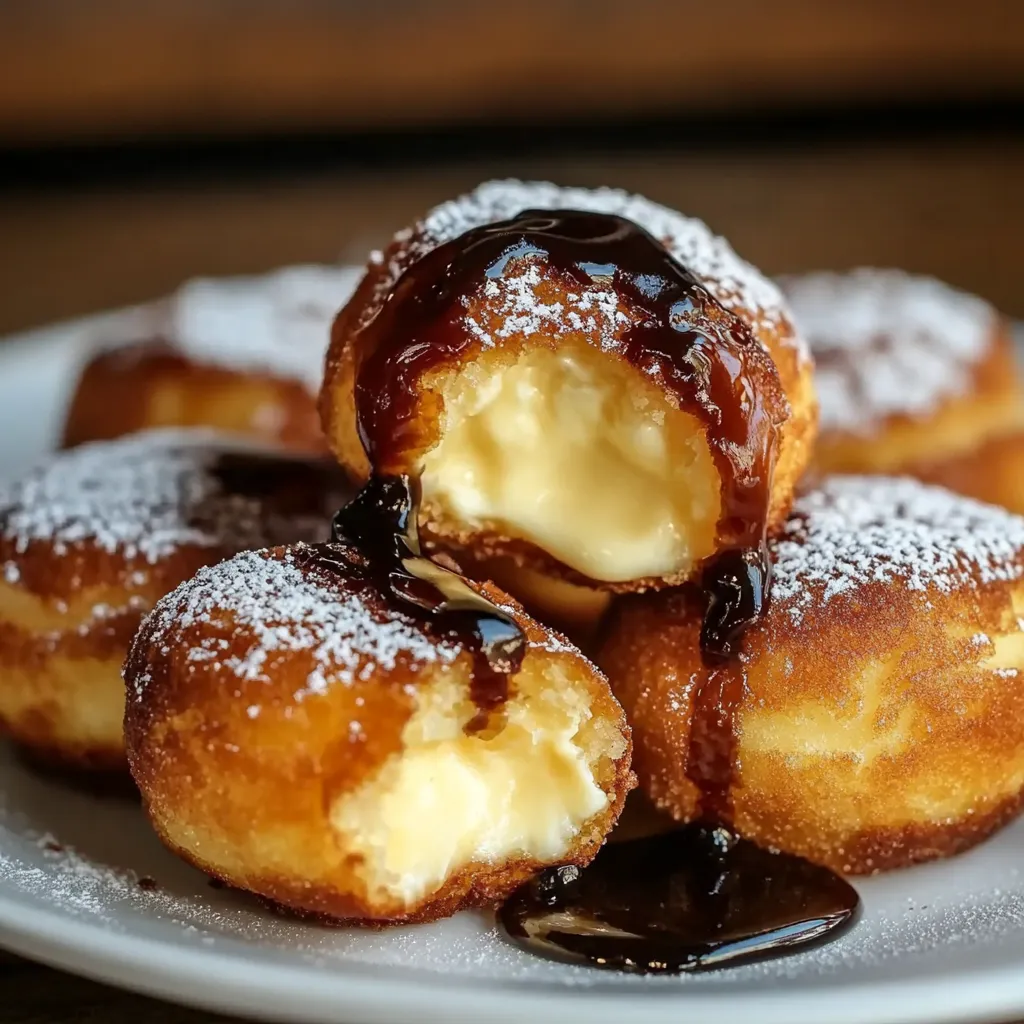
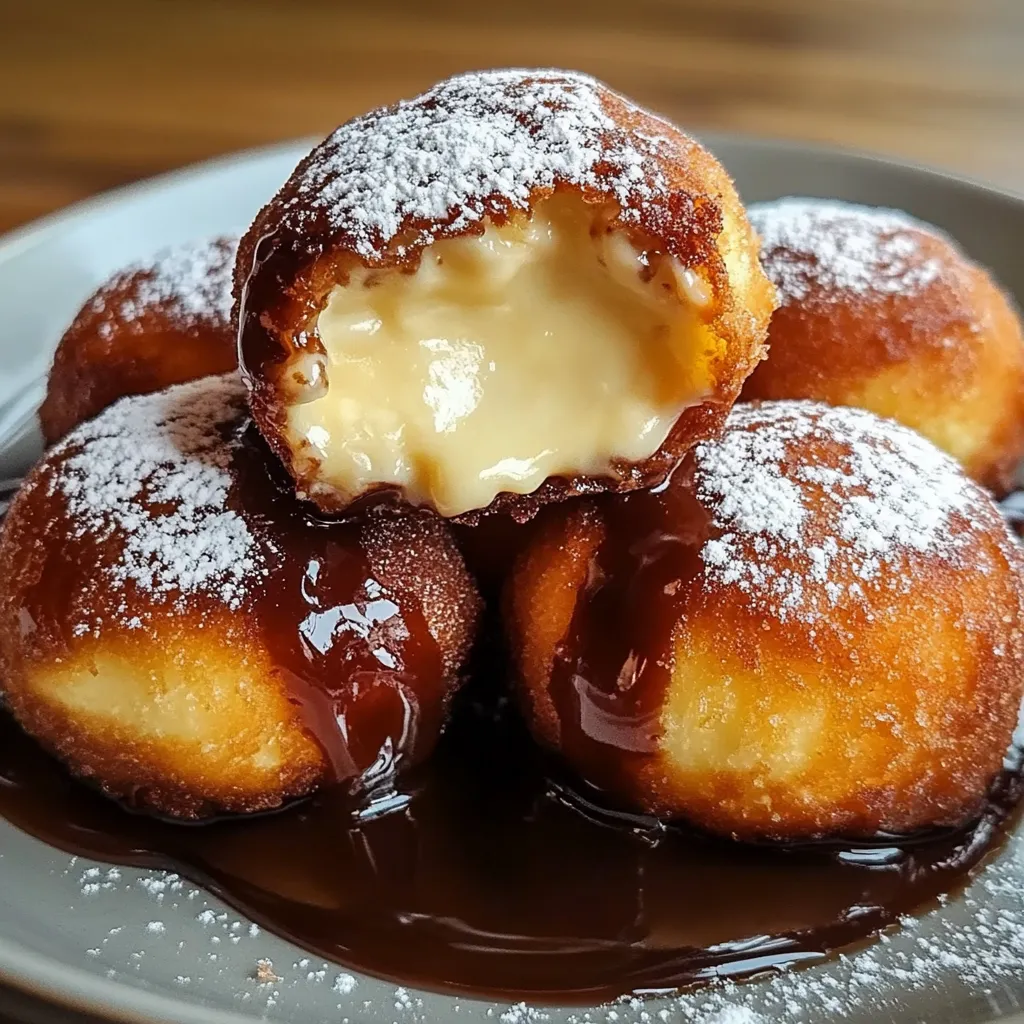
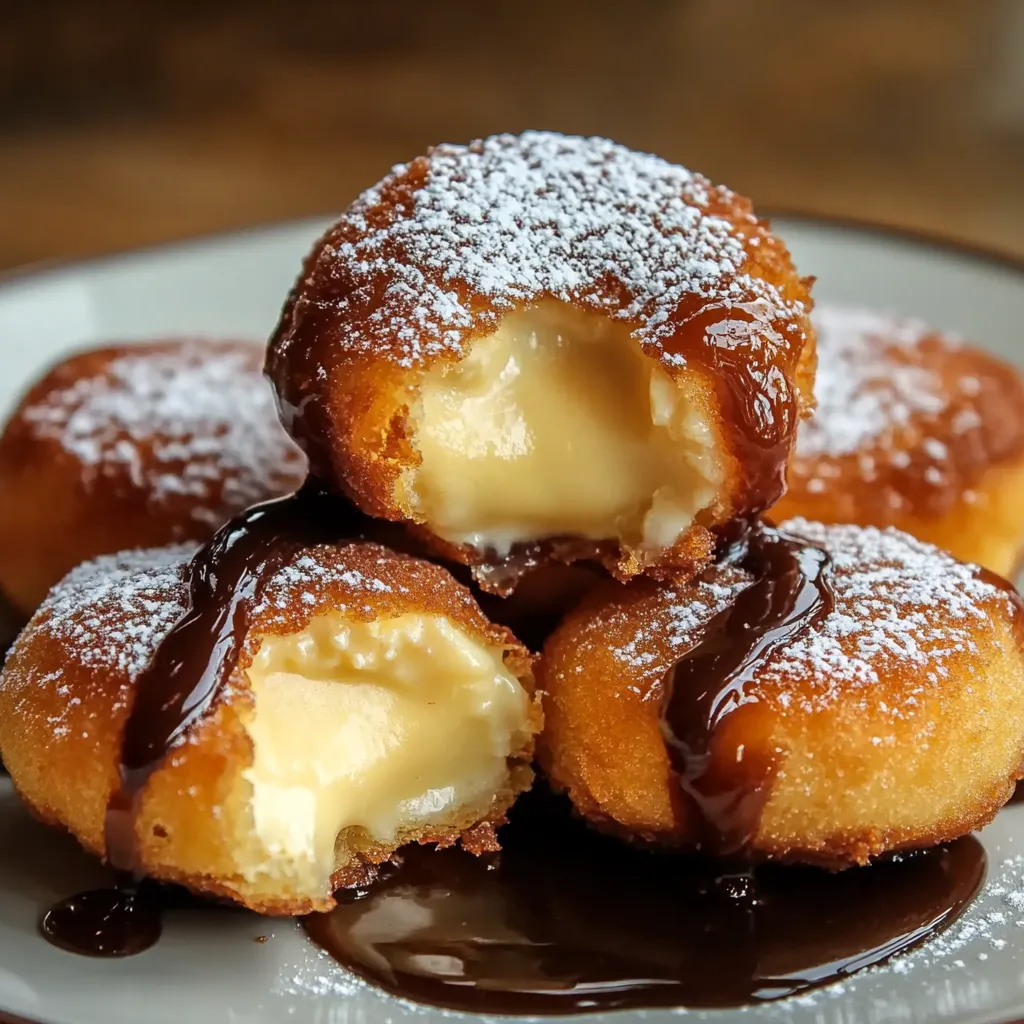
These cheesecake bites feature frozen cream cheese filling dipped in batter and fried until golden. Roll them in cinnamon sugar for an extra sweet crunch.
Deep-fried cheesecake bites transform the classic dessert into an irresistibly indulgent treat, combining a crispy golden exterior with a velvety smooth center. These bite-sized delights deliver an exciting contrast of textures - from the satisfying crunch of the wrapper to the rich, creamy cheesecake filling that melts in your mouth.
I first discovered these delightful bites at a local fair and became obsessed with recreating them at home. After several attempts and many happy taste-testers, I perfected this version that my family now requests for every celebration.
Your Essential Ingredients
* Cream cheese: Choose full-fat cream cheese at room temperature for the smoothest, richest filling. The slight tang balances the sweetness perfectly
* Spring roll wrappers: These create that perfect golden shell and seal in all the creamy goodness. Look for ones that feel fresh and pliable
* Vanilla extract: Pure vanilla extract adds depth and warmth to the filling. The real thing makes a noticeable difference
* Sour cream: This secret ingredient adds extra creaminess and helps achieve that perfect cheesecake texture
* Vegetable oil: Choose a neutral oil with a high smoke point to achieve that beautiful golden crust
Creating Your Cheesecake Bites
Creamy Filling Creation
Beat the softened cream cheese until perfectly smooth, then blend in sugar until light and fluffy. Add vanilla and egg, mixing until well combined.
Wrapper Preparation
Lay out your spring roll wrappers and keep them covered with a damp cloth to prevent drying while you work.
Filling Assembly
Place a generous tablespoon of filling in the center of each wrapper, being careful not to overfill.
Perfect Wrapping
Fold the corners in tightly, sealing with water to create secure packages that will hold up during frying.
Oil Temperature Control
Heat oil to exactly 350°F, using a thermometer to maintain this crucial temperature throughout cooking.
Golden Frying
Carefully lower wrapped bites into hot oil, cooking until they achieve a beautiful golden brown color, about 2-3 minutes per side.
Crispy Deep-Fried Cheesecake Bites Recipe | recipesfives.com
My family discovered that freezing the assembled bites for just 30 minutes before frying creates the perfect texture contrast - a crispy exterior with a filling that stays delightfully cool and creamy in the center.
Companion Flavors
These golden delights shine even brighter when paired with complementary touches. Drizzle warm chocolate sauce or caramel for added decadence. Fresh berry compote provides a wonderful tartness that cuts through the richness. For special occasions, create a dessert bar with various sauces, whipped cream, and chopped nuts, letting guests customize their treats.
Recipe Variations
Transform these bites with creative twists that make them uniquely yours. Stir fruit preserves into the filling for fruity bursts of flavor. Add a sprinkle of cinnamon and nutmeg for warm, spiced notes. Create chocolate lovers' version by incorporating melted chocolate into the filling. For special diets, try using low-fat cream cheese or dairy-free alternatives.
Keeping Fresh
Store unfried assembled bites in the freezer, wrapped individually in plastic wrap and placed in an airtight container. When ready to serve, fry them straight from frozen, adding an extra minute to the cooking time. Already fried bites are best enjoyed immediately, but can be reheated in a 350°F oven for 5 minutes to restore their crispiness.
These deep-fried cheesecake bites have become my signature dessert at family gatherings. There's something magical about watching people's faces light up when they bite through the crispy exterior and discover the creamy surprise within. The combination of textures and temperatures creates an experience that's truly greater than the sum of its parts.
Sweet Success
The key to perfect bites lies in the details. Take your time wrapping each one securely, and don't rush the frying process. Having everything prepared and organized before you start makes the entire process smoother and more enjoyable.
Custom Creations
Let the seasons inspire your variations. Summer calls for fresh strawberry swirls, while autumn welcomes pumpkin spice adaptations. Consider local flavors and ingredients that might add a unique twist to these versatile treats.
Fresh and Ready
Timing is everything with these bites. Plan your frying around serving time for the best experience. If needed, keep finished bites warm in a low-temperature oven, but remember they're at their absolute best served fresh from the fryer.
After countless batches and experiments, I've found that these cheesecake bites represent the perfect balance of preparation and spontaneity. While the recipe requires attention to detail, the joy they bring to any gathering makes every careful step worthwhile. Whether served at an elegant dinner party or casual family dessert, they never fail to create moments of pure dessert bliss.
Easy Crispy Deep-Fried Cheesecake Bites | recipesfives.com
Frequently Asked Questions
→ Why do I need to freeze the cheesecake balls?
Freezing helps the cheesecake filling keep its shape during frying and prevents it from melting into the hot oil.
→ Can I make these ahead of time?
Yes! You can prepare and freeze the cream cheese balls up to a week ahead. Just fry them when you're ready to serve.
→ What oil is best for frying these?
Vegetable oil, canola oil, or any neutral oil with a high smoke point works well for frying these cheesecake bites.
→ How do I know when they're done frying?
They should be golden brown on the outside, which usually takes 2-3 minutes in oil at 350°F.
→ What can I serve with these?
Try serving them with chocolate sauce, caramel, berry compote, or simply dust them with powdered sugar or cinnamon sugar.
Crispy Cheesecake Bites
Golden-fried bites of creamy cheesecake wrapped in a crispy coating, perfect for parties or a special dessert treat.
018 ounces cream cheese, softened to room temperature
021/4 cup powdered sugar
031 teaspoon vanilla extract
→ For the Crispy Coating
041/2 cup all-purpose flour
051/4 cup cornstarch
061 teaspoon baking powder
071/2 teaspoon salt
081/2 cup milk
091 large egg
→ For Frying & Coating
10Vegetable oil for deep frying
11Cinnamon sugar for coating (optional but recommended!)
Instructions
Step 01
Grab your softened cream cheese and mix it up with powdered sugar and vanilla until it's super smooth and creamy. You want this mixture to be totally lump-free!
Step 02
In a separate bowl, whisk together your flour, cornstarch, baking powder, and salt. Pour in the milk and egg, whisking until you've got a smooth, pancake-like batter.
Step 03
Using a spoon, scoop out little balls of the cream cheese mixture. Pop these guys onto a tray and stick them in the freezer for at least an hour - this is super important to help them keep their shape!
Step 04
Heat up your oil to 350°F. Take your frozen cream cheese balls, dip them in the batter, and carefully drop them into the hot oil. Let them sizzle for about 2-3 minutes until they're golden brown and beautiful.
Step 05
While they're still warm, roll these crispy bites in cinnamon sugar for that extra bit of sweetness. They're best served right away while they're still warm and crunchy!
Notes
These little bites are best enjoyed fresh and warm, when the outside is super crispy and the inside is still creamy
Don't skip the freezing step - it's what helps keep your filling from melting into the oil
Try serving these with some chocolate sauce or caramel for dipping
Tools You'll Need
Deep frying pan or deep fryer
Mixing bowls
Whisk
Baking tray for freezing
Paper towels for draining
Allergy Information
Please check ingredients for potential allergens and consult a health professional if in doubt.
Contains dairy (cream cheese, milk)
Contains eggs
Contains gluten (flour)
Nutrition Facts (Per Serving)
It is important to consider this information as approximate and not to use it as definitive health advice.

 Pin it