
 Pin it
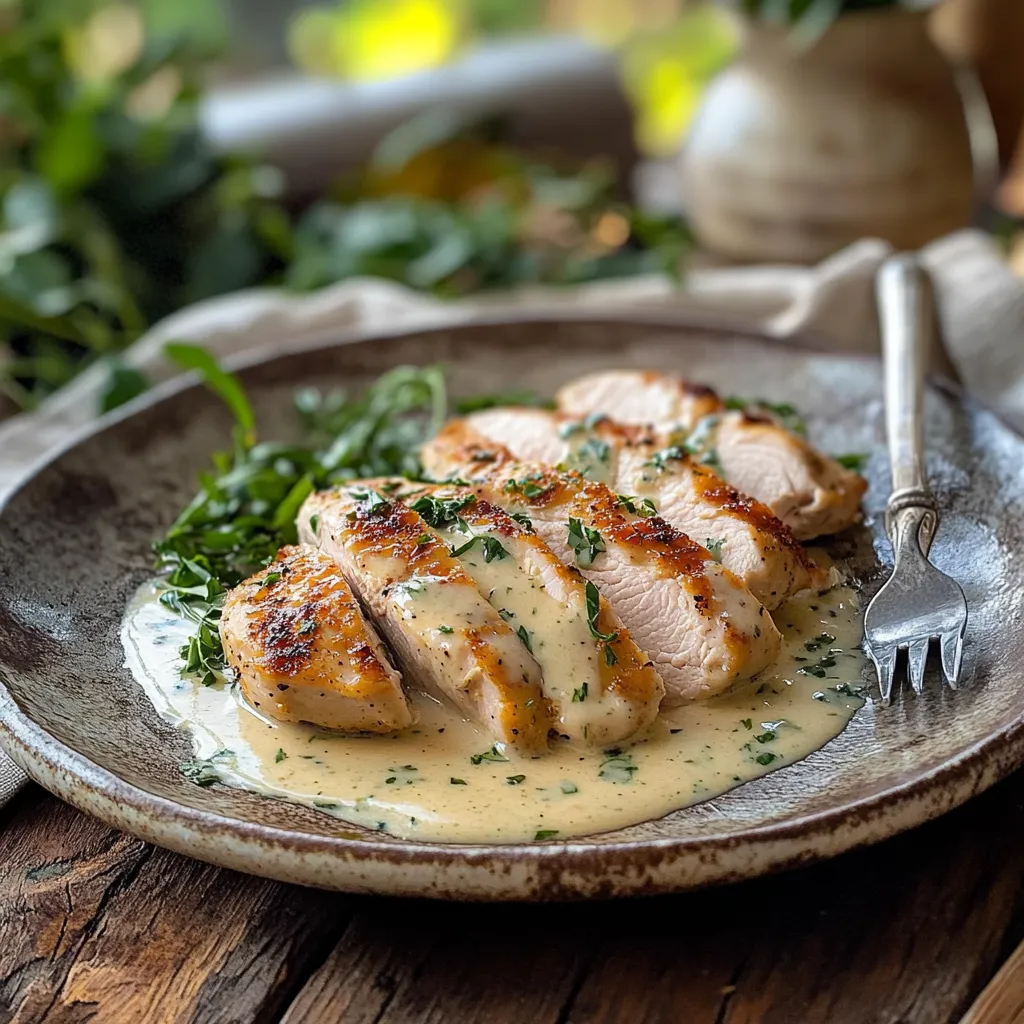
Melt-in-your-mouth Caesar chicken transforms the beloved flavors of classic Caesar salad into a comforting main dish that's both elegant and satisfying. The tender chicken, enveloped in creamy Caesar dressing and crowned with a crispy Parmesan-panko crust, creates an irresistible combination that makes any dinner feel special. This recipe elevates simple chicken breasts into a memorable meal that brings restaurant quality right to your dinner table.
The first time I made this recipe, my kitchen filled with an amazing aroma that had everyone asking when dinner would be ready. The combination of garlic, Parmesan, and herbs created such an inviting atmosphere that my family couldn't wait to dig in.
Essential Ingredients
- Boneless chicken breasts: Choose pieces of similar size for even cooking and tender results
- Caesar dressing: Select a high-quality variety for the best flavor foundation
- Parmesan cheese: Fresh grated creates a superior crust compared to pre-grated options
- Panko breadcrumbs: These Japanese-style breadcrumbs provide exceptional crunch
- Garlic powder: Adds depth to the coating without the risk of burning that fresh garlic brings
- Dried parsley: Incorporates color and subtle herbaceous notes throughout the dish
Creating Caesar Magic
- Preparation Palace:
- Pound chicken breasts gently between parchment paper for even thickness
- Dressing Dreams:
- Coat each piece thoroughly in Caesar dressing, allowing flavors to penetrate
- Crumb Creation:
- Mix Parmesan, panko, and seasonings until perfectly combined
- Coating Mastery:
- Press the crumb mixture firmly onto each piece of chicken
- Golden Journey:
- Bake until the crust turns golden and chicken cooks through
- Final Glory:
- Let rest briefly before serving to lock in precious juices
 Pin it
My grandmother always said the secret to perfect chicken was patience - letting it marinate and rest properly. Following her wisdom with this recipe has never steered me wrong, and the results speak for themselves.
Elegant Accompaniments
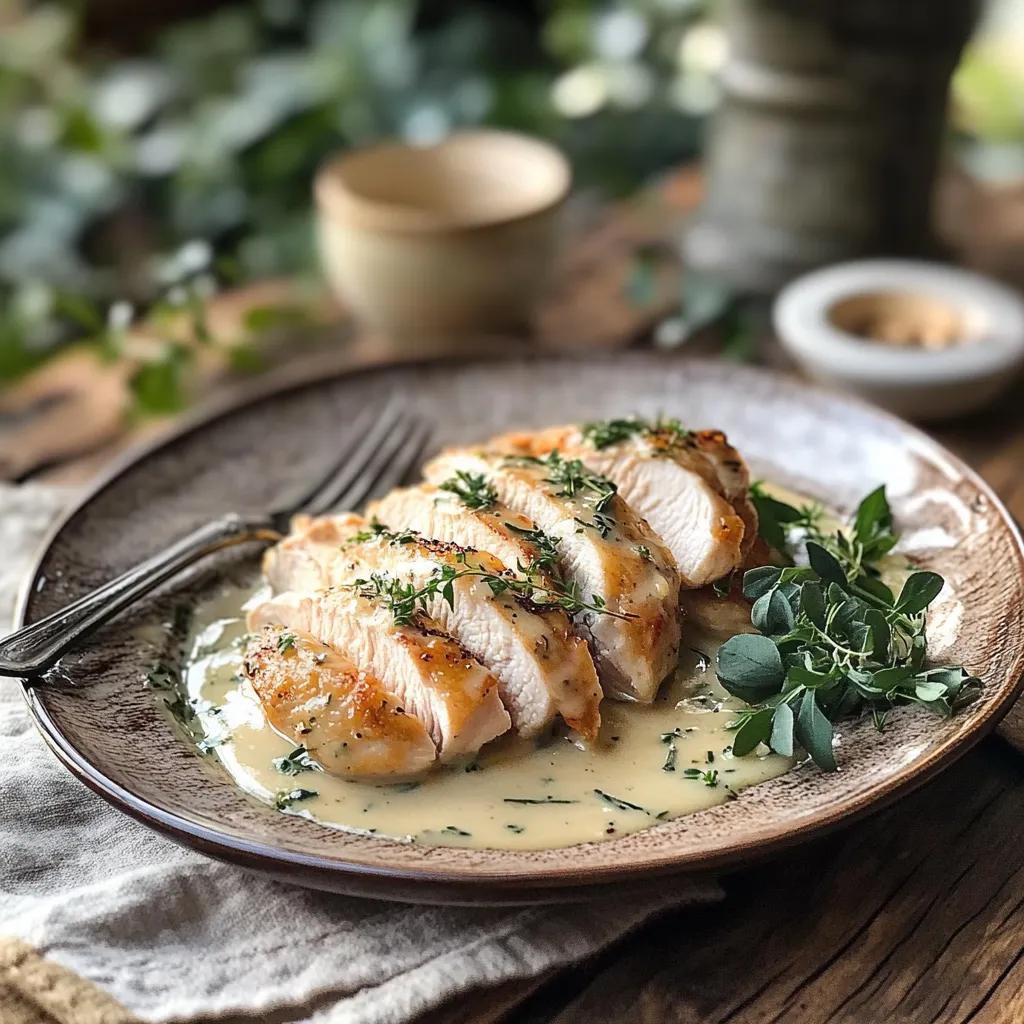
Create a restaurant-worthy presentation by serving your Caesar chicken alongside roasted garlic mashed potatoes and bright green asparagus spears. A light lemon butter sauce drizzled over the vegetables ties everything together beautifully.
Flavor Variations
Transform this dish by incorporating different cheese combinations - try mixing Romano with the Parmesan, or add dried Italian herbs to the coating. For a spicier version, incorporate a pinch of cayenne into the breadcrumb mixture.
Keeping Fresh
Store your leftover chicken in an airtight container for up to three days. Reheat in a 350°F oven until warmed through to maintain the crispy coating. Avoid microwaving if possible, as it can make the crust soggy.
After years of making chicken dishes, this Caesar version stands out for its reliability and crowd-pleasing potential. It's become my go-to recipe when I want to impress without spending hours in the kitchen.
Temperature Tactics
Achieving the perfect internal temperature while maintaining a crispy crust requires careful attention to your oven. Position the rack in the middle for even heat distribution. Starting with room temperature chicken ensures consistent cooking, while preheating your oven thoroughly is crucial for that golden-brown crust. If your chicken browns too quickly, loosely tent with foil to prevent burning while allowing it to cook through.
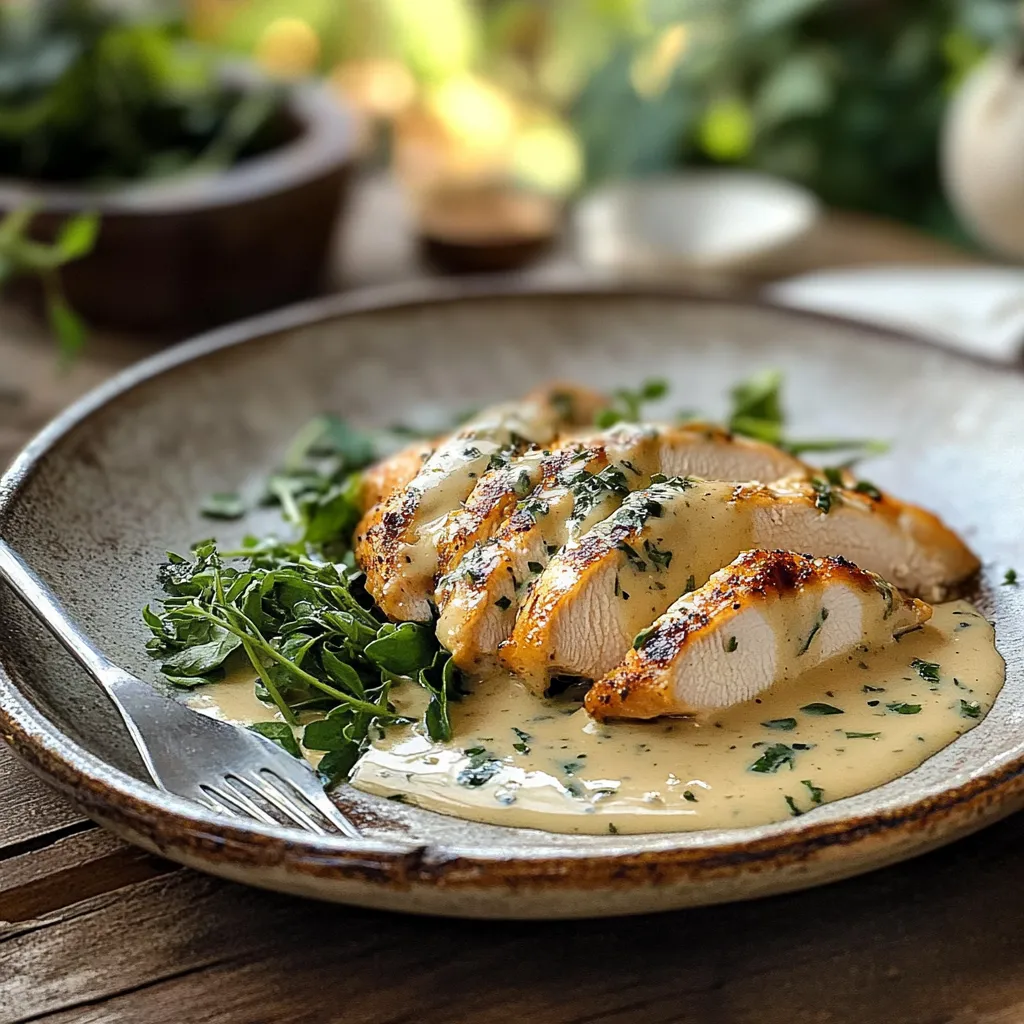
Presentation Power
Elevate your Caesar chicken from simple to spectacular with thoughtful plating. Arrange sliced chicken on a bed of fresh arugula, allowing the warmth to slightly wilt the greens. Garnish with fresh lemon wedges, shaved Parmesan curls, and a sprinkle of cracked black pepper. A drizzle of additional Caesar dressing around the plate creates an appealing visual and provides extra sauce for those who desire it.
Weeknight Strategy
Transform this recipe into a time-saving champion by preparing components in advance. Mix the breadcrumb coating and store it in an airtight container for up to a week. Pound and marinate chicken the night before, keeping it covered in the refrigerator. When dinner time approaches, simply coat and bake. This preparation method actually improves the flavor as the chicken has more time to absorb the Caesar dressing.
Make It a Meal
Turn this entrée into a complete feast by planning complementary sides. A warm quinoa salad with roasted cherry tomatoes offers a healthy grain option, while garlic-sautéed broccolini provides color and nutrients. For a lighter approach, serve alongside spiralized zucchini noodles tossed in olive oil and fresh herbs.
Budget Benefits
While this recipe tastes luxurious, it's actually quite economical. Purchase chicken in bulk when on sale and freeze portions for future use. Make your own Caesar dressing to reduce costs and control ingredients. The crispy coating stretches expensive Parmesan by combining it with affordable panko breadcrumbs, creating the same satisfying crunch at a fraction of the cost.
From my experience in both home and professional kitchens, this Caesar chicken recipe hits the sweet spot between impressive and achievable. It's become a reliable favorite that consistently delivers restaurant-quality results while remaining accessible to cooks of all skill levels. The way it transforms familiar ingredients into something special makes it a true kitchen keeper.
 Pin it
Frequently Asked Questions
- → Can I use chicken thighs instead of breasts?
- Yes, boneless chicken thighs work great! Just adjust cooking time to about 35 minutes since thighs take slightly longer to cook through.
- → What sides go well with this chicken?
- Try it with roasted vegetables, mashed potatoes, pasta, or a fresh green salad. The crispy chicken pairs well with most sides.
- → Can I prep this ahead of time?
- You can coat the chicken up to 8 hours ahead and keep it in the fridge. Just bring to room temperature before baking.
- → How do I know when the chicken is done?
- The chicken should reach 165°F internal temperature and the coating should be golden brown, usually after 25-30 minutes.
- → Can I freeze leftovers?
- Yes, wrap well and freeze for up to 2 months. Reheat in the oven to keep the coating crispy.