
 Pin it
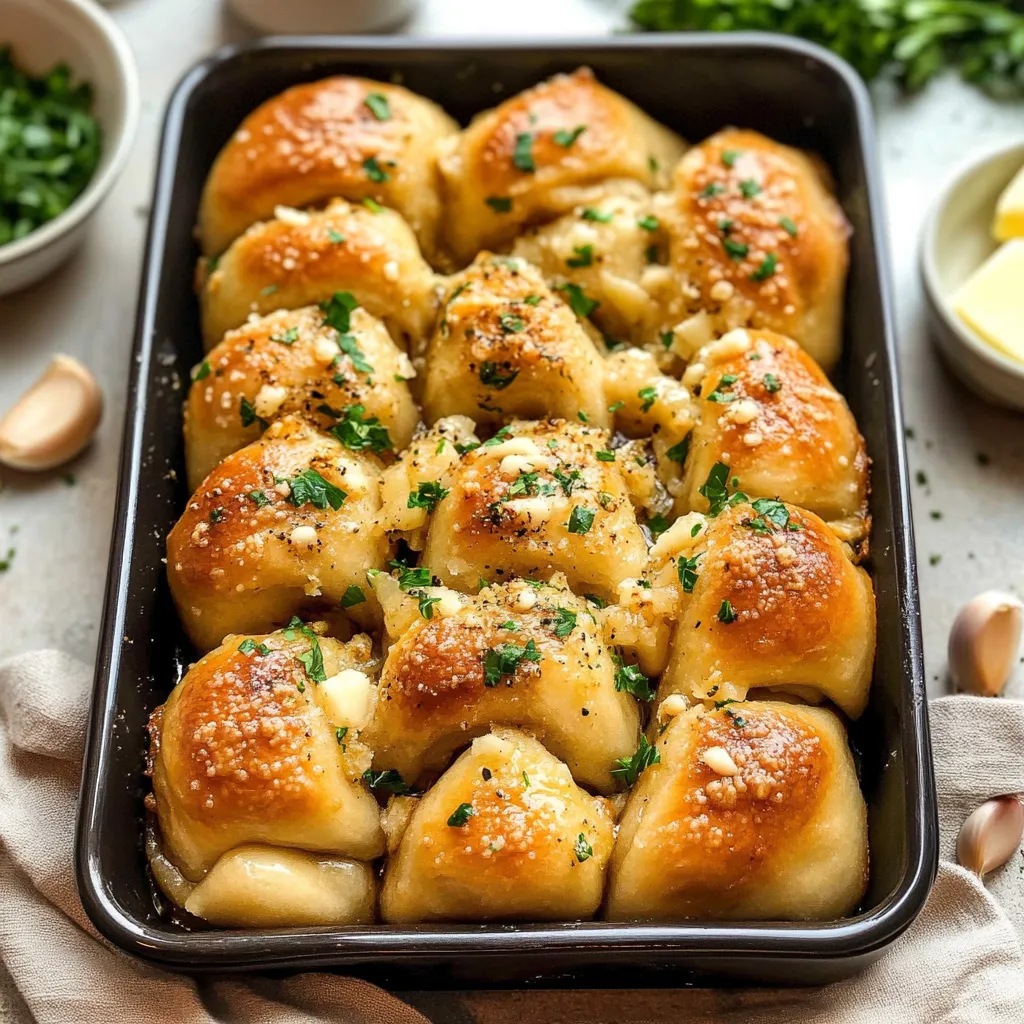
Pull apart garlic bread elevates the classic side dish into an interactive, mouth-watering experience that combines the comforts of homemade bread with the irresistible allure of garlic butter. This ingenious creation features pillowy bites of yeast dough individually coated in aromatic garlic butter, then baked together until golden and fluffy. Unlike store-bought versions with their artificial ingredients and lackluster flavor, this homemade marvel delivers freshness and flavor in every single pull-apart piece.
The genius lies in its preparation—small pieces of dough are tossed in a simmered garlic herb butter before being assembled in a loaf pan, creating a beautiful fusion as they bake. The result is a bread where every bite delivers the perfect balance of tender bread and savory, buttery garlic coating. As it bakes, your kitchen fills with an aroma so enticing that waiting becomes the hardest part of the recipe.
I discovered the secret to this recipe while experimenting with different garlic bread techniques for a family pasta night. What surprised me most was how the simple step of simmering garlic and herbs in butter before tossing with the dough pieces completely transformed the flavor. When I first served this at a dinner party, my brother-in-law who normally takes just a polite piece of bread ended up reaching for thirds, commenting that he'd never tasted garlic bread with such depth of flavor. The pull-apart format created such a fun sharing experience that it's now requested at every family gathering!
Essential Ingredients
- Active dry yeast: Creates the airy, soft texture through fermentation. Ensure it's fresh for proper rising; instant yeast can be substituted with slight adjustments to rising time.
- Honey: Feeds the yeast while adding subtle sweetness. This natural sweetener enhances the bread's flavor more complexly than sugar.
- All-purpose flour: Forms the structure of the bread with the perfect balance of protein for tenderness. Bread flour can be substituted for a slightly chewier texture.
- Butter: Appears twice in this recipe: within the dough for tenderness and in the coating for rich flavor. Use unsalted to control seasoning precisely.
- Fresh garlic: Provides the signature aromatic flavor that defines this bread. Fresh cloves deliver significantly more depth than pre-minced alternatives.
- Italian seasoning: Contributes herbal complexity that enhances the garlic. This blend typically includes oregano, basil, thyme, and rosemary for Mediterranean flavor.
- Fresh parsley: Adds bright color and fresh flavor contrast to the rich butter. Its mild taste balances the assertive garlic beautifully.
- Salt: Enhances all other flavors while balancing the bread's profile. Don't skip this crucial ingredient as bread without salt tastes flat and dull.
Bread Creation
- Yeast activation:
- Begin by combining ½ cup warm water (around 110°F), active dry yeast, and honey in a large mixing bowl. Allow this mixture to rest for 5-10 minutes until it becomes foamy and fragrant. This proofing process ensures your yeast is alive and active before proceeding with the recipe.
- Dough formation:
- Add all-purpose flour, softened butter, and salt to the activated yeast mixture. Mix until the ingredients begin to combine, then gradually incorporate the remaining ½ cup of warm water. Continue mixing until a cohesive dough forms that pulls away from the sides of the bowl. The dough should feel soft and slightly tacky but not sticky enough to cling to your fingers.
- Kneading process:
- Transfer the dough to a lightly floured surface and knead for 7-10 minutes, or use a stand mixer with a dough hook for similar time. The kneading develops gluten, creating elasticity that results in the perfect texture. You'll know the dough is ready when it feels smooth and springs back when lightly pressed with your thumb.
- First rise:
- Place the kneaded dough in a lightly oiled bowl, cover with a clean kitchen towel, and let rise in a warm, draft-free location until doubled in size, approximately one hour. This fermentation period develops flavor while creating the airy texture essential to great bread.
- Garlic butter preparation:
- While the dough rises, create the aromatic butter coating. Melt butter in a small saucepan over low heat, then add finely minced garlic, chopped fresh parsley, and Italian seasoning. Simmer gently for 2 minutes, allowing the herbs and garlic to infuse the butter with their essential oils and flavors. This brief cooking tempers the raw garlic bite while maximizing flavor extraction.
- Dough shaping:
- Once the dough has doubled, gently deflate it and shape into a long tube approximately 1 inch in diameter on a lightly floured surface. Using a sharp knife, cut the tube into 1-inch pieces, creating small, even dough portions. This uniform size ensures consistent baking and the perfect pull-apart texture.
- Butter coating:
- Transfer the dough pieces to the saucepan with the prepared garlic butter, gently tossing to ensure each piece is fully coated on all sides. This direct coating method ensures maximum flavor in every bite, unlike traditional garlic bread where butter is merely spread on top.
- Assembly:
- Arrange the buttered dough pieces in an 8×4-inch loaf pan, allowing them to fit together snugly but not compressed. The pieces should have enough contact to fuse slightly during baking while maintaining their individual identity for the pull-apart effect.
- Baking:
- Place the assembled loaf in a preheated 375°F oven and bake for 20-25 minutes until the top achieves a beautiful golden-brown color. The interior should reach 190°F on an instant-read thermometer if you want to ensure perfect doneness.
- Final touch:
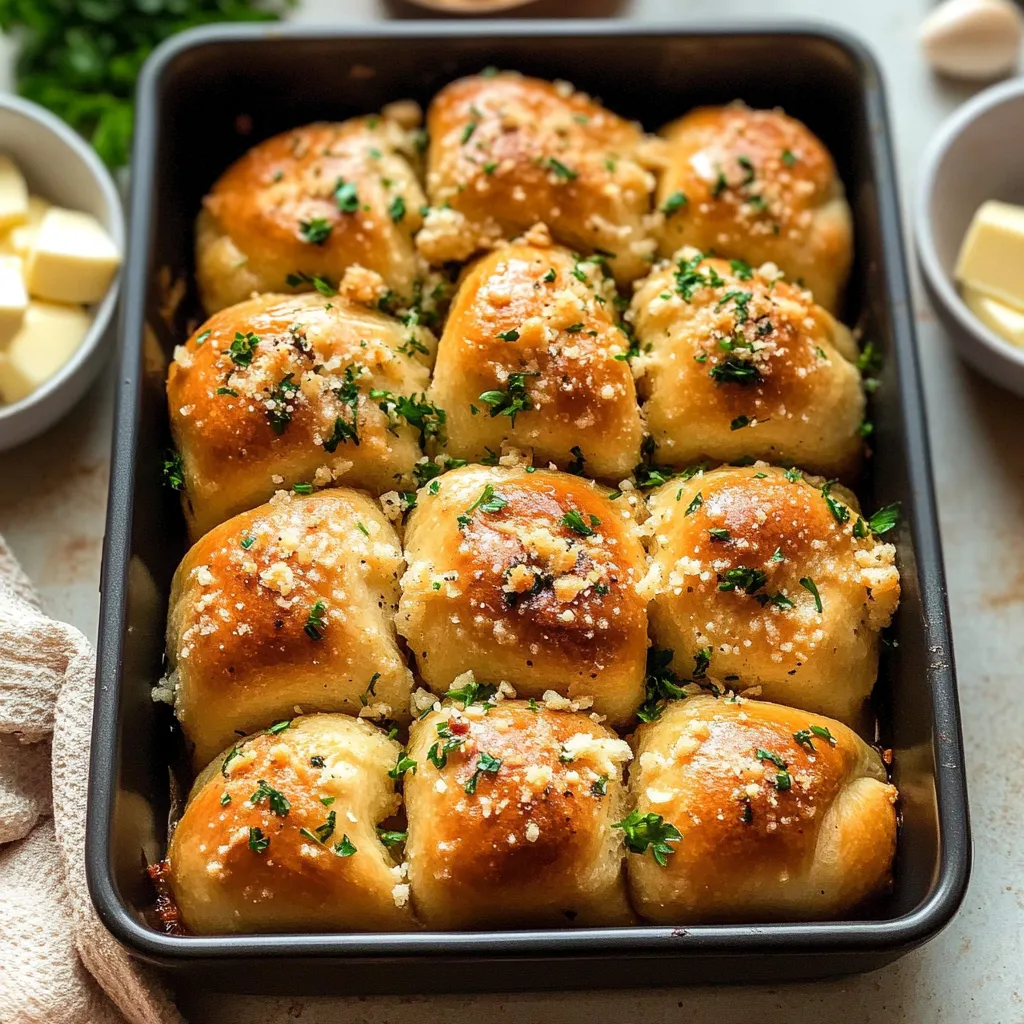
- Upon removing from the oven, you may brush with any remaining garlic butter and sprinkle with additional fresh parsley for visual appeal and a burst of fresh flavor.
 Pin it
I discovered a wonderful variation of this recipe when preparing for a holiday gathering last year. Adding ½ cup of freshly grated Parmesan cheese to the garlic butter created incredible depth of flavor and a slightly crispy exterior on each bread piece. Another successful experiment involved incorporating ¼ teaspoon of red pepper flakes to the butter for a gentle heat that complemented the garlic beautifully. My guests couldn't stop commenting on these subtle enhancements, with several requesting the recipe before leaving!
Serving Ideas
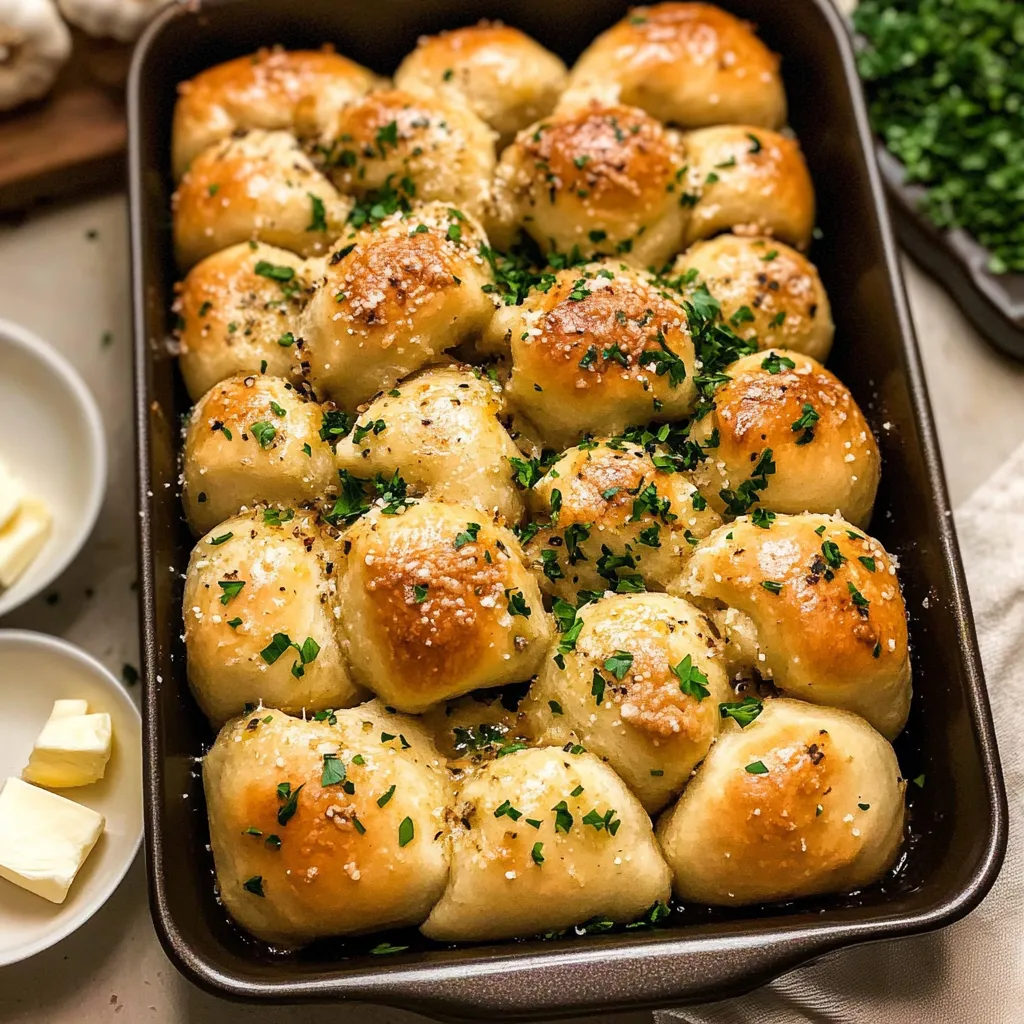
Present this impressive bread in its baking dish placed on a wooden board for a rustic, appealing presentation. For dinner parties, transfer to a lined basket wrapped in a clean kitchen towel to maintain warmth. The interactive pulling-apart creates a communal dining experience that breaks the ice at gatherings.
This versatile bread pairs beautifully with numerous dishes. Serve alongside pasta favorites like spaghetti or lasagna, where the bread can soak up rich tomato sauce. For soup nights, it provides the perfect accompaniment to hearty minestrone or creamy tomato bisque. The bread also stands alone as an appetizer, perhaps served with a small dish of extra virgin olive oil or marinara for dipping.
Consider timing when serving—this bread is at its absolute best when slightly warm, about 10-15 minutes after coming out of the oven. For make-ahead serving, briefly reheat in a 325°F oven for 5-7 minutes to restore its just-baked quality.
Flavor Variations
Transform this versatile bread with thoughtful adaptations that maintain the pull-apart character while offering new flavor experiences. For a Mediterranean version, add chopped olives and sun-dried tomatoes to the butter, then top with crumbled feta cheese during the last five minutes of baking.
Herb enthusiasts might appreciate a garden herb variation—enhance the butter with additional fresh herbs like rosemary, thyme, and sage for a more complex flavor profile. This adaptation works beautifully for fall gatherings and holiday meals.
For cheese lovers, try layering thin slices of mozzarella or provolone between the dough pieces before baking. The result is a gooey, cheesy pull-apart that combines garlic bread with the appeal of cheese bread. Top with a sprinkle of red pepper flakes for a pizza-inspired variation.
Those seeking a heartier option might enjoy incorporating finely diced pepperoni or cooked, crumbled bacon into the garlic butter. These savory additions transform the bread from side dish to potential main course, perfect for casual movie nights or game day gatherings.
Storage Solutions
Maintain optimal freshness by storing completely cooled bread in an airtight container or tightly wrapped in plastic at room temperature for up to three days. The bread maintains its quality remarkably well, though the texture is most perfect on the first and second days.
For reheating, avoid the microwave which can make the bread tough and rubbery. Instead, wrap loosely in aluminum foil and heat in a 350°F oven for 5-7 minutes until warmed through. This method restores much of the original texture and revives the garlic aroma.
While freezing is possible, this bread is best enjoyed fresh. If you must freeze it, wrap tightly in plastic wrap then aluminum foil before placing in a freezer bag. Freeze for up to one month and thaw at room temperature before reheating as directed above.
For make-ahead convenience, consider preparing the dough through the first rise, then refrigerating overnight. The next day, allow it to come to room temperature for 30 minutes before shaping, coating with garlic butter, and baking. This cold fermentation actually enhances flavor development.
The pull apart garlic bread represents the perfect balance between homemade comfort and impressive presentation. While it looks and tastes like something from an artisanal bakery, its straightforward preparation makes it accessible to home bakers of all skill levels. The brilliant method of tossing individual dough pieces in infused garlic butter ensures flavor in every bite—a significant improvement over conventional garlic bread where butter merely sits on top. I particularly appreciate how this bread creates a shared, interactive dining experience that brings people together around the table. Whether served at casual family dinners or special celebrations, this recipe delivers restaurant-quality results that will quickly become a requested favorite.
 Pin it
Frequently Asked Questions
- → Can I use instant yeast instead of active dry yeast?
- Yes, you can substitute instant yeast for active dry yeast in equal amounts. The advantage is that you can skip the initial proofing step - just mix the instant yeast directly with the dry ingredients.
- → How do I know when my dough has risen enough?
- Your dough should roughly double in size. A quick test is to poke it gently with your finger - if the indentation remains, the dough is ready. If it springs back completely, it needs more time.
- → Can I make this dough ahead of time?
- Yes, you can refrigerate the dough after kneading for up to 24 hours. Let it come to room temperature for about 30 minutes before shaping and continuing with the recipe.
- → What can I serve with pull apart garlic bread?
- This bread pairs perfectly with pasta dishes, soups, stews, or salads. It also makes a great appetizer served with marinara or cheese dip.
- → Can I add cheese to this recipe?
- Absolutely! Try adding 1/2 cup of grated parmesan or mozzarella to the garlic butter mixture, or sprinkle cheese between the dough pieces as you place them in the pan.
- → What if I don't have a loaf pan?
- You can use a round cake pan, pie dish, or even a bundt pan for a ring-shaped pull apart bread. Just be sure to adjust the baking time accordingly - wider, shallower pans may need less time.