 Pin it
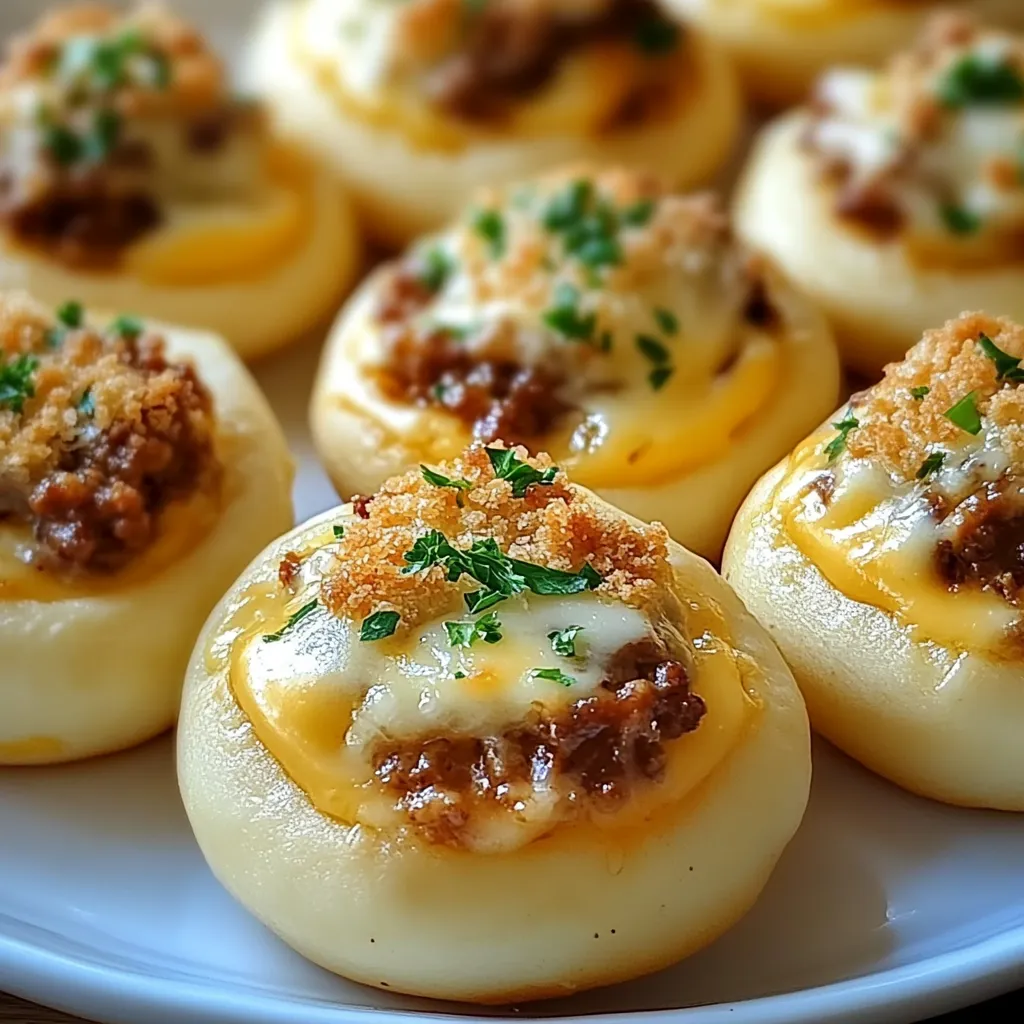
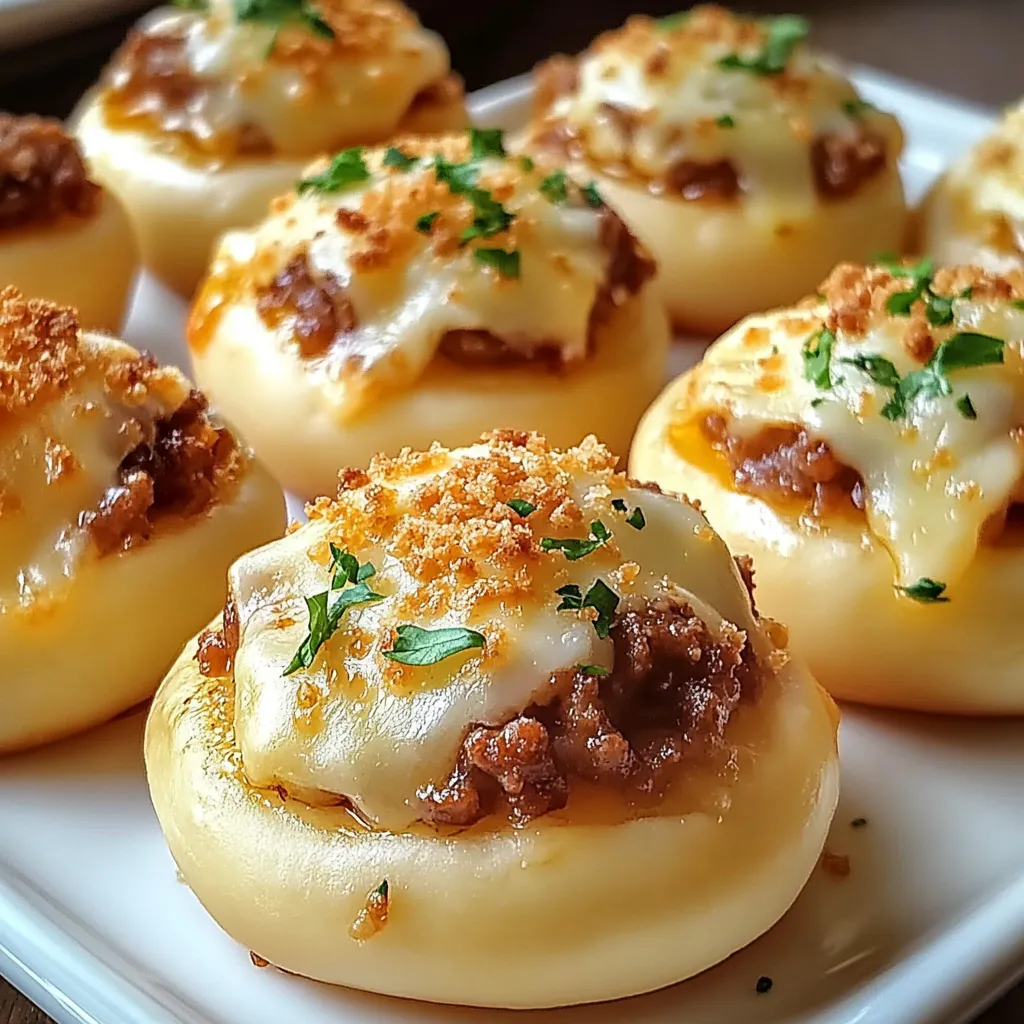
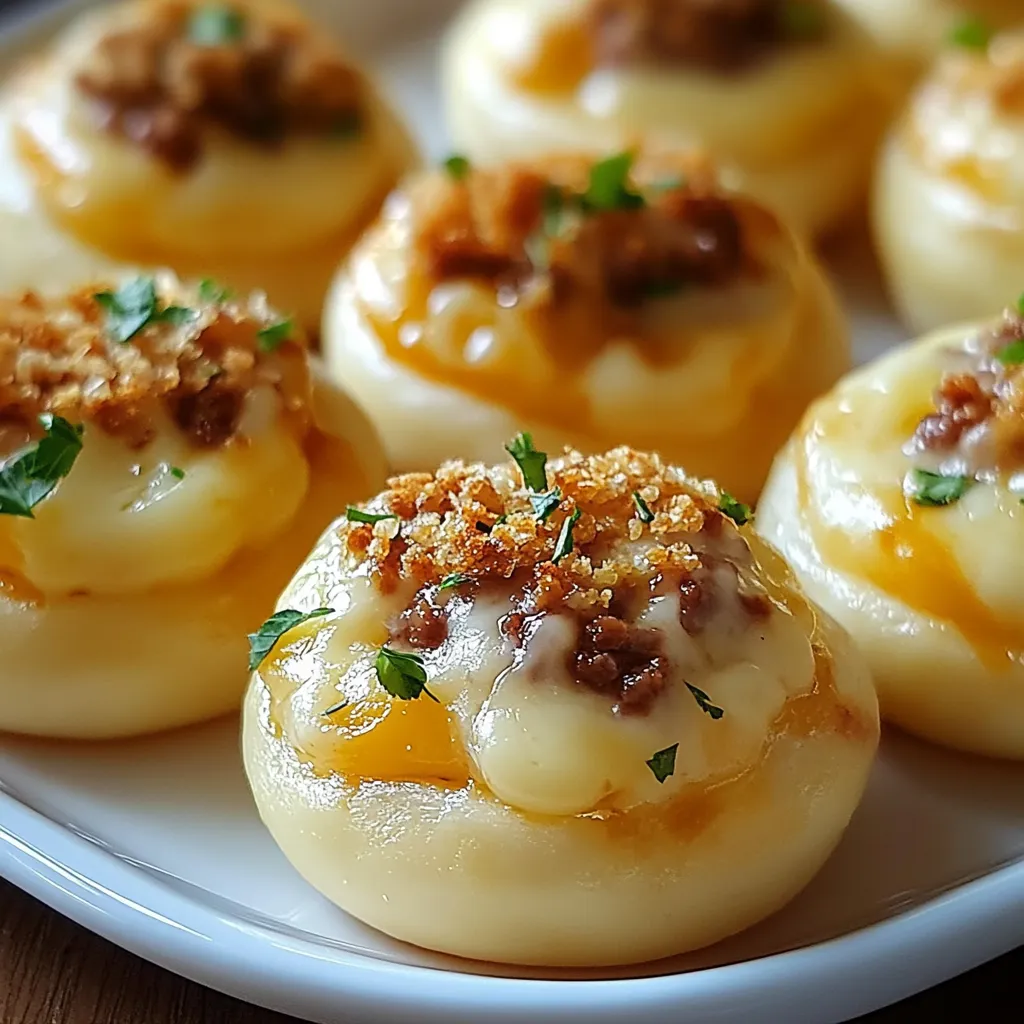
Golden, buttery biscuit dough encases a mouthwatering combination of savory ground beef, aromatic garlic, and two kinds of gooey melted cheese in these irresistible handheld treats. Each bite delivers an explosion of flavors and textures—crisp exterior giving way to fluffy dough and finally revealing the molten, cheesy core that will have everyone reaching for seconds.
I first created these cheesy bombs on a rainy Saturday when my family was craving something indulgent but the pantry was running low. The moment I pulled that first batch from the oven, the intoxicating aroma of buttery garlic and melting cheese filled the kitchen, drawing everyone in like a magnet. What makes them truly special is the contrast between the golden, slightly crisp exterior and the molten, gooey center—a textural paradise that keeps you coming back for "just one more." My teenage son declared them "dangerously good" after devouring four in rapid succession, and now they're the most requested item for our family movie nights.
Perfect Ingredient Selection
- Refrigerated Biscuit Dough: Creates the perfect pillowy exterior that bakes to golden perfection while sealing in all the cheesy goodness
- Ground Beef: Provides hearty, savory flavor and substantial texture that makes these bombs satisfying
- Fresh Garlic: Infuses the beef with aromatic flavor that permeates the entire bite
- Sharp Cheddar Cheese: Delivers that perfect melty stretch and bold flavor that stands up to the other ingredients
- Parmesan Cheese: Adds salty, nutty complexity that elevates the flavor profile beyond ordinary cheese bites
- Melted Butter: Creates a golden, flavorful exterior and helps the optional herbs adhere to the surface
- Fresh Parsley: Adds a pop of color and fresh flavor that balances the rich, savory components
- Optional Seasonings: Italian herbs, red pepper flakes, or Worcestershire sauce can customize the flavor profile to your preference
Creating Flavor Bombs
- Prepare The Savory Filling
- Begin by browning ground beef in a skillet over medium heat until fully cooked, breaking it into small crumbles. Drain excess fat to ensure your bombs don't become greasy, then add minced fresh garlic and cook just until fragrant—about one minute. This brief cooking preserves garlic's aromatic qualities without bitterness.
- Prepare The Cheese Components
- Cut sharp cheddar cheese into small cubes and dice Parmesan into small pieces. This preparation ensures each bomb contains the perfect amount of both cheeses, creating ideal meltability and flavor distribution throughout the filling.
- Transform The Biscuit Dough
- Take each refrigerated biscuit round and gently flatten it into a 4-inch circle using your fingertips or a rolling pin. This creates the perfect thickness to encase the filling while ensuring the dough cooks through completely, achieving that ideal balance of crisp exterior and fluffy interior.
- Stuff With Precision
- Place a tablespoon of garlic-infused beef in the center of each flattened biscuit round, then top with a cube of cheddar and several pieces of diced Parmesan. This careful layering ensures each bite contains the perfect balance of all components.
- Seal With Care
- Gather the edges of the dough and pinch firmly to create a tight seal, then gently roll between your palms to form a smooth ball. This crucial step prevents the delicious filling from escaping during baking, keeping all that cheesy goodness contained until the moment of truth.
- Enhance The Exterior
- Arrange the sealed bombs seam-side down on a parchment-lined baking sheet, then brush generously with melted butter and sprinkle with chopped parsley. This finishing touch adds flavor while creating that irresistible golden-brown exterior during baking.
- Bake To Perfection
- Slide the prepared bombs into a preheated 375°F oven and bake for 15-18 minutes, watching for that perfect golden color. The magic happens inside as the cheese melts and the biscuit exterior transforms into a fluffy, slightly crisp shell that perfectly contains the molten filling.
- Serve With Style
- Allow the bombs to cool slightly before serving—just enough to prevent mouth burns while still enjoying that perfect cheese-pull moment. Arrange on a platter with optional dipping sauces like marinara, ranch, or BBQ sauce for an interactive eating experience.
 Pin it
My family particularly loves when I add a sprinkle of Italian seasoning to the beef mixture and a touch of red pepper flakes for gentle heat. I've discovered that substituting pepper jack cheese for the cheddar creates a spicy variation that's perfect for game days. For special occasions, I sometimes add small bits of crispy bacon to the filling, which adds smoky flavor and delightful texture contrast to these already incredible bombs.
The recipe evolved from my experiments with leftover taco meat and biscuit dough, but the garlic-cheese combination quickly became our favorite variation. There's something uniquely satisfying about watching someone take that first bite—the moment of discovery when they reach the gooey cheese center never fails to bring smiles around the table.
Perfect Pairings
These indulgent cheese bombs create a delightful eating experience when served alongside complementary items that balance their richness. Serve with a simple marinara sauce for dipping, the tangy tomato flavor cutting through the richness while creating a pizza-like flavor experience. For a more substantial spread, pair with a crisp garden salad dressed in light vinaigrette to provide refreshing contrast to the cheesy bites. When serving as party food, arrange alongside other finger foods like vegetable crudités with ranch dip and fresh fruit for a balanced offering. For beverage pairings, cold beer or sparkling water with lemon provides palate-cleansing effervescence between bites. Consider serving these bombs as the starter for an Italian-inspired meal, setting the stage for pasta or other Mediterranean flavors to follow.
Creative Variations
Transform this versatile base recipe by exploring different filling combinations that maintain the core appeal while introducing exciting new flavors. Create a pizza bomb variation by substituting pepperoni for the ground beef and adding a small spoonful of pizza sauce alongside the cheese. For breakfast bombs, fill with scrambled eggs, crumbled sausage, and cheddar cheese, brushing with maple-infused butter for a sweet-savory combination. Mediterranean-inspired bombs might include ground lamb seasoned with oregano and mint, paired with feta cheese instead of cheddar. For a vegetarian option, replace the beef with a flavorful mixture of sautéed mushrooms, onions, and spinach that provides similar savory satisfaction. During autumn, try a harvest variation with ground turkey seasoned with sage and cranberry, paired with brie instead of cheddar for sophisticated seasonal appeal.
Make-Ahead Magic
Maximize convenience without sacrificing quality by understanding the best ways to prepare these bombs in advance. Prepare the beef-garlic mixture up to three days ahead and store in an airtight container in the refrigerator, allowing for quick assembly when needed. For complete advance preparation, assemble the bombs entirely, place on a baking sheet lined with parchment paper, and refrigerate for up to 12 hours before baking—simply add 2-3 minutes to the baking time when cooking from refrigerated. These bombs also freeze beautifully—freeze assembled but unbaked bombs on a baking sheet until solid, then transfer to a freezer bag for storage up to one month. Bake directly from frozen, adding approximately 5-7 minutes to the cooking time. For parties, consider baking in batches throughout the event to ensure everyone experiences that perfect moment of warm, gooey cheese in every bomb.
I'll never forget serving these at my son's graduation party—I made a triple batch thinking we'd have plenty, but they disappeared faster than any other food on the table! His friends were literally following me around asking when the next batch would come out of the oven. There's something universally appealing about the combination of bread, cheese, and savory meat that transcends age and food preferences. What makes these bombs truly special is how they transform simple, accessible ingredients into something that feels indulgent and special—proof that great food doesn't require exotic ingredients or complicated techniques, just an understanding of flavors and textures that naturally complement each other.
 Pin it
Frequently Asked Questions
- → Can I use a different type of meat?
- Absolutely! Ground turkey, chicken, or Italian sausage work great as substitutes. Just make sure the meat is fully cooked before stuffing the biscuits.
- → How do I know if the bombs are sealed properly?
- Make sure to pinch the dough edges firmly and roll the ball gently between your palms to smooth out seams. If you can see any filling or openings, pinch those areas closed again.
- → Can I add vegetables to the filling?
- Yes! Finely chopped onions, bell peppers, or spinach work well. Just sauté them with the beef until soft and make sure to drain any excess moisture before filling.
- → How do I store leftovers?
- Store cooled leftovers in an airtight container in the refrigerator for up to 3 days. Reheat in a 350°F oven for 5-7 minutes or microwave for 20-30 seconds until warm.
- → Can I make these without meat for a vegetarian option?
- Yes! Replace the beef with sautéed mushrooms, black beans, or plant-based ground meat substitute. Season well with garlic and herbs for maximum flavor.
- → Why did my bombs burst open while baking?
- This usually happens if the seams aren't sealed completely or if there's too much filling. Try using slightly less filling and double-check that all edges are pinched tightly closed before baking.
