
 Pin it
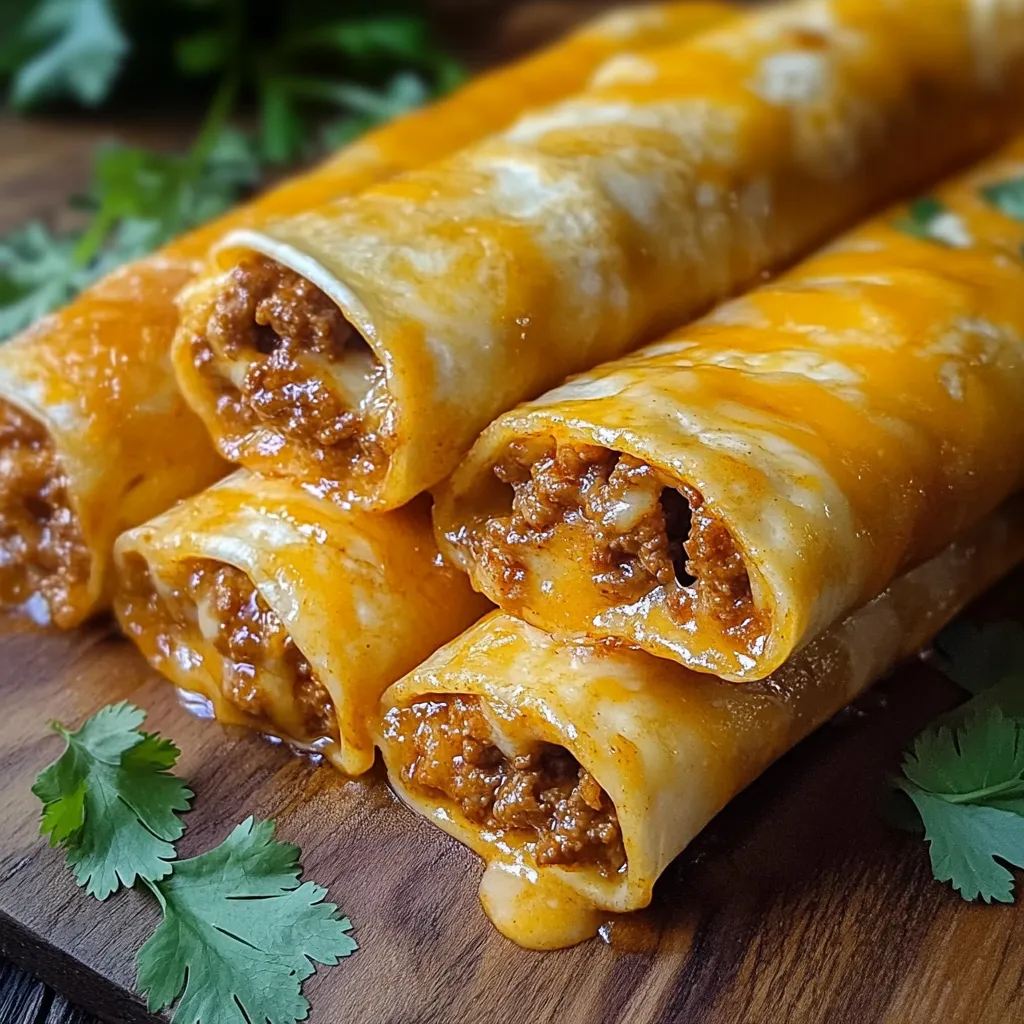
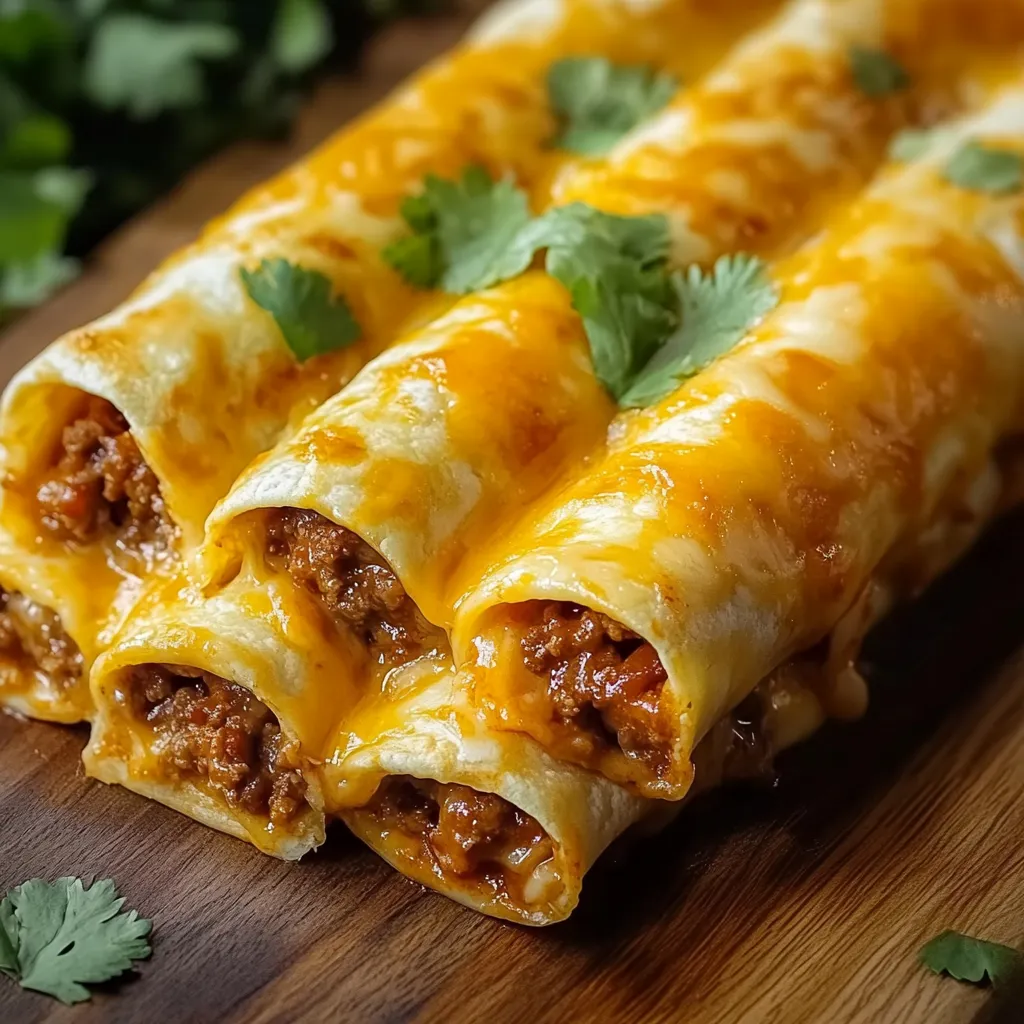
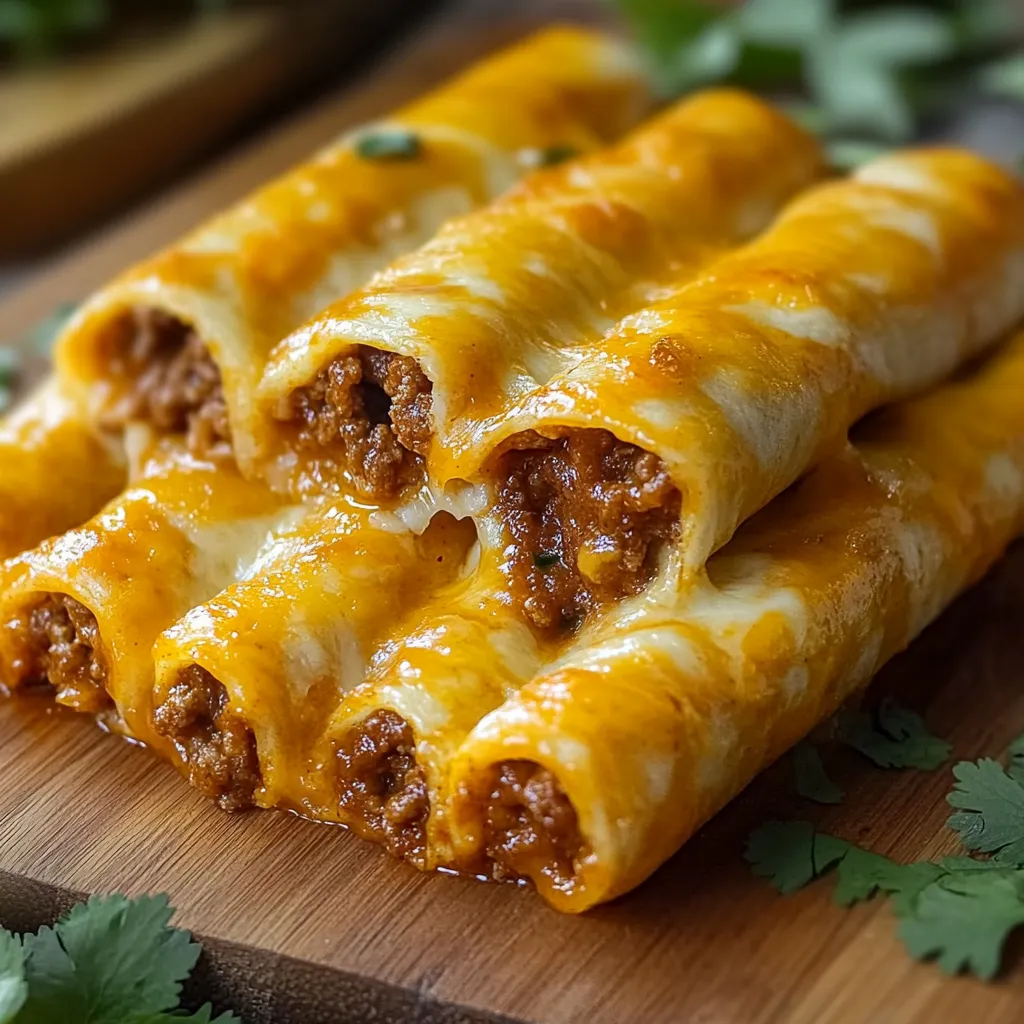
Transform your regular taco night into an exciting culinary adventure with these golden, crispy taco sticks. Each bite delivers the perfect harmony of seasoned meat and melted cheese wrapped in flaky, crisp dough that creates an irresistible handheld meal. These crowd-pleasing treats combine the beloved flavors of traditional tacos with the convenience and fun of a portable snack.
Living in a household with three teenagers, I've learned that anything combining tacos and cheese is guaranteed to disappear quickly. These taco sticks have become our Thursday night tradition, with everyone gathering in the kitchen to help assemble their own perfect combinations.
Kitchen Essentials
- Ground Beef: Choose 80/20 lean-to-fat ratio for the most flavorful, juicy filling that won't dry out.
- Pizza Dough: Fresh dough creates the crispiest exterior and most satisfying chew.
- Taco Seasoning: Select authentic Mexican spice blends for genuine flavor depth.
- Cheddar Cheese: Sharp cheddar provides the best melting qualities and robust taste.
- Fresh Garnishes: Bright cilantro and ripe tomatoes add color and fresh contrast.
Crafting Your Taco Sticks
- Meat Mastery:
- Begin with a hot skillet, allowing your ground beef to develop a golden crust before breaking it into perfect bite-sized pieces. This technique ensures maximum flavor development and ideal texture.
- Seasoning Symphony:
- Toast your taco seasonings in the rendered beef fat, awakening their aromatic oils and intensifying their flavors throughout the meat mixture.
- Dough Preparation:
- Roll your pizza dough into a uniform thickness, creating a sturdy base that will contain all the flavorful filling. Work quickly while the dough remains cool to achieve the perfect crispy exterior.
- Assembly Artistry:
- Layer your seasoned meat and cheese along one edge of each dough rectangle, then roll and seal with careful precision to prevent any filling from escaping during baking.
 Pin it
These taco sticks remind me of Sunday afternoons watching football with my father. He always insisted on grating the cheese by hand, saying it was the key to achieving that perfect cheese pull we all loved.
Complementary Companions
Serve these golden beauties with a trio of dipping options - cool sour cream, zesty salsa, and creamy guacamole. Add a fresh Mexican street corn salad for a complete meal that brings the flavors of a taqueria to your table.
Flavorful Variations
Transform these taco sticks by using ground chicken seasoned with chipotle peppers for a smoky twist. Create a vegetarian version using black beans and roasted corn, or spice things up with pepper jack cheese and diced jalapeños.
Storage Solutions
Keep your taco sticks crispy by reheating them in a 350°F oven for 10 minutes. Store unbaked assembled sticks in the freezer for up to three months, making them perfect for last-minute meals.
After countless taco nights and many variations, these taco sticks have evolved into more than just a meal - they've become a cherished part of our family's food traditions. Whether you're feeding a hungry crowd or looking for a fun twist on taco Tuesday, these crispy, cheesy delights never disappoint. The combination of seasoned meat, melted cheese, and crispy dough creates something truly special that brings people together around the table.
 Pin it
Frequently Asked Questions
- → Can I make these ahead?
- You can prep the meat ahead, but assemble and bake just before serving for the best texture and melty cheese.
- → What can I serve with these?
- Try salsa, guacamole, sour cream, or ranch dressing for dipping. A side salad makes it a complete meal.
- → Can I use different cheese?
- Any cheese that melts well works great - try mozzarella, pepper jack, or Mexican blend cheese sticks.
- → Why did my cheese leak out?
- Make sure to seal the edges of the dough really well. You can double-seal by pinching and then pressing with a fork.
- → Can I freeze these?
- Yes! Freeze before baking, then bake straight from frozen, adding a few extra minutes to the cook time.