
 Pin it
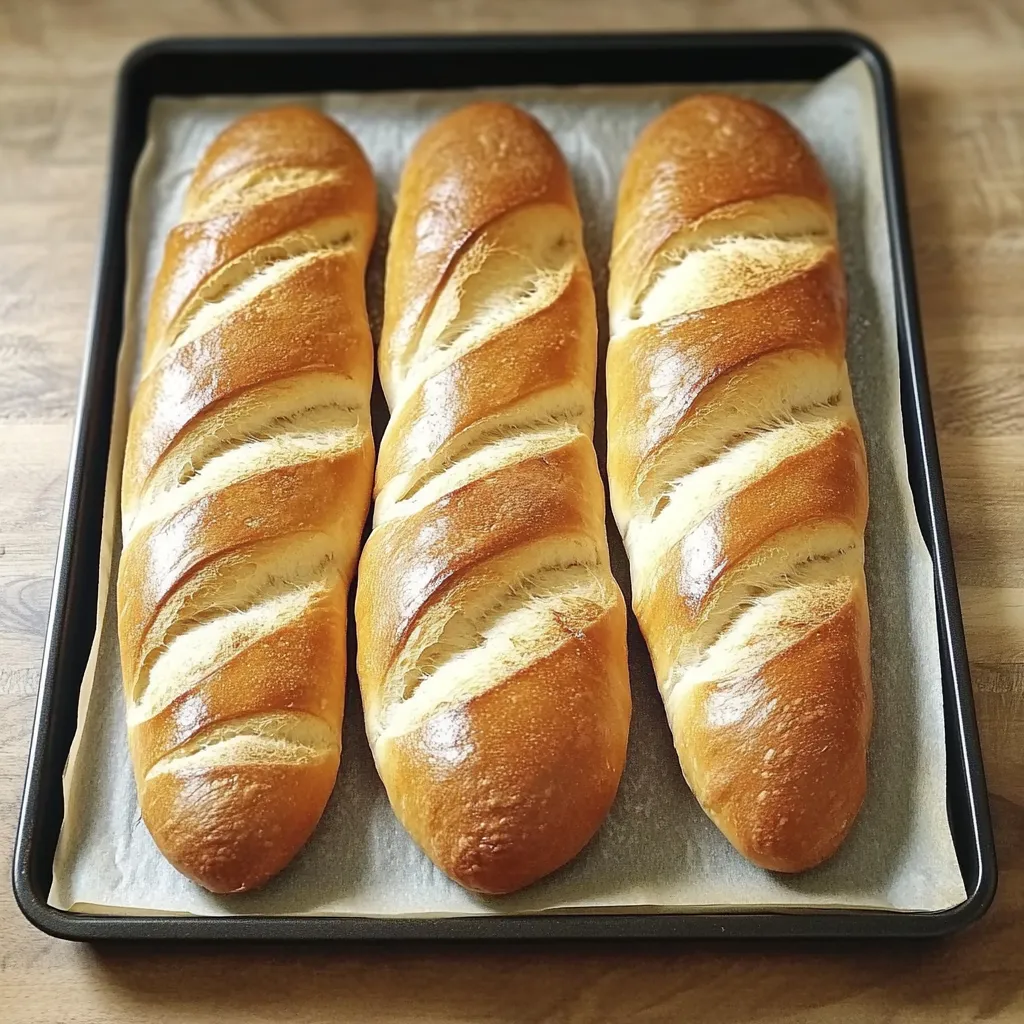
Perfectly structured yet remarkably tender, these handmade sub rolls transform ordinary sandwiches into memorable meals with their bakery-fresh quality. These artisanal loaves boast a golden exterior that gives way to a soft, pillowy interior capable of supporting even the heartiest fillings without becoming soggy or falling apart, making them the ideal vessel for everything from classic Italian subs to saucy meatball sandwiches.
I first developed this recipe after growing frustrated with flimsy store-bought rolls that disintegrated under my favorite meatball sub. After several attempts, this version emerged as the clear winner—substantial enough to handle any filling yet tender enough to bite through easily. My family now refuses to eat sandwiches on anything else! The first time my teenager's friends came over for lunch and experienced these rolls, they actually asked if they could take extras home—a true testament to their superior quality.
Superior Ingredient Selection
- Bread Flour: Creates the perfect structure through its higher protein content, developing stronger gluten networks than all-purpose flour
- Whole Milk: Adds richness, tenderness, and subtle sweetness that elevates these rolls beyond basic bread
- Unsalted Butter: Provides moisture and flavor while allowing complete control over the salt content
- Active Dry Yeast: Creates consistent, reliable rise while developing complex flavor during proofing
- Granulated Sugar: Feeds the yeast while adding subtle sweetness that balances the savory elements
- Salt: Enhances all flavors while regulating yeast activity for proper rise and texture
- Egg Whites: Create a beautiful golden, slightly crisp exterior when brushed on before baking
- Sesame Seeds: Optional topping that adds nutty flavor and visual appeal to the finished rolls
Bread Making Process
- Activate The Yeast
- Combine warm milk (110°F) with sugar and yeast in the bowl of a stand mixer, allowing the mixture to sit until foamy. This crucial step ensures your yeast is active and ready to create the perfect rise in your dough.
- Develop The Dough
- Add bread flour and salt to the yeast mixture, stirring until roughly combined. With the mixer running on medium-low speed, gradually add cold, cubed butter, allowing each piece to incorporate before adding more. Continue kneading for 8-10 minutes until the dough becomes smooth, elastic, and pulls away from the sides of the bowl.
- First Rise
- Transfer the dough to a lightly oiled bowl, turning to coat all surfaces. Cover with a damp cloth or plastic wrap and place in a warm area for one hour, or until doubled in size. This initial rise develops flavor and structure critical to the finished rolls.
- Shape With Precision
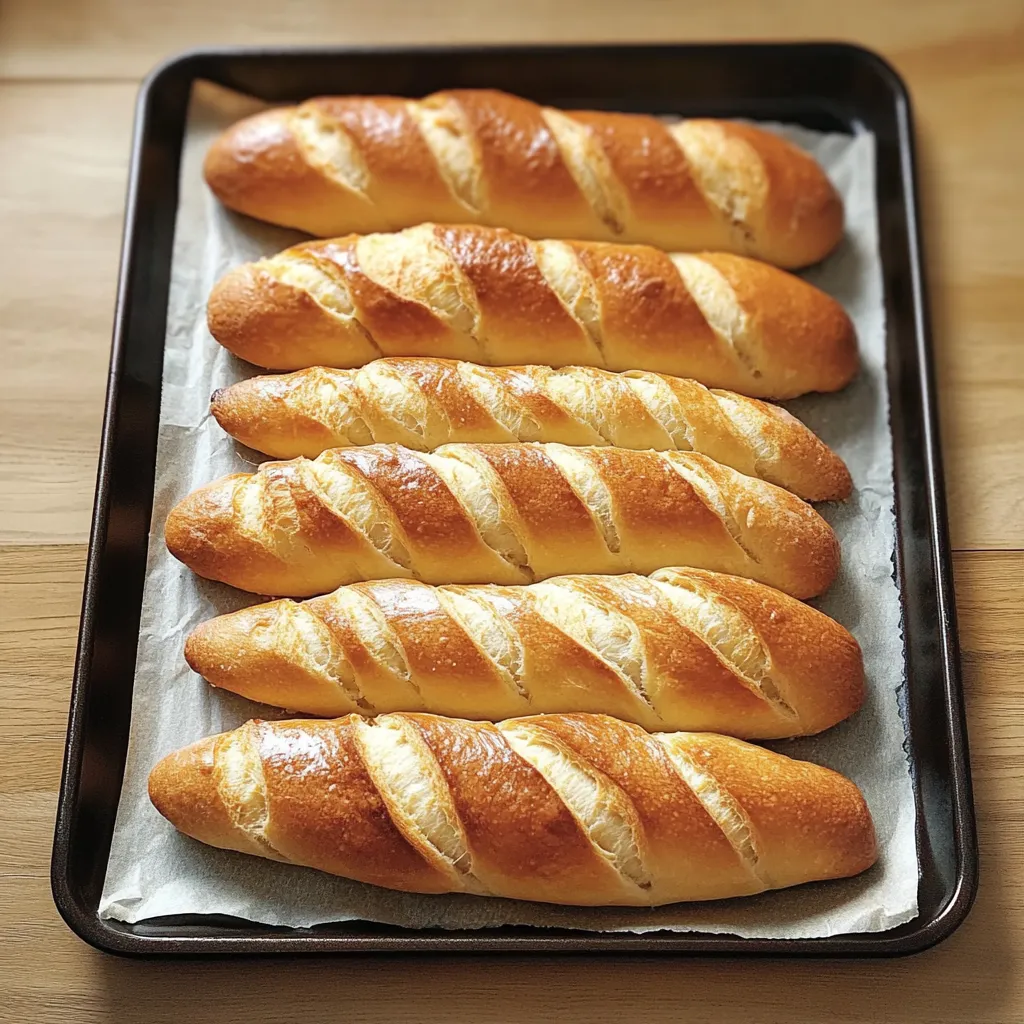
- Turn the dough onto a lightly floured surface and gently press into a flat disc about one inch thick. Cut into six equal portions and form each into a smooth ball by pinching the seams together at the bottom and using a cupping motion to create tension on the surface.
- Create The Signature Shape
- Roll each dough ball into a rectangle approximately 5 inches tall by 9 inches wide. Starting from the long edge, roll tightly to form a log shape, pinching the end seam to seal. Place on a parchment-lined baking sheet with the seam side down, allowing space between each roll for expansion.
- Second Rise
- Cover the shaped rolls with a damp kitchen towel and allow to proof for an additional 30 minutes until noticeably puffed. This second rise creates the light, airy interior texture that makes these rolls exceptional.
- Finish With Flair
- Brush the proofed rolls with an egg wash made from egg whites and a splash of water, which creates a beautifully golden, slightly shiny crust. Score the top of each roll with three diagonal slashes using a sharp knife or razor blade to allow for proper expansion during baking.
- Bake To Perfection
- Bake in a preheated 375°F oven for 15-18 minutes until deeply golden brown. The interior temperature should reach 190°F when tested with an instant-read thermometer, ensuring the rolls are completely baked through while remaining soft inside.
 Pin it
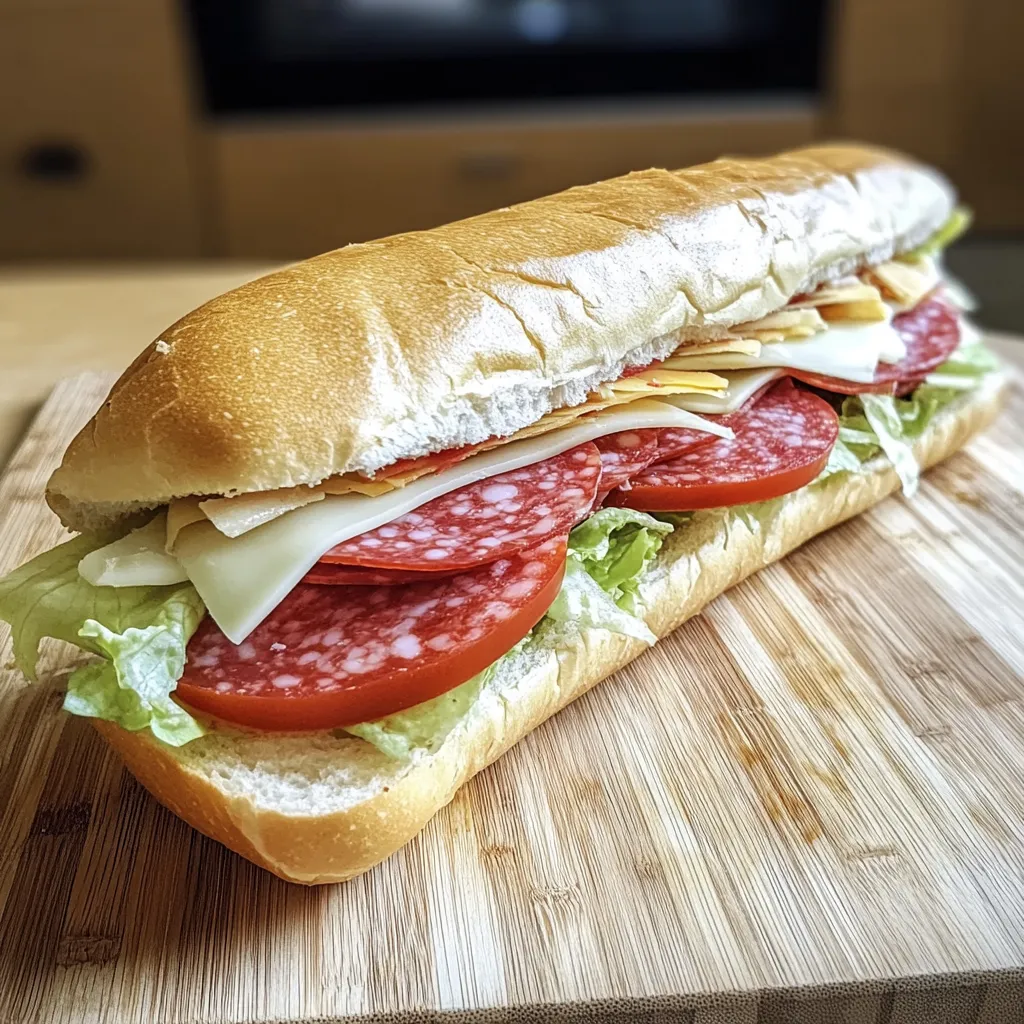
My family particularly loves these rolls sliced and filled with homemade meatballs and marinara, where their structure truly shines by containing the sauce without becoming soggy. I've found that adding a tablespoon of vital wheat gluten to the dough creates an even chewier texture perfect for authentic Italian hoagies. The recipe originally came from trying to recreate my grandmother's bread, which she learned to make in her family's small-town bakery.
I've experimented with various flours over the years, but always return to King Arthur bread flour for its consistent quality and reliable results. During holiday gatherings, I'll sometimes shape these into dinner rolls instead of sub shapes, reducing the baking time slightly for perfect accompaniments to our family meals.
Delicious Applications
These versatile rolls shine when paired with both classic and creative sandwich fillings that showcase their exceptional texture and flavor. Create authentic Italian subs by layering thinly sliced meats, provolone cheese, shredded lettuce, and a simple oil and vinegar dressing—the rolls' structure will maintain integrity until the last bite. For hearty comfort food, fill with homemade meatballs simmered in marinara sauce and topped with melted mozzarella, allowing the sturdy interior to absorb flavor without falling apart. During summer months, load with grilled vegetables, fresh mozzarella, and basil for a satisfying vegetarian option. These rolls also excel as vehicles for hot sandwiches like French dips with au jus for dipping or classic Philly cheesesteaks.
Shape Variations
Transform this versatile dough into different shapes and sizes to accommodate various meal needs throughout the week. Create smaller sandwich rolls by dividing the dough into eight portions instead of six, perfect for children's lunches or lighter appetites. For dinner rolls, portion into twelve equal pieces and shape into balls, arranging them in a baking dish with sides touching for soft pull-apart texture. Form hot dog buns by shaping portions into 6-inch logs and flattening slightly before the second rise. For an impressive centerpiece, braid multiple dough ropes together and form into a wreath shape, brushing with egg wash and sprinkling with everything bagel seasoning before baking.
Storage Solutions
Maintain freshness by storing completely cooled rolls in a paper bag at room temperature for up to two days, which preserves their crisp exterior better than plastic. For longer storage, place in a freezer-safe bag with as much air removed as possible and freeze for up to three months. Thaw frozen rolls at room temperature for several hours, then refresh in a 350°F oven for 5-7 minutes to restore their crisp exterior and soft interior. If you notice rolls beginning to stale, transform them into garlic bread by slicing, spreading with herb butter, and toasting until golden, or use in bread pudding recipes for an indulgent dessert that prevents waste.
I'll never forget the first time I served these rolls at a family gathering—my brother-in-law, who normally shows little interest in food details, specifically asked what made the bread so much better than usual. That moment of recognition confirmed what I already knew: the effort of making homemade bread creates an experience that simply can't be purchased. These rolls have since become my signature contribution to potlucks and family dinners, requested again and again. There's something deeply satisfying about creating something so fundamental yet so perfect from simple ingredients—a reminder that sometimes the most basic elements of a meal can make the most profound impression when crafted with care.
 Pin it
Frequently Asked Questions
- → Can I use all-purpose flour instead of bread flour?
- Yes, you can substitute all-purpose flour, but your rolls won't be quite as chewy. Bread flour has a higher protein content which develops more gluten, giving the rolls their characteristic texture. If using all-purpose, the rolls will be slightly softer.
- → How do I store these sub rolls?
- Once completely cooled, store in an airtight container or bag at room temperature for up to 3 days. For longer storage, freeze for up to 3 months. Thaw at room temperature or refresh slightly stale rolls by sprinkling with water and heating in a 350°F oven for 5-7 minutes.
- → Can I make the dough ahead of time?
- Yes! You can refrigerate the dough after the first rise for up to 24 hours. Punch it down, cover tightly, and refrigerate. When ready to use, let it come to room temperature for about 30 minutes before shaping into rolls.
- → Why didn't my rolls rise properly?
- This could be due to expired yeast, liquid that was too hot (killing the yeast), or too cold (not activating it). The ideal temperature for the milk is around 90-100°F. Another possibility is that the room was too cold - try creating a warm environment by placing the covered dough near a warm oven.
- → Can I add toppings to these rolls?
- Absolutely! After applying the egg wash, you can sprinkle on sesame seeds, poppy seeds, everything bagel seasoning, or coarse salt. You could also brush with butter instead of egg wash for a softer crust.
- → How can I tell when the rolls are done baking without a thermometer?
- The rolls should be golden brown on top and sound hollow when tapped on the bottom. Another visual cue is that they should have a firm crust but still feel light for their size. If in doubt, it's better to bake them a minute or two longer than to underbake.