
 Pin it
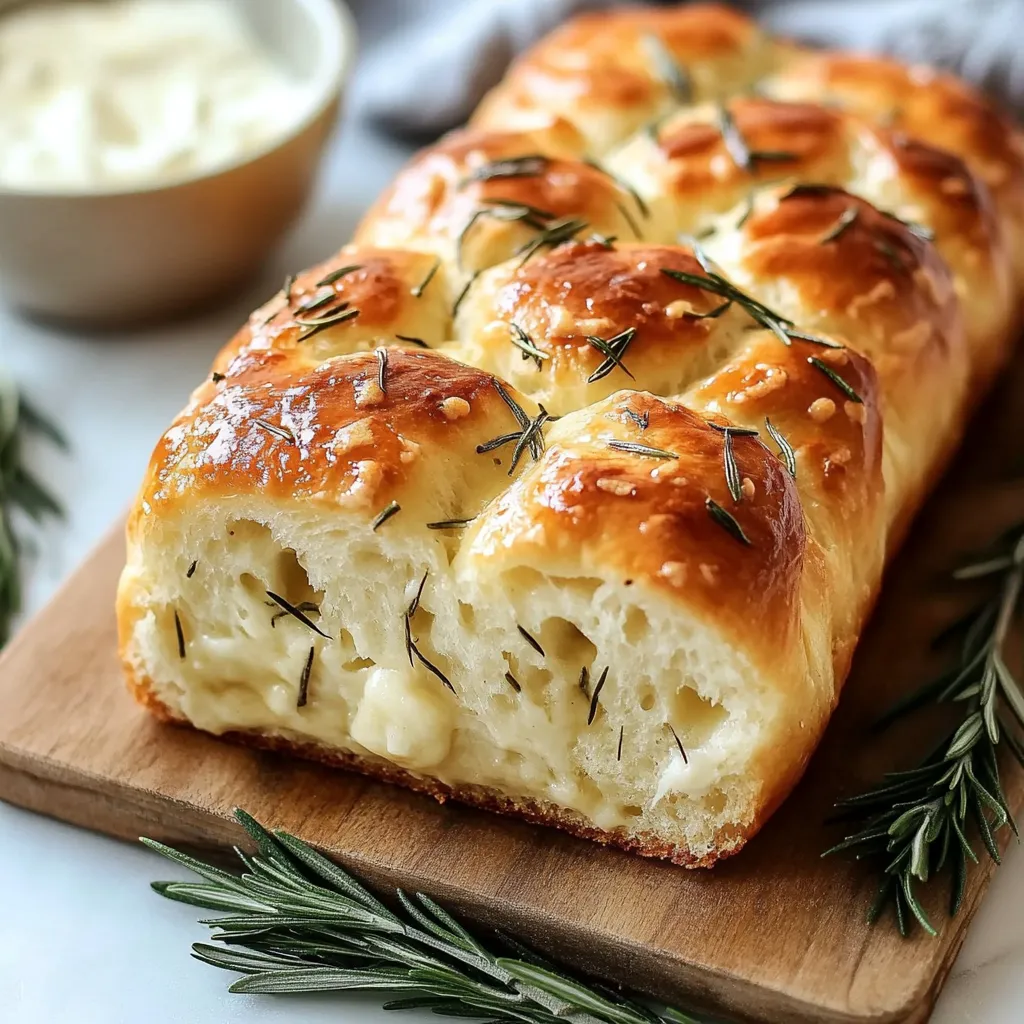
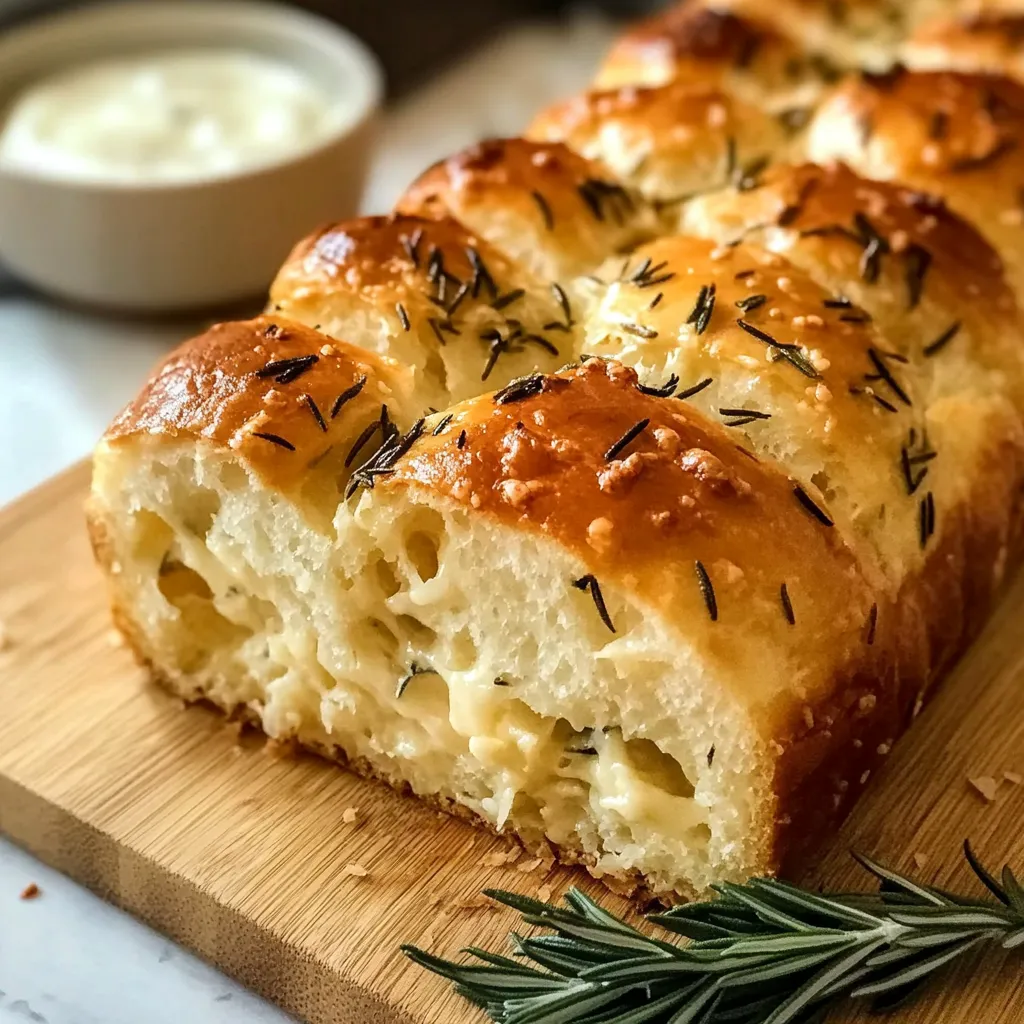
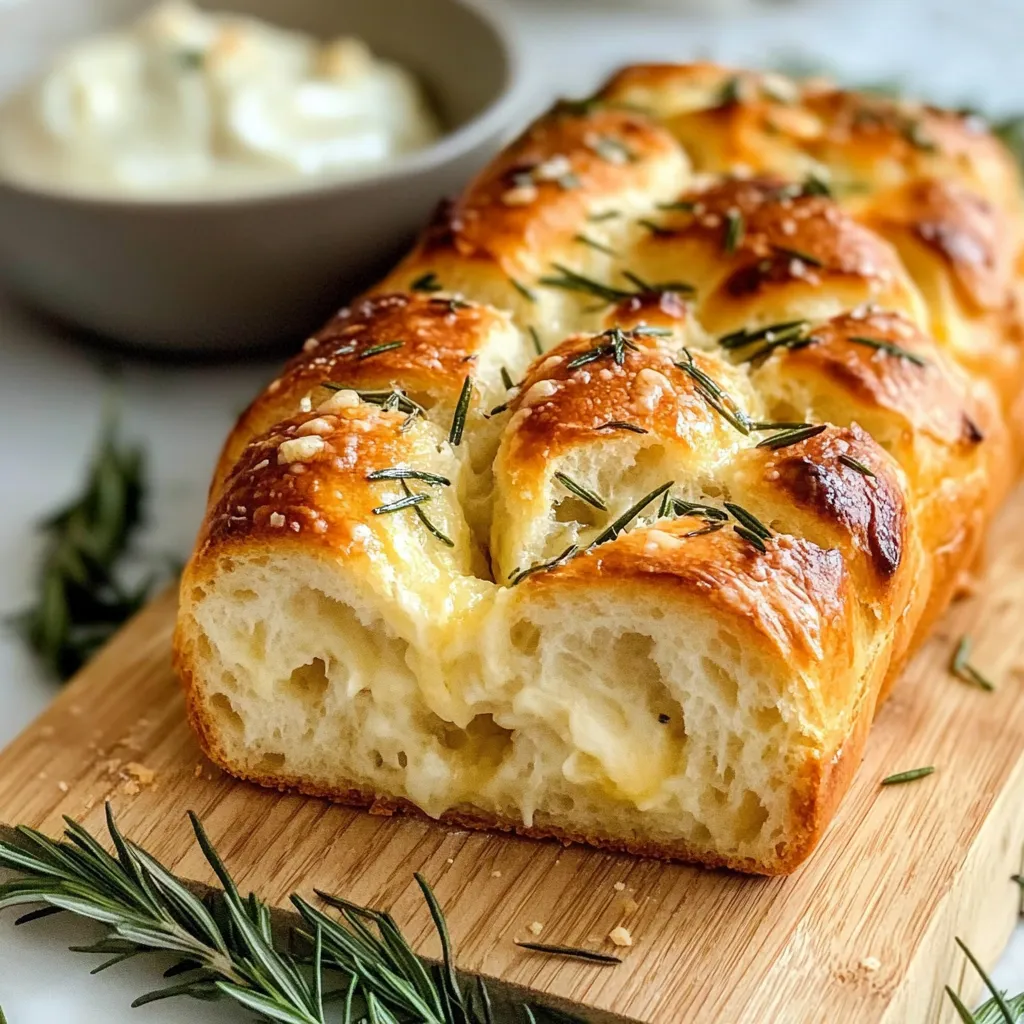
Rosemary Garlic Pull Apart Bread creates an irresistible aroma that fills your kitchen with herby, buttery goodness long before the first piece is torn away. This interactive loaf combines pillowy soft dough with layers of garlic, cheese, and fresh rosemary that meld together during baking. Each section pulls away to reveal golden, cheese-flecked surfaces perfect for sharing—though you might find yourself reluctant to do so once you taste the first piece.
I first made this bread for a casual dinner with friends, placing it in the center of the table without fanfare. The conversation completely stopped when I pulled the first piece, revealing stretchy cheese strands and releasing a fresh burst of garlic-herb aroma. My typically reserved brother-in-law actually reached across the table for seconds before finishing his main course. What surprised me most was watching my selective-eater nephew, who normally avoids anything "green-flecked," enthusiastically tear into multiple pieces. The interactive nature of pulling apart the bread seems to make everyone more willing to try something new.
Essential Elements
- Fresh rosemary: Provides distinctive pine-like aroma and flavor throughout bread. Strip leaves from woody stems and chop finely for best distribution.
- Garlic cloves: Create bursts of savory flavor within buttery filling. Fresh minced garlic offers superior flavor to powdered though both work beautifully.
- Quality cheese: Forms delicious pockets of melty goodness between layers. Parmesan delivers salty depth while mozzarella creates impressive cheese pulls.
- Unsalted butter: Creates rich mouthfeel in both dough and filling. European-style with higher butterfat percentage produces most luxurious results.
- Active dry yeast: Ensures properly risen fluffy bread texture. Check expiration dates as fresh yeast produces most reliable results.
- All-purpose flour: Forms backbone of dough structure. Unbleached varieties offer slightly better flavor than bleached alternatives.
Baking Blueprint
- Create enriched dough:
- Combine warm milk with yeast and sugar activating yeast until foamy. Mix in butter, egg, and dry ingredients forming soft, pliable dough. Knead until smooth and elastic developing proper gluten structure for tender bread. Allow first rise in warm location until doubled in volume.
- Mix aromatic filling:
- Blend softened butter with finely chopped rosemary, parsley, and minced garlic creating flavorful spread. The butter base ensures herbs and garlic distribute evenly throughout bread while creating rich pockets between layers.
- Form distinctive layers:
- Divide risen dough into equal portions flattening each into small discs. Spread herb butter across surface and sprinkle with cheese before folding into half-moon shapes. This technique creates distinct layers that separate easily when pulled apart.
- Arrange for presentation:
- Place folded dough pieces in loaf pan with rounded sides facing upward creating distinctive pull-apart ridges. Arrange tightly enough to support each other while allowing space for final rise expansion.
- Allow second rise:
- Cover assembled loaf allowing dough to become puffy and expanded. This critical step ensures soft, airy texture in finished bread while giving flavors time to meld before baking.
- Bake until golden:
- Place in preheated oven until surface becomes deeply golden and internal temperature reaches proper doneness. The extended baking time allows butter and cheese to permeate throughout dough creating unified flavor.
- Finish with flourish:
- Brush surface with melted butter while still warm and sprinkle with flaky salt enhancing both flavor and appearance. This final touch creates irresistible aroma and attractive glossy finish.
My first attempt at this bread taught me valuable lessons about patience with the rising process. I rushed both rises and ended up with dense, heavy bread rather than the light, airy texture essential for proper pull-apart action. Now I always allow full rising time, even adding extra minutes during colder weather. I've also discovered that slightly wetting my hands before handling the dough prevents sticking without adding excess flour that could toughen the bread. The most surprising discovery was how the flavor actually improves as it cools slightly – waiting just fifteen minutes after baking allows the herb oils to permeate throughout for maximum flavor impact.
Serving Suggestions
Serve alongside hearty soups creating perfect dipping opportunity for bread pieces. Offer as appetizer with small bowls of marinara sauce for additional flavor dimension. Present at table center for interactive dining experience that encourages conversation and sharing.
Flavor Variations
Substitute fresh thyme for rosemary creating more delicate herbal profile that pairs beautifully with poultry. Incorporate sun-dried tomatoes into filling for Mediterranean-inspired flavor combination. Add crispy bacon pieces between layers for savory smokiness that complements herb notes.
Storage Solutions
Keep leftover bread in airtight container at room temperature maintaining softness up to two days. Refresh pieces briefly in warm oven before serving restoring original texture. Freeze fully cooled bread up to one month, thawing at room temperature before warming.
The first time I brought this bread to a potluck gathering, three different people asked for the recipe before the evening ended. What makes this creation truly special isn't just its delicious flavor combination but how it transforms the dining experience into something interactive and memorable. I've watched strangers become friends over the shared experience of pulling apart this bread, and noticed how the simple act of tearing rather than slicing creates natural conversation. While it looks impressive enough for special occasions, it's actually simple enough for weeknight dinners – the perfect combination of stunning presentation and manageable preparation that makes entertaining both enjoyable and achievable.
Frequently Asked Questions
- → Can I use instant yeast instead of active dry?
- Yes, you can use instant yeast. Skip the initial proofing step with the warm milk and just mix all the dough ingredients together at once.
- → Why is my dough too sticky?
- Flour absorption varies based on humidity and measuring methods. Add additional flour one tablespoon at a time until the dough is tacky but not sticking to your fingers.
- → Can I use dried herbs instead of fresh?
- Yes, substitute with 2 teaspoons dried rosemary and 2 teaspoons dried parsley instead of the fresh herbs. The flavor will be slightly different but still delicious.
- → How do I know when the bread is fully baked?
- The bread should be golden brown on top and sound hollow when tapped. An instant-read thermometer inserted in the center should read 190°F-200°F.
- → Can I prepare this the night before?
- Yes! Make the dough, let it rise once, shape it and place in the pan, then cover and refrigerate overnight. Let it come to room temperature for 30-45 minutes before baking.
- → What can I serve with this bread?
- This bread pairs wonderfully with soups, stews, pasta dishes, or roasted meats. It's also delicious on its own as an appetizer or snack.